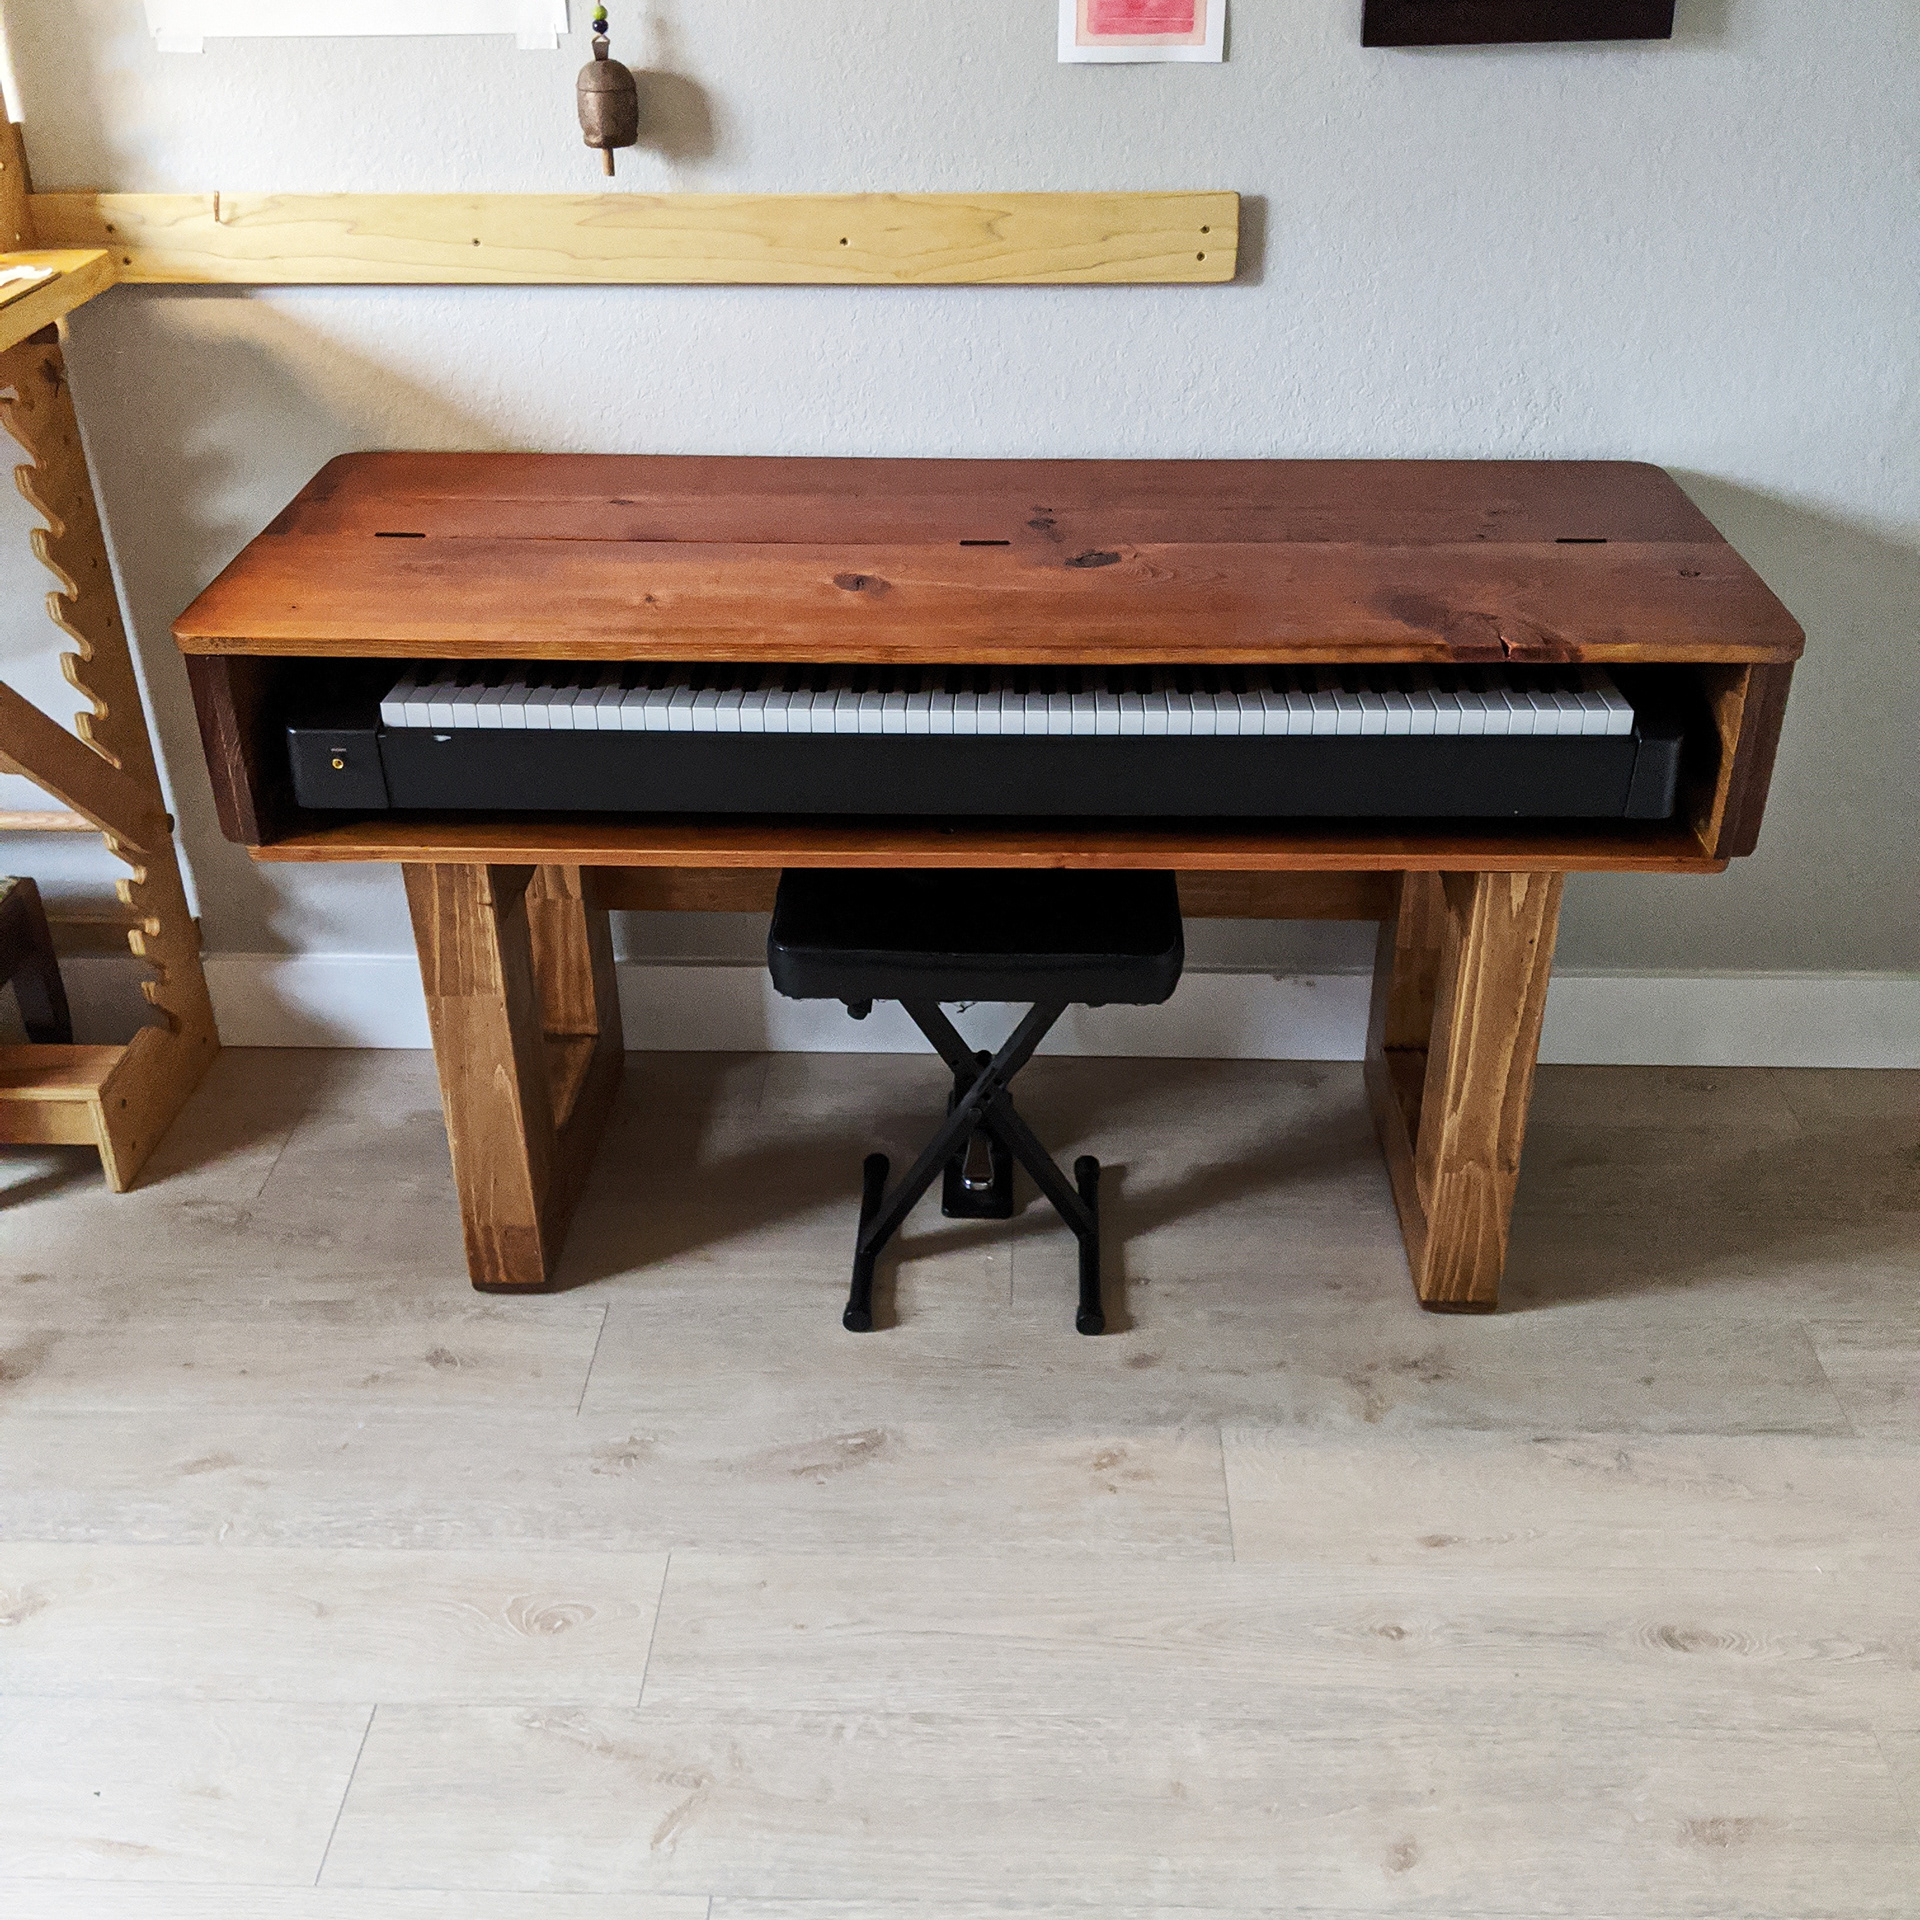
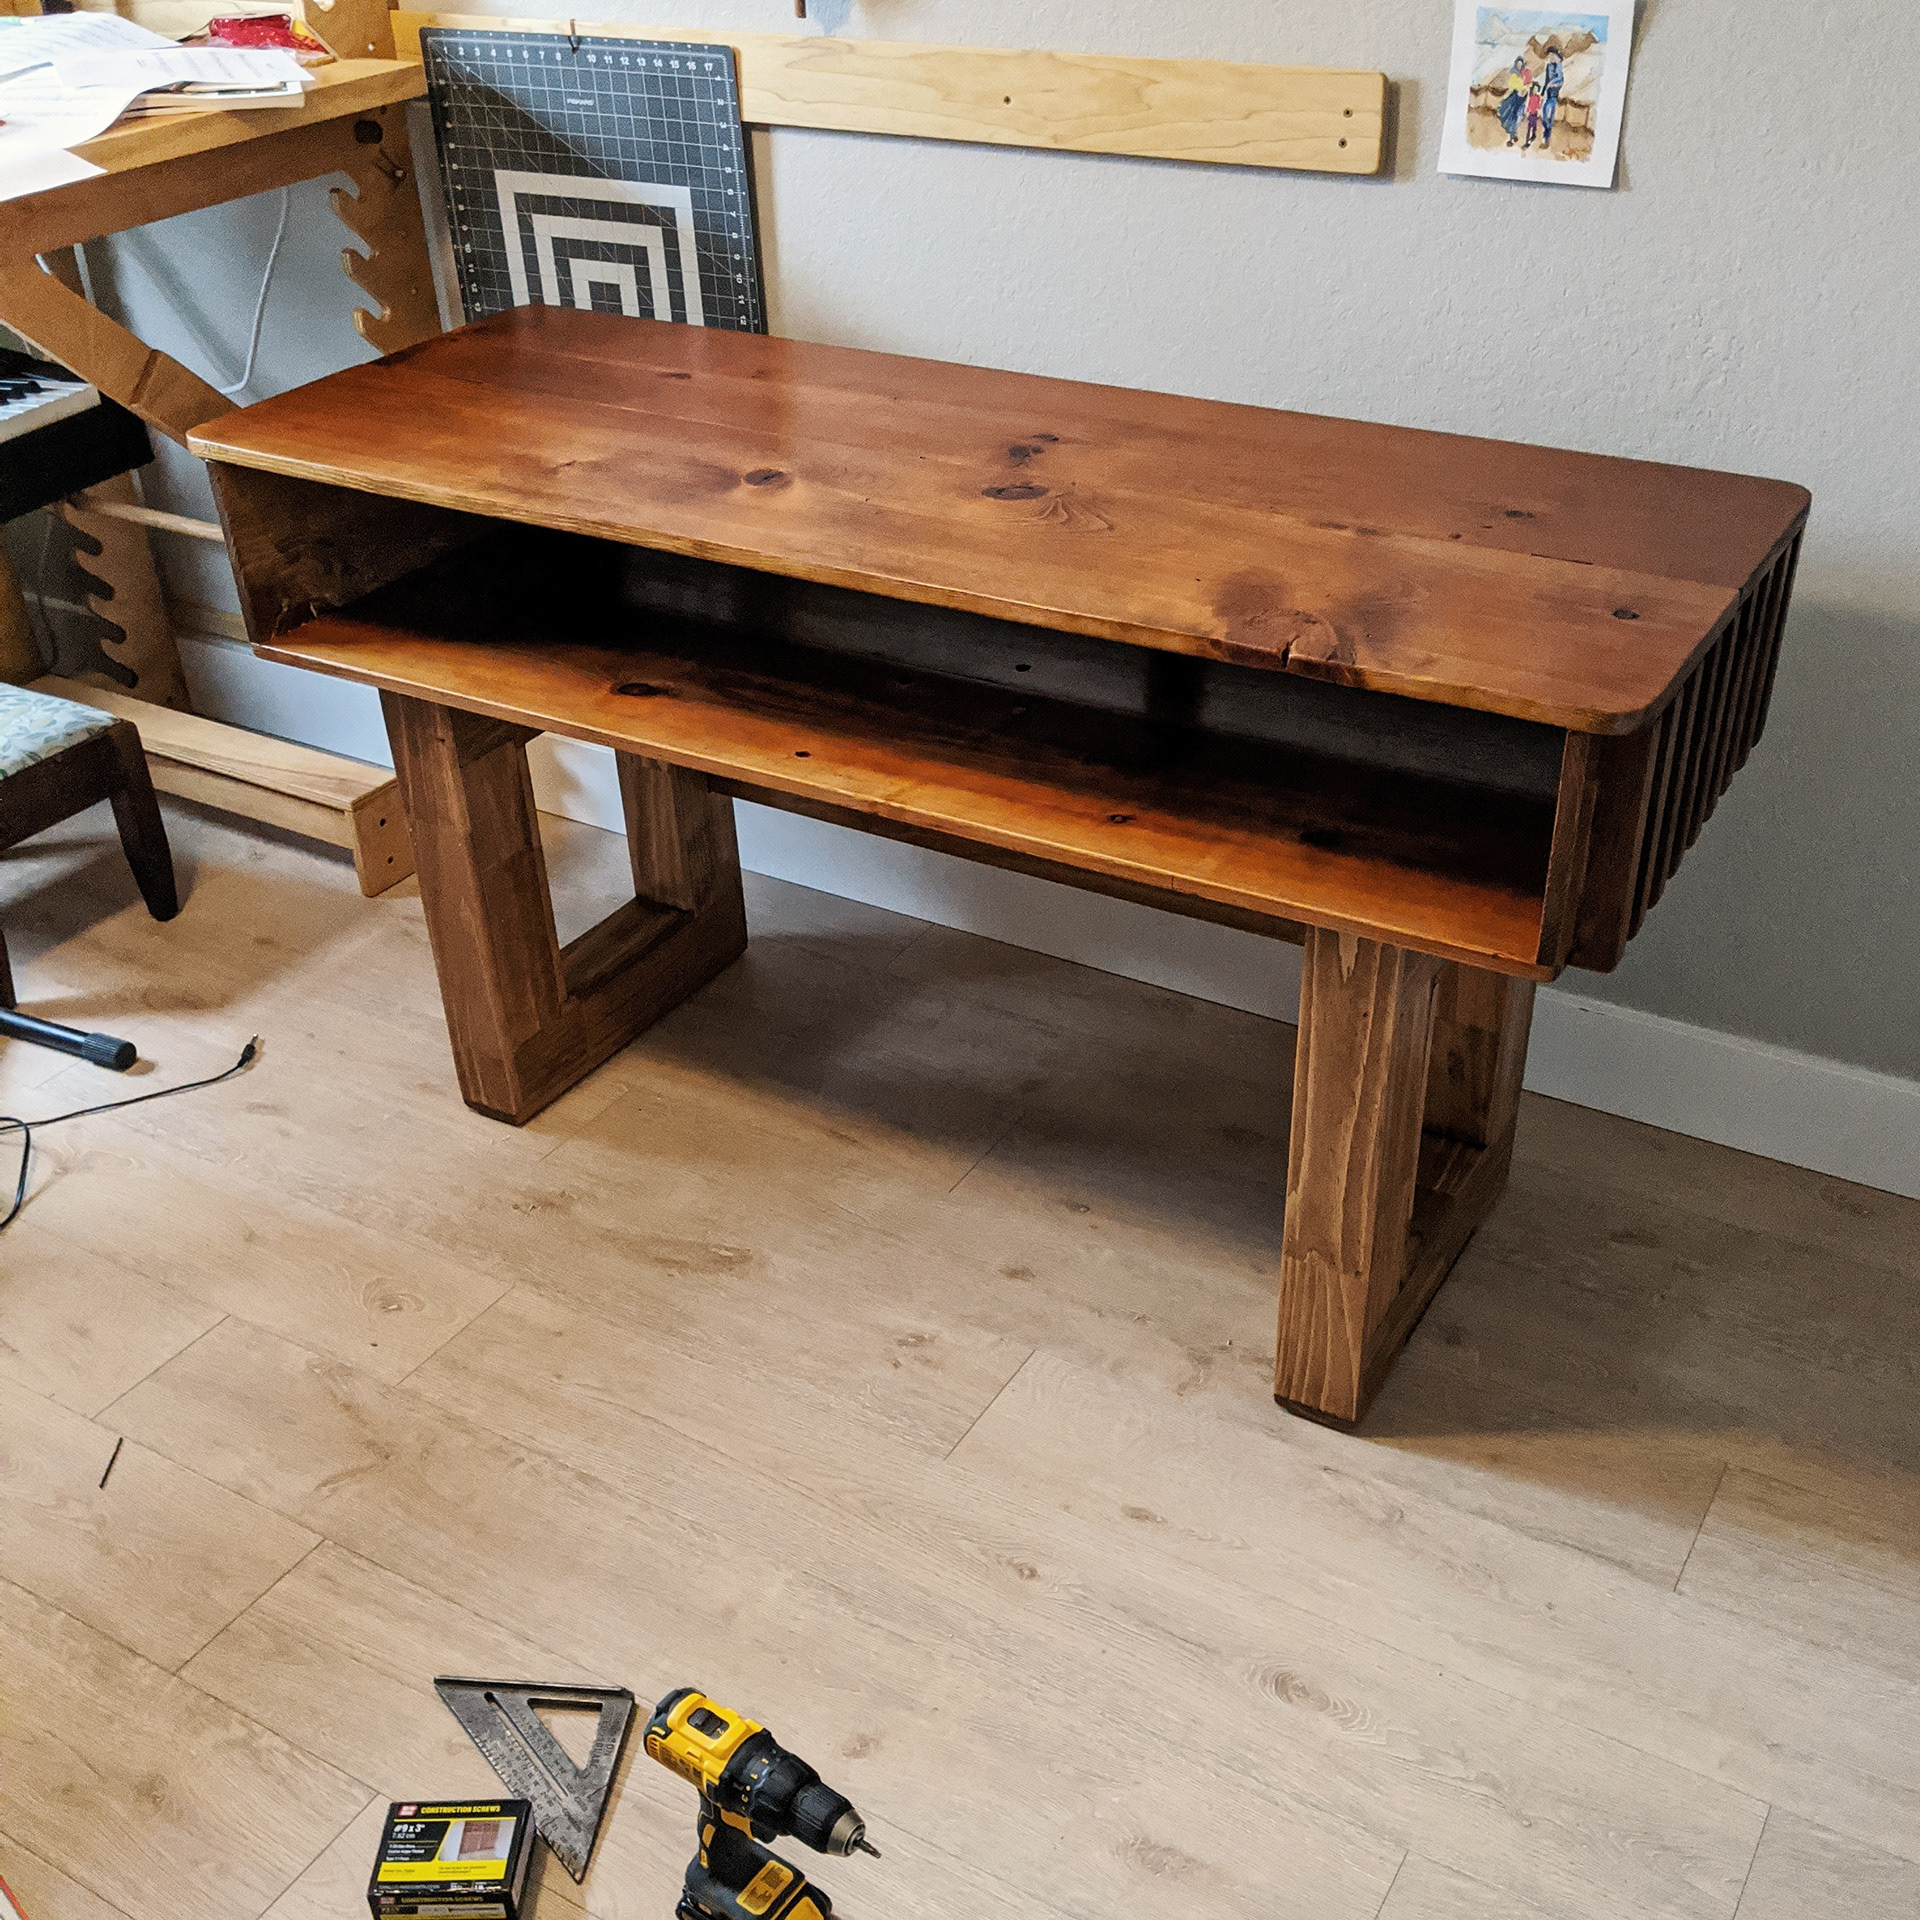
Jesse had some scrap wood from a friend's shed so he decided to build a table for his piano keyboard so it could double as a work table.
Jesse usually tests his designs in 3D and draws up a plan with precise measurements, but he skipped that step and just designed as he went to change things up in his design process. He propped boards up to see how they looked and felt in the space, and then trimmed the boards when he liked the layout.
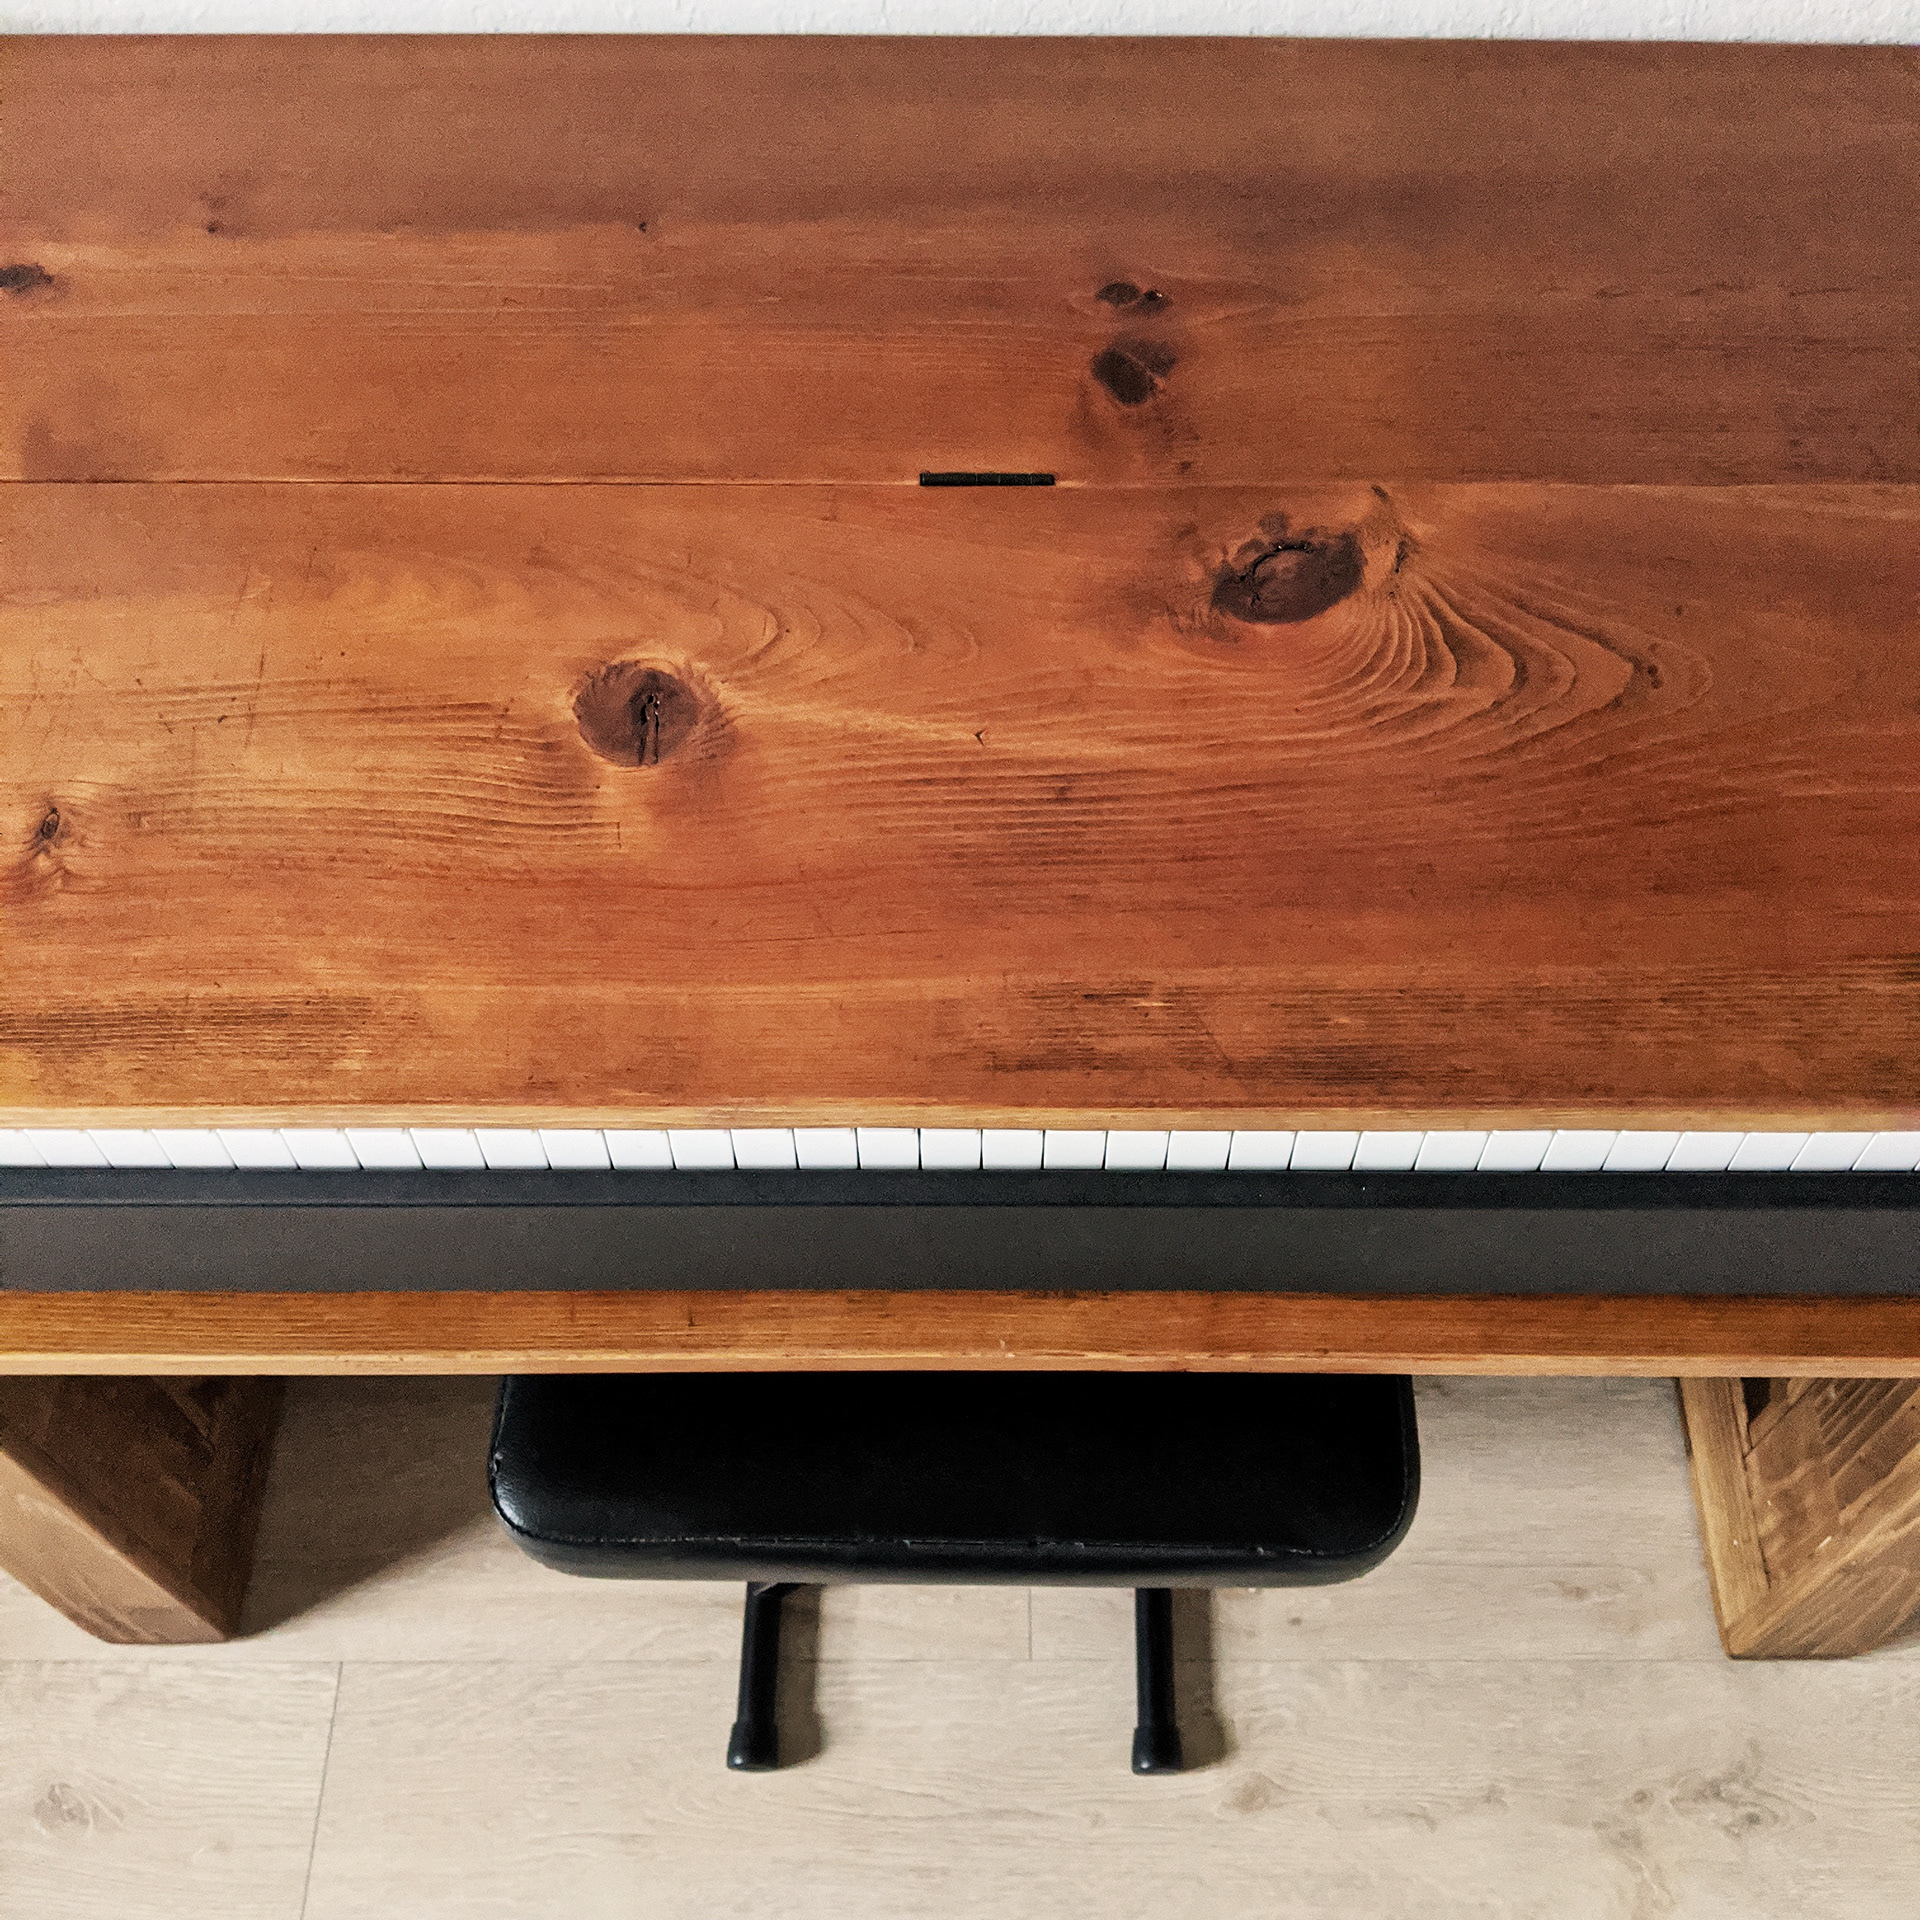
Top, lid closed.
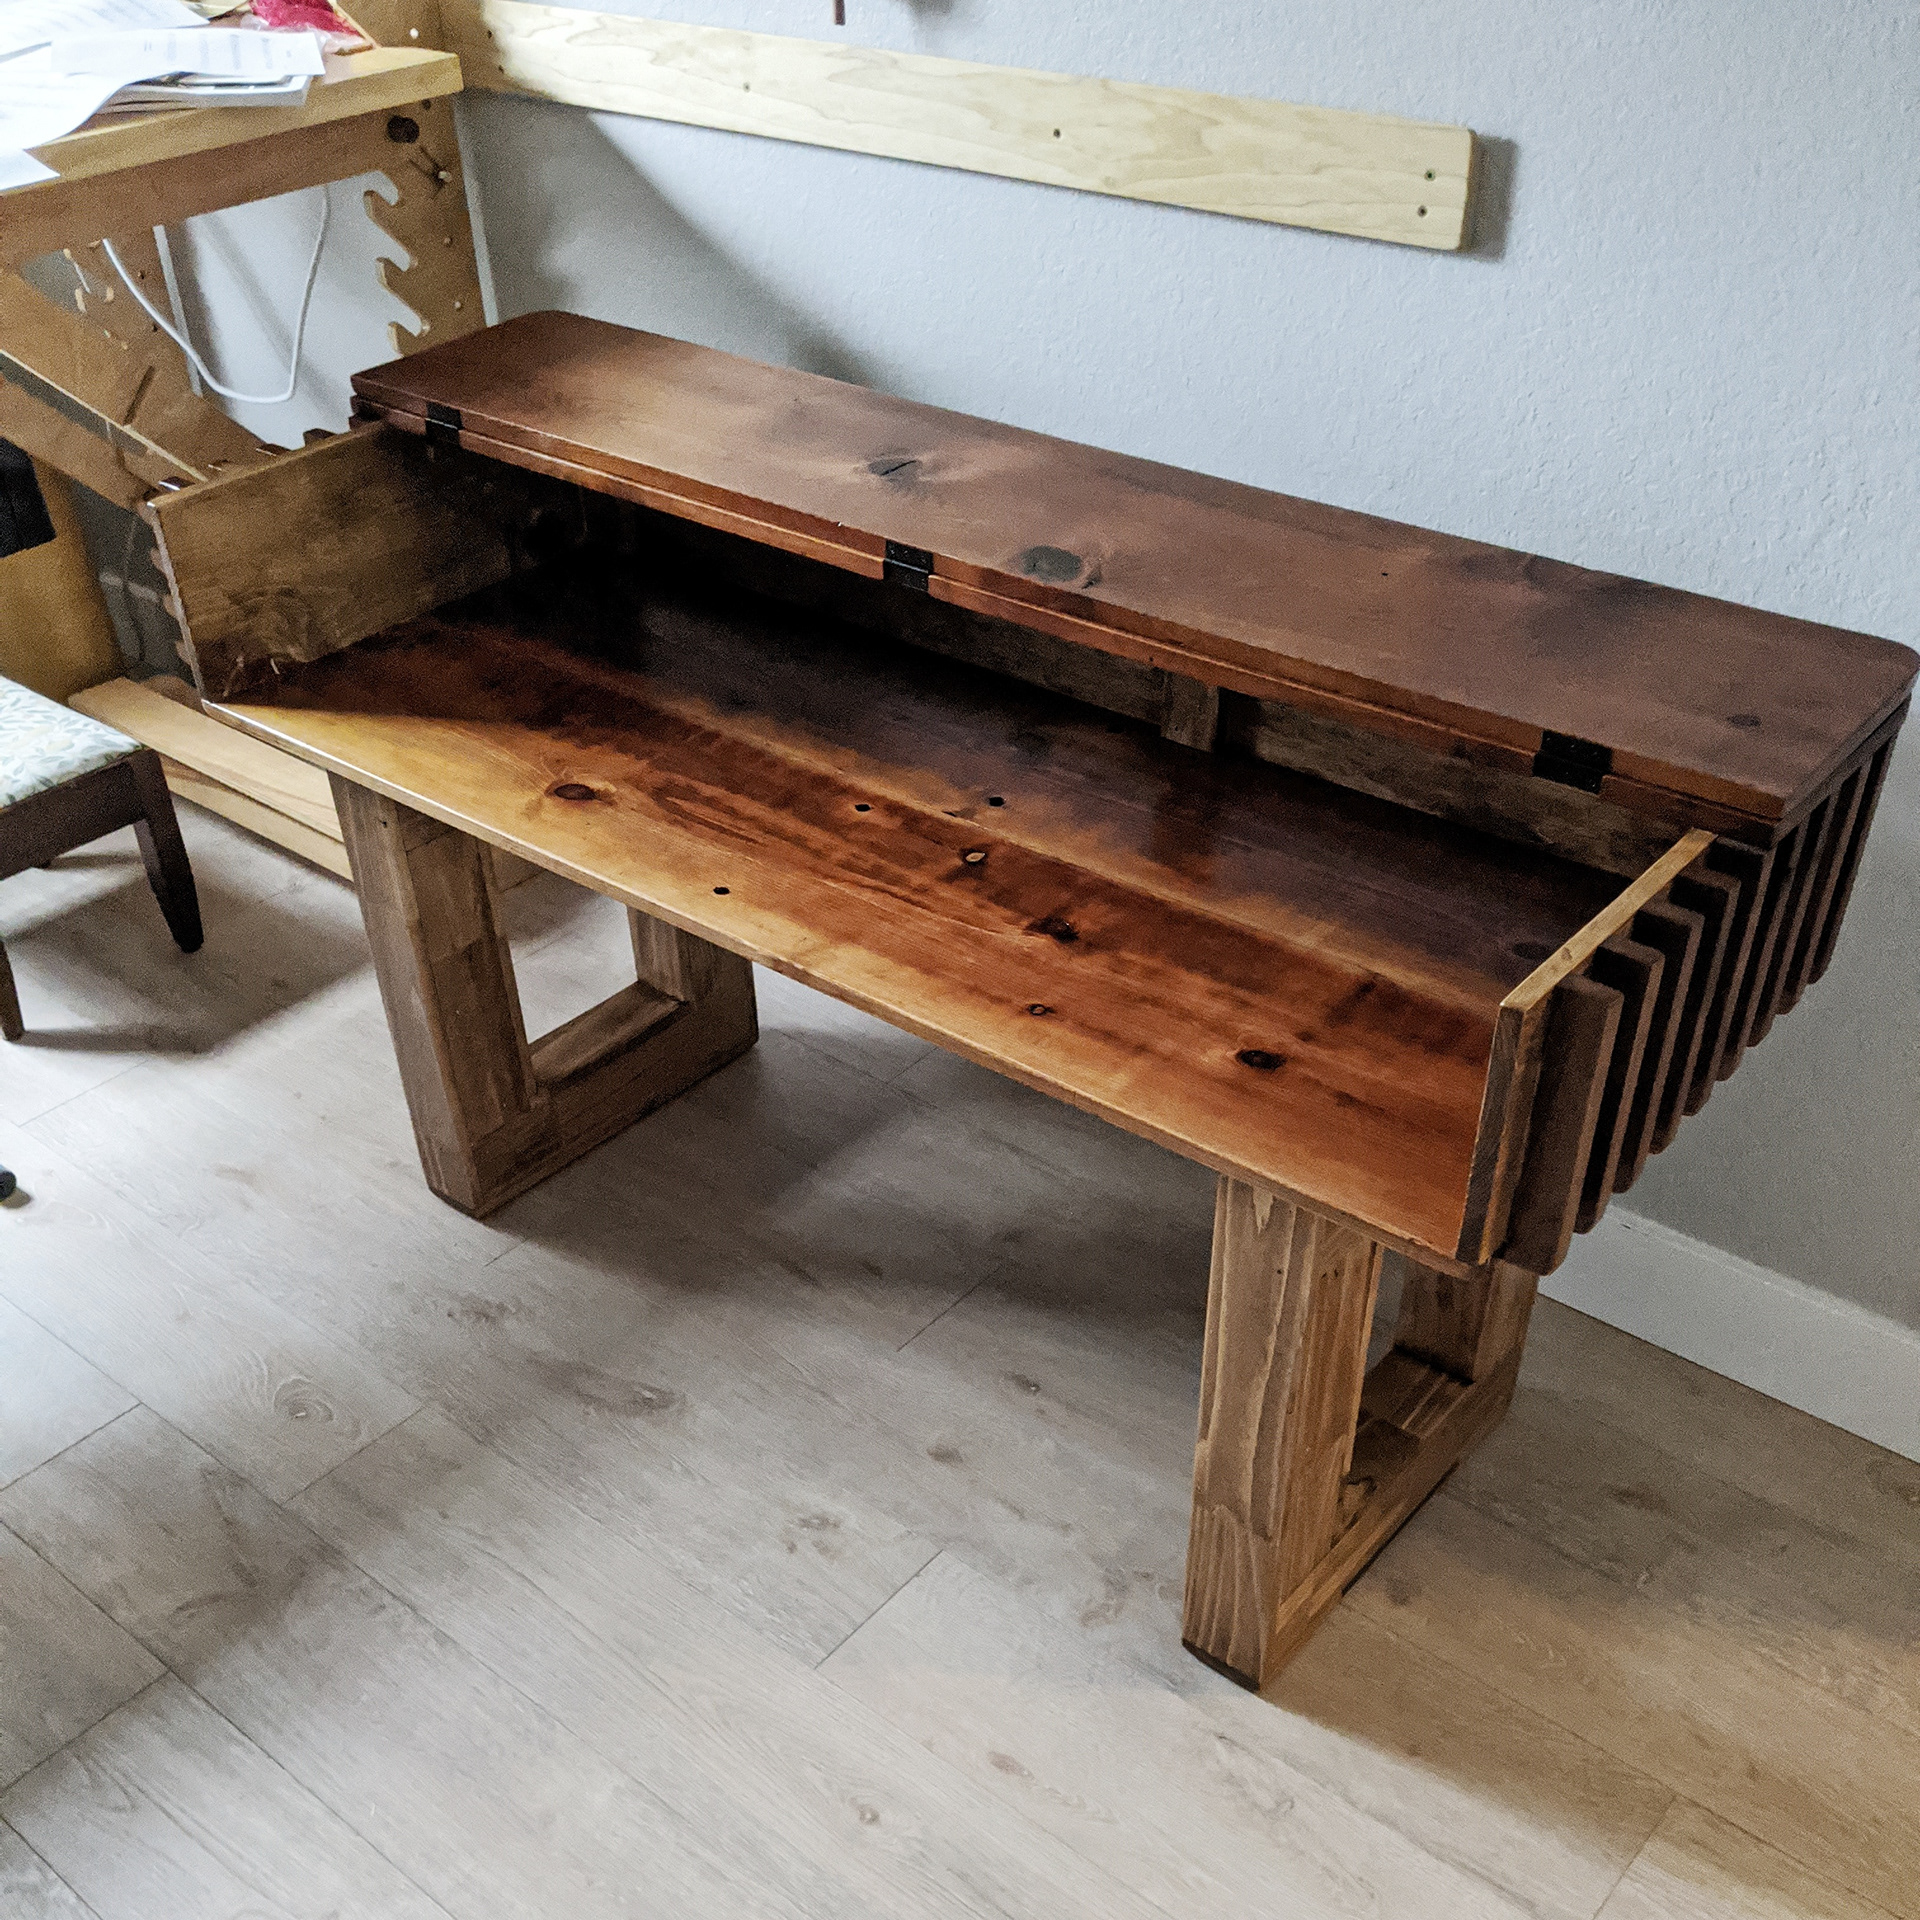
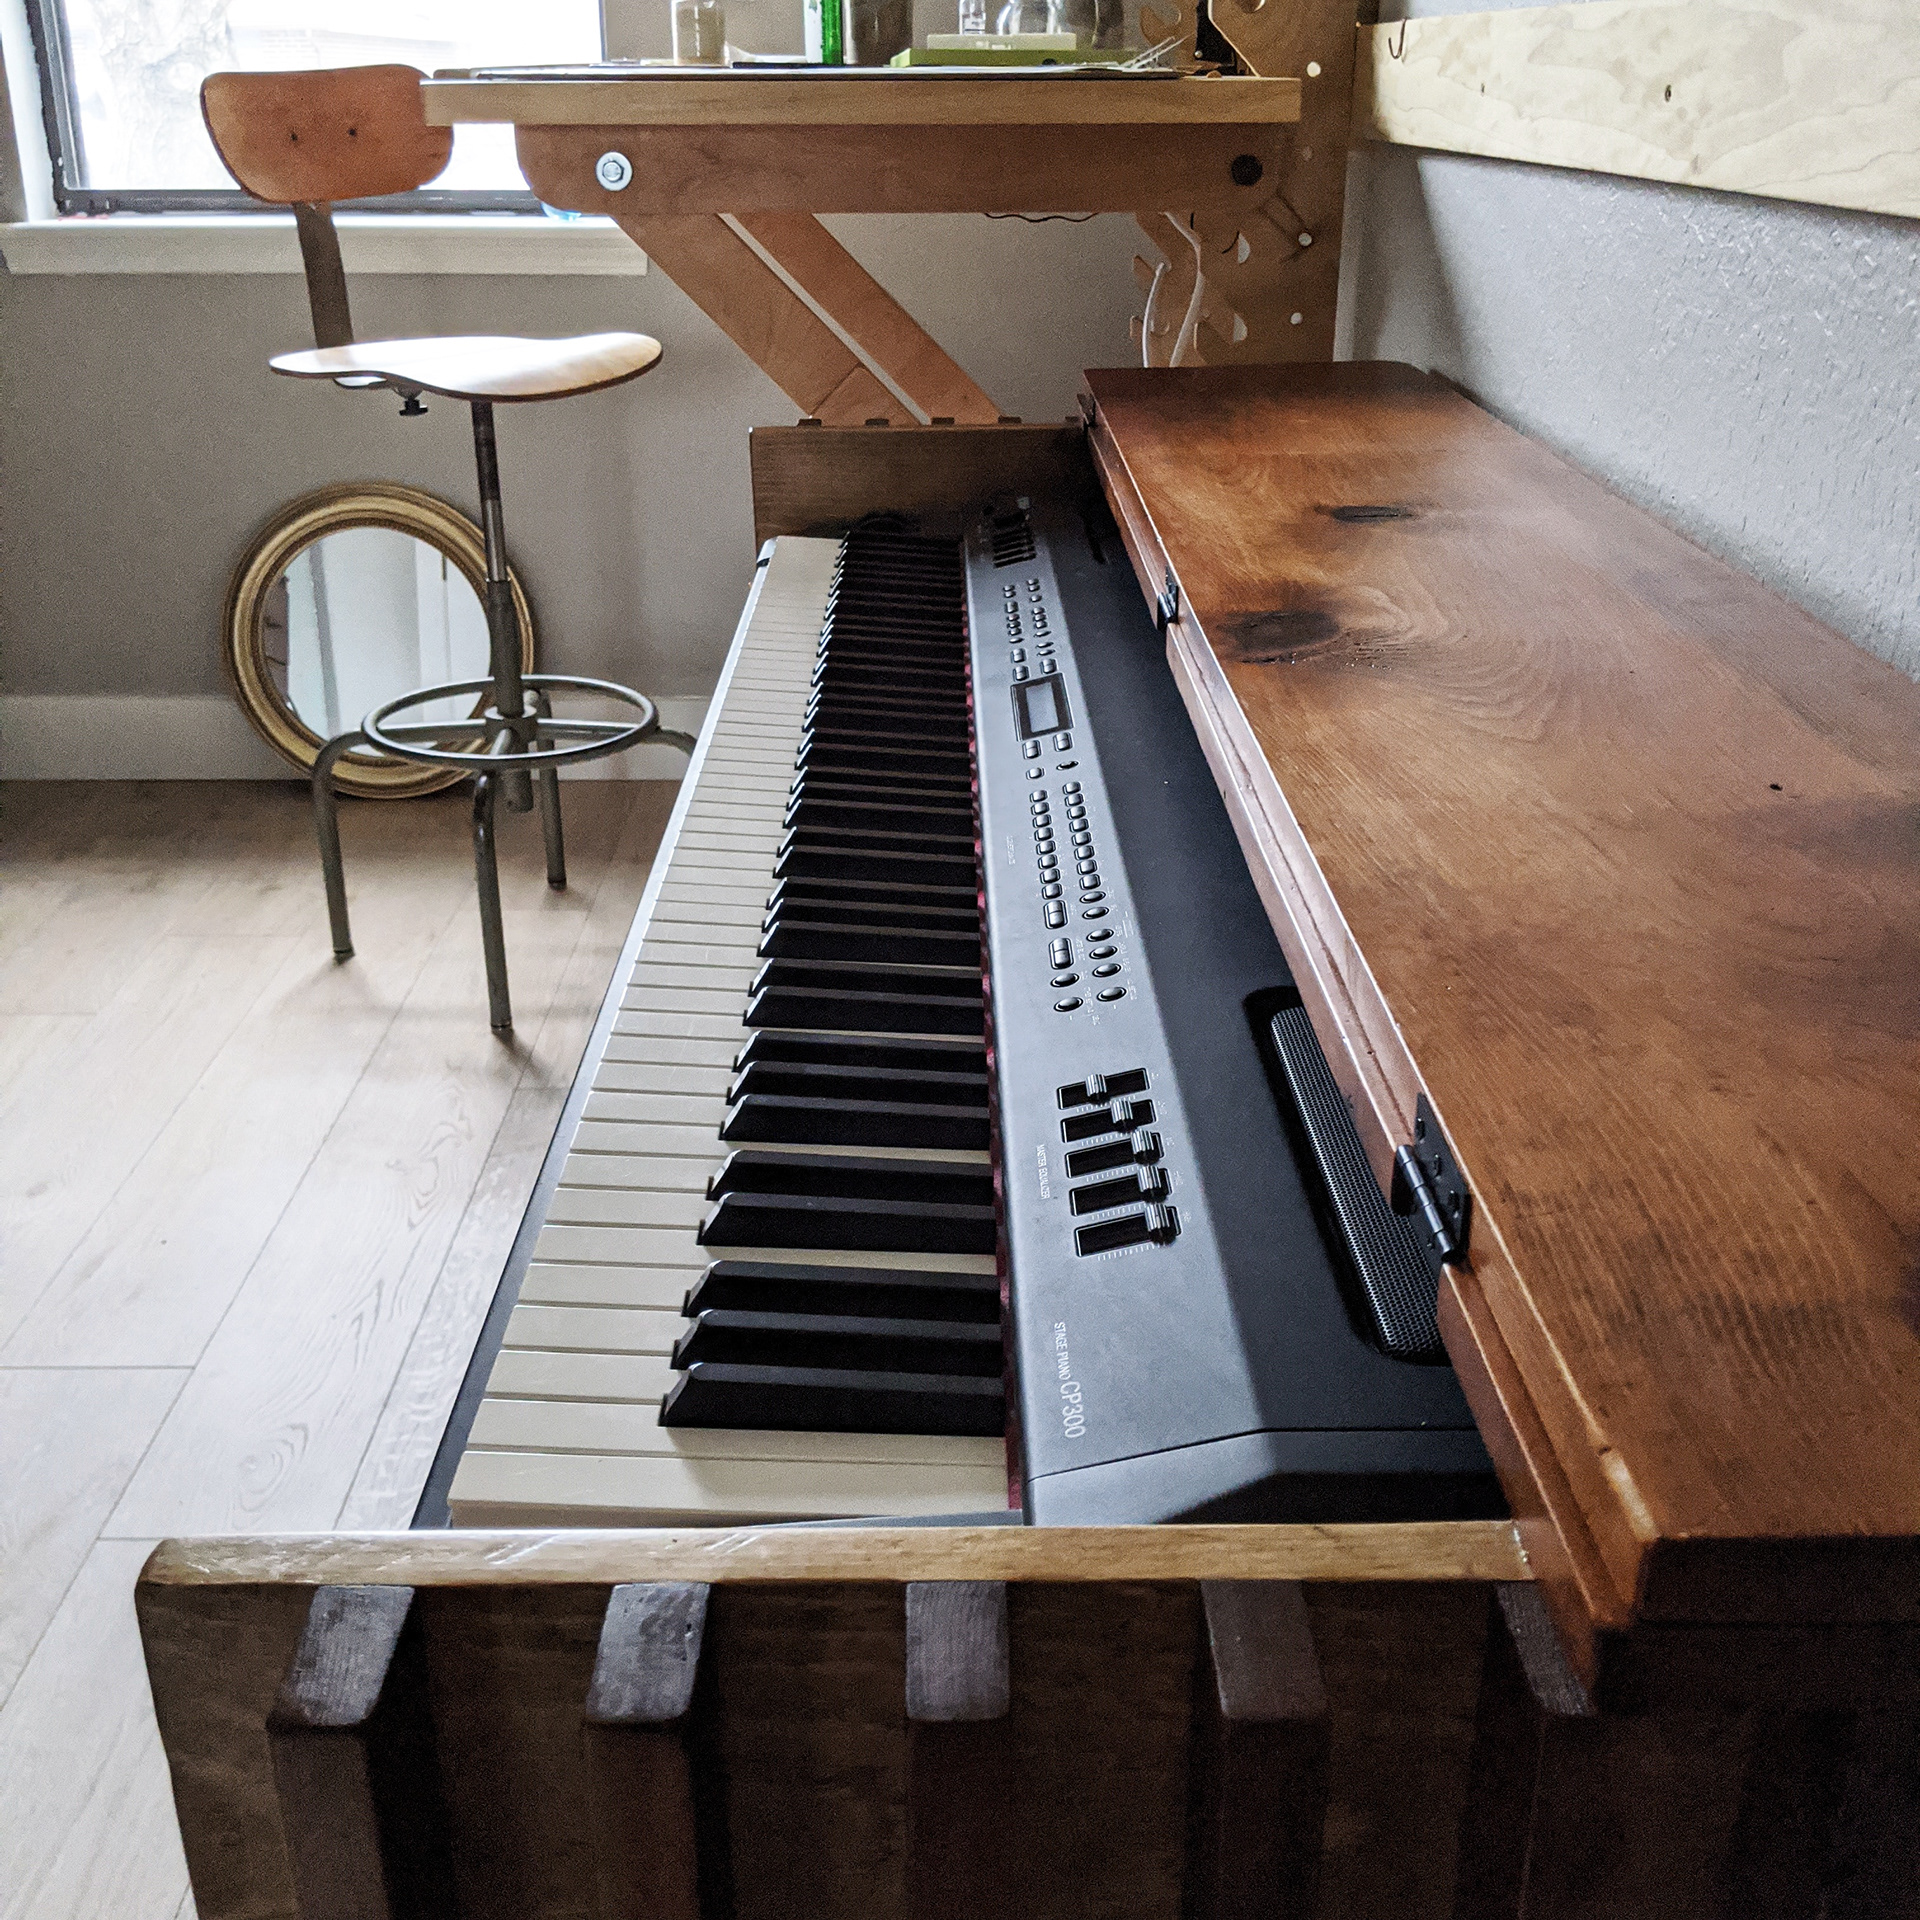
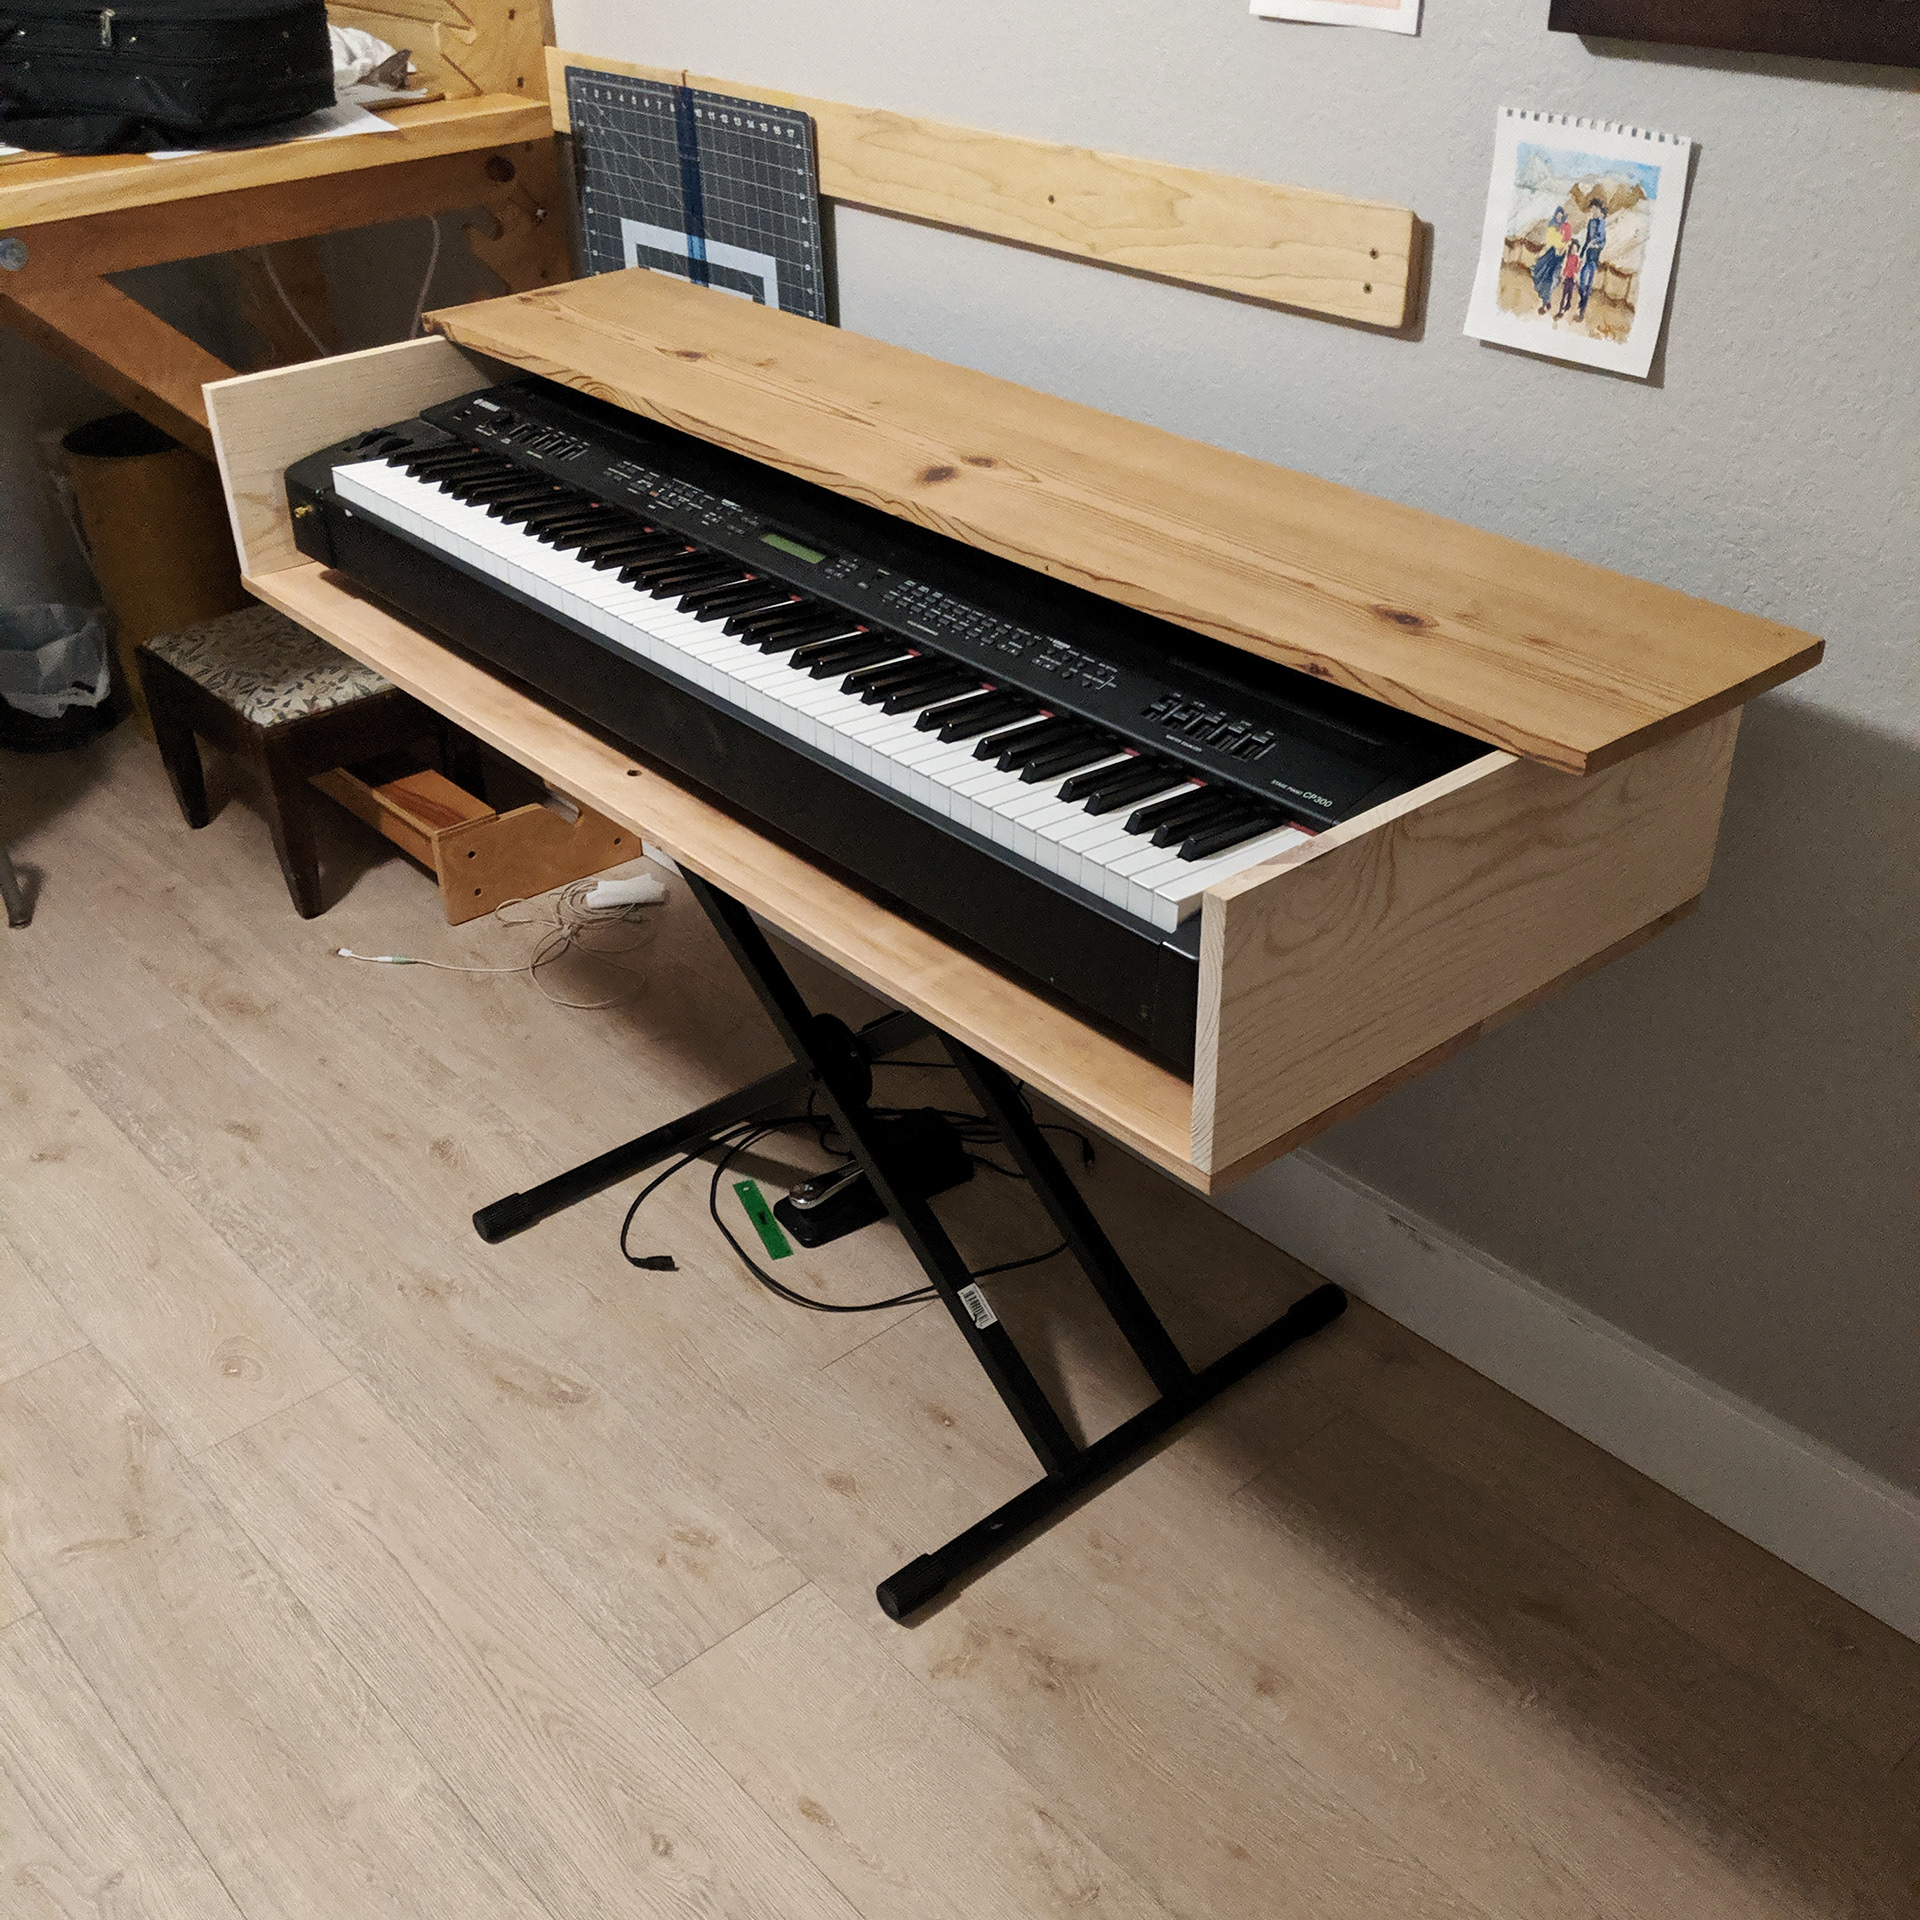
Top, lid open. Music stand and chain added later.
Lid laying flat.
Lid laying flat.
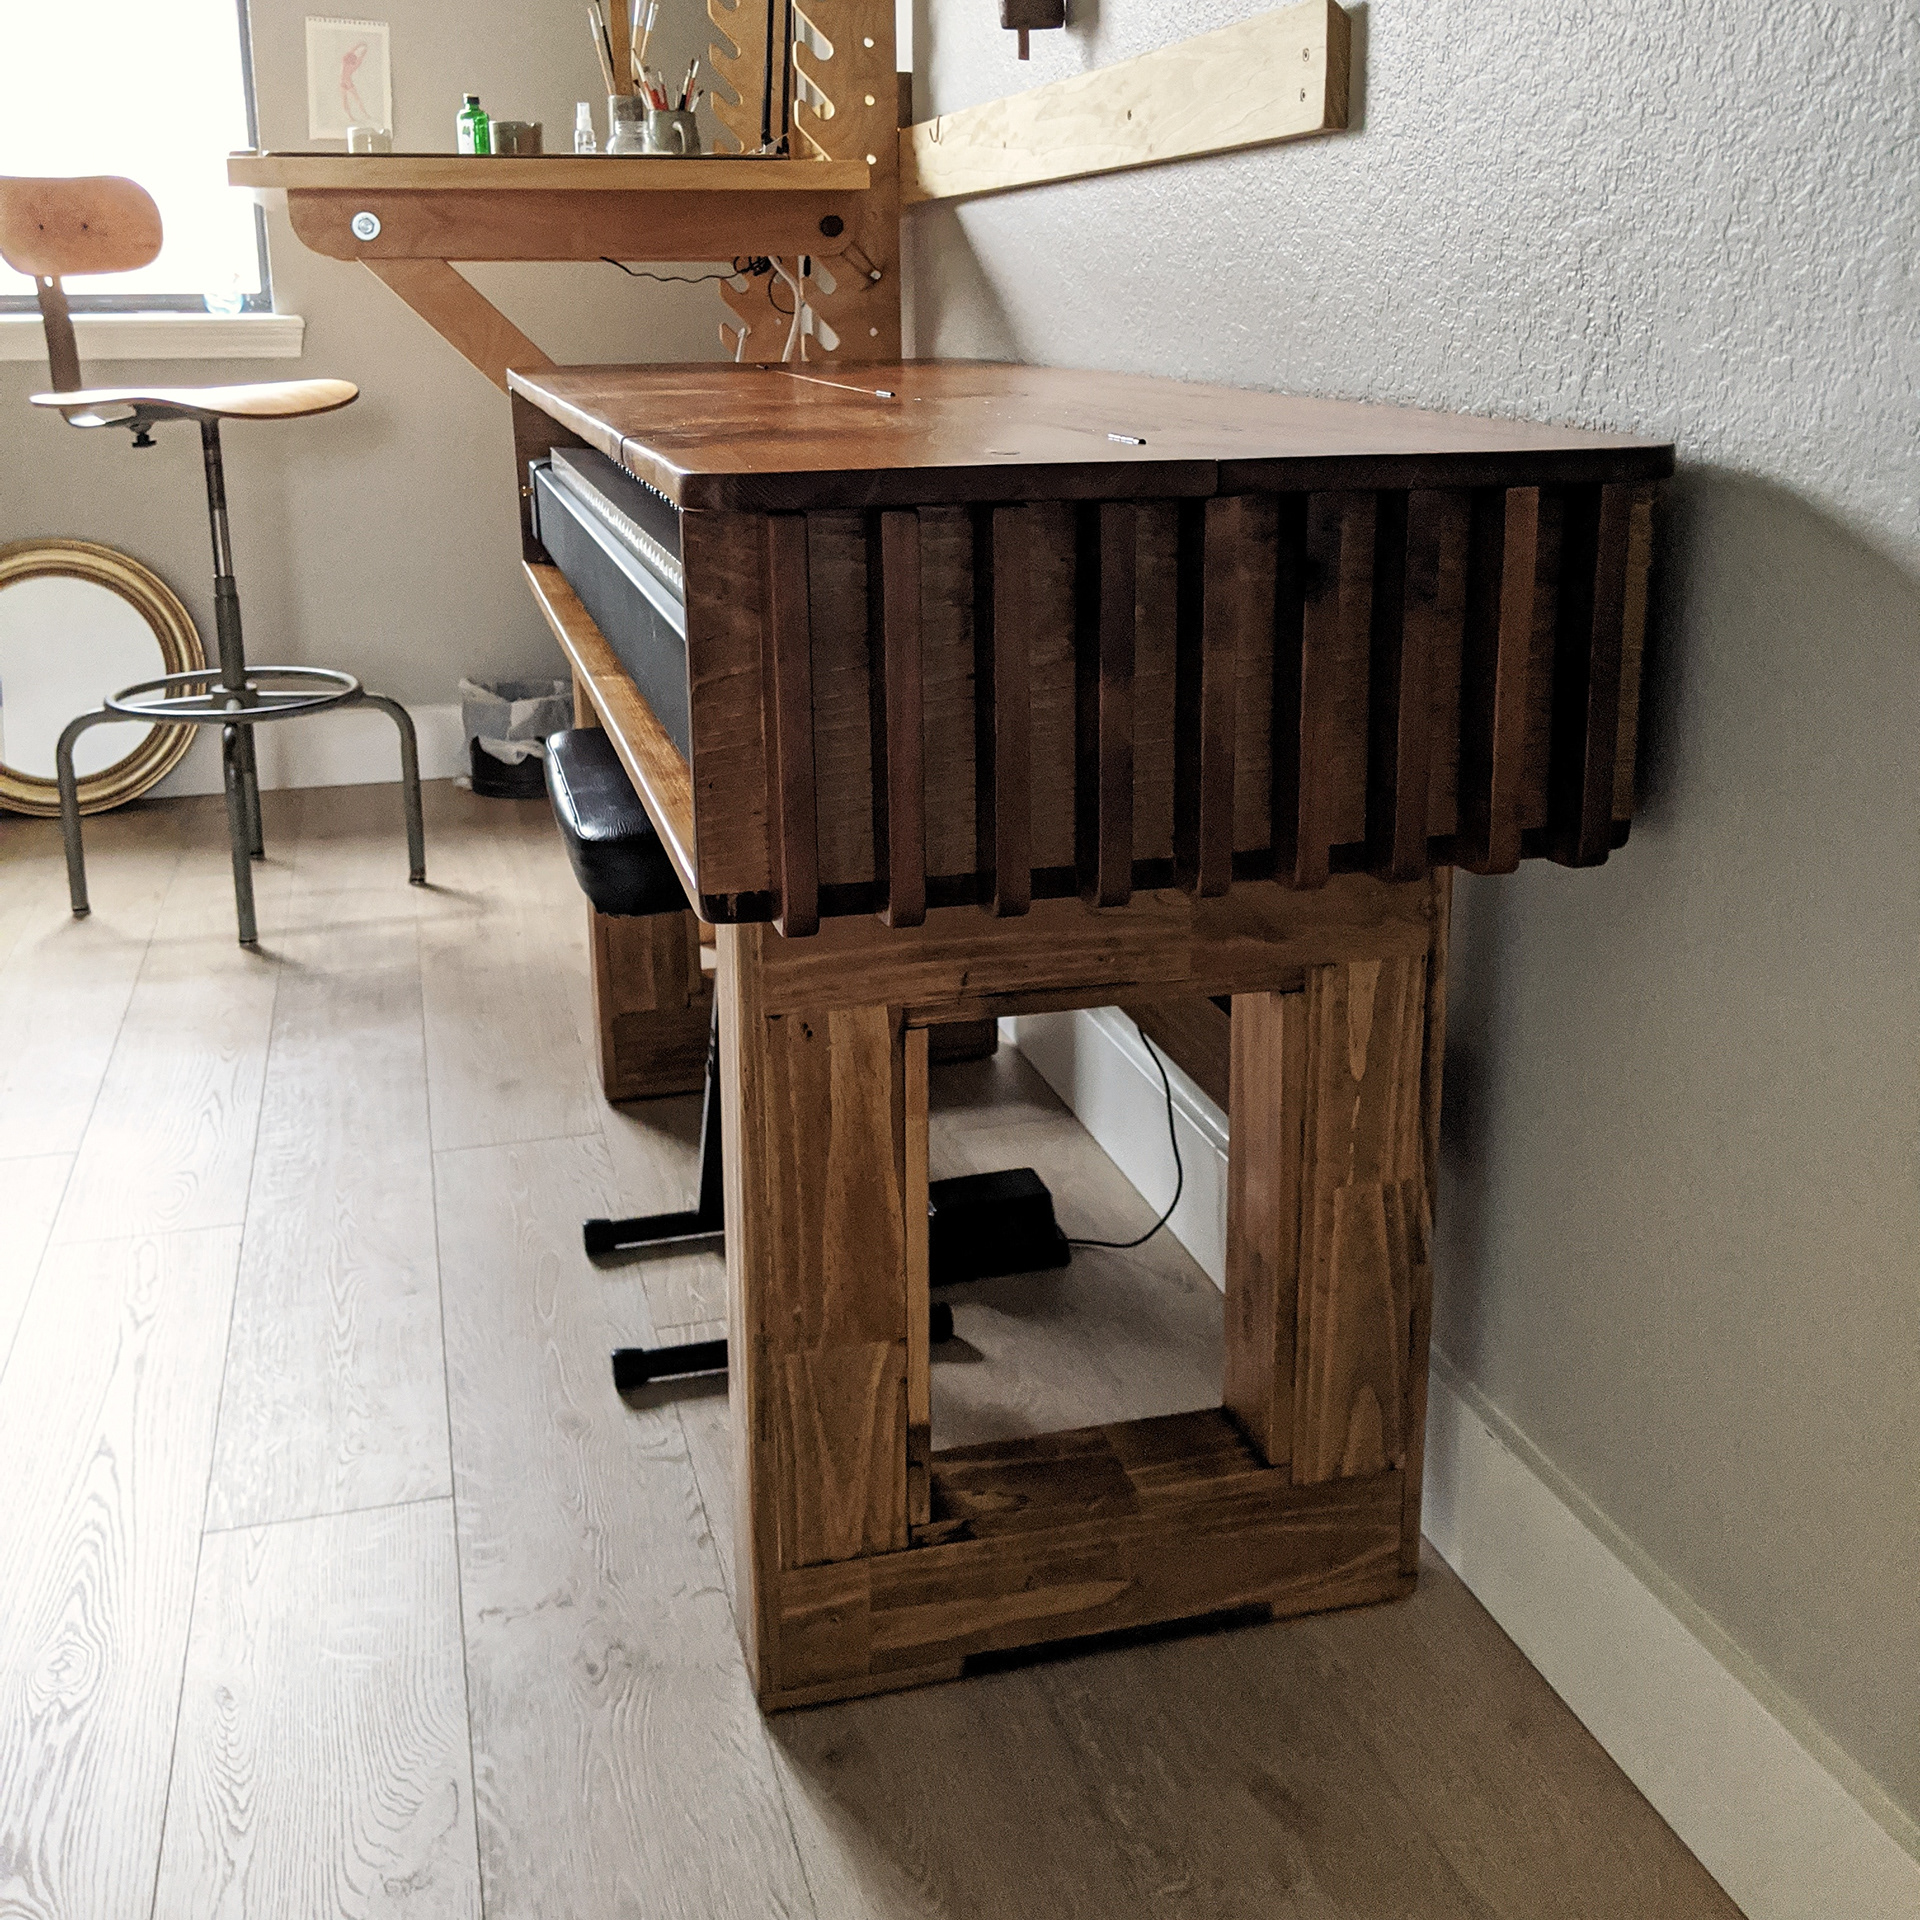
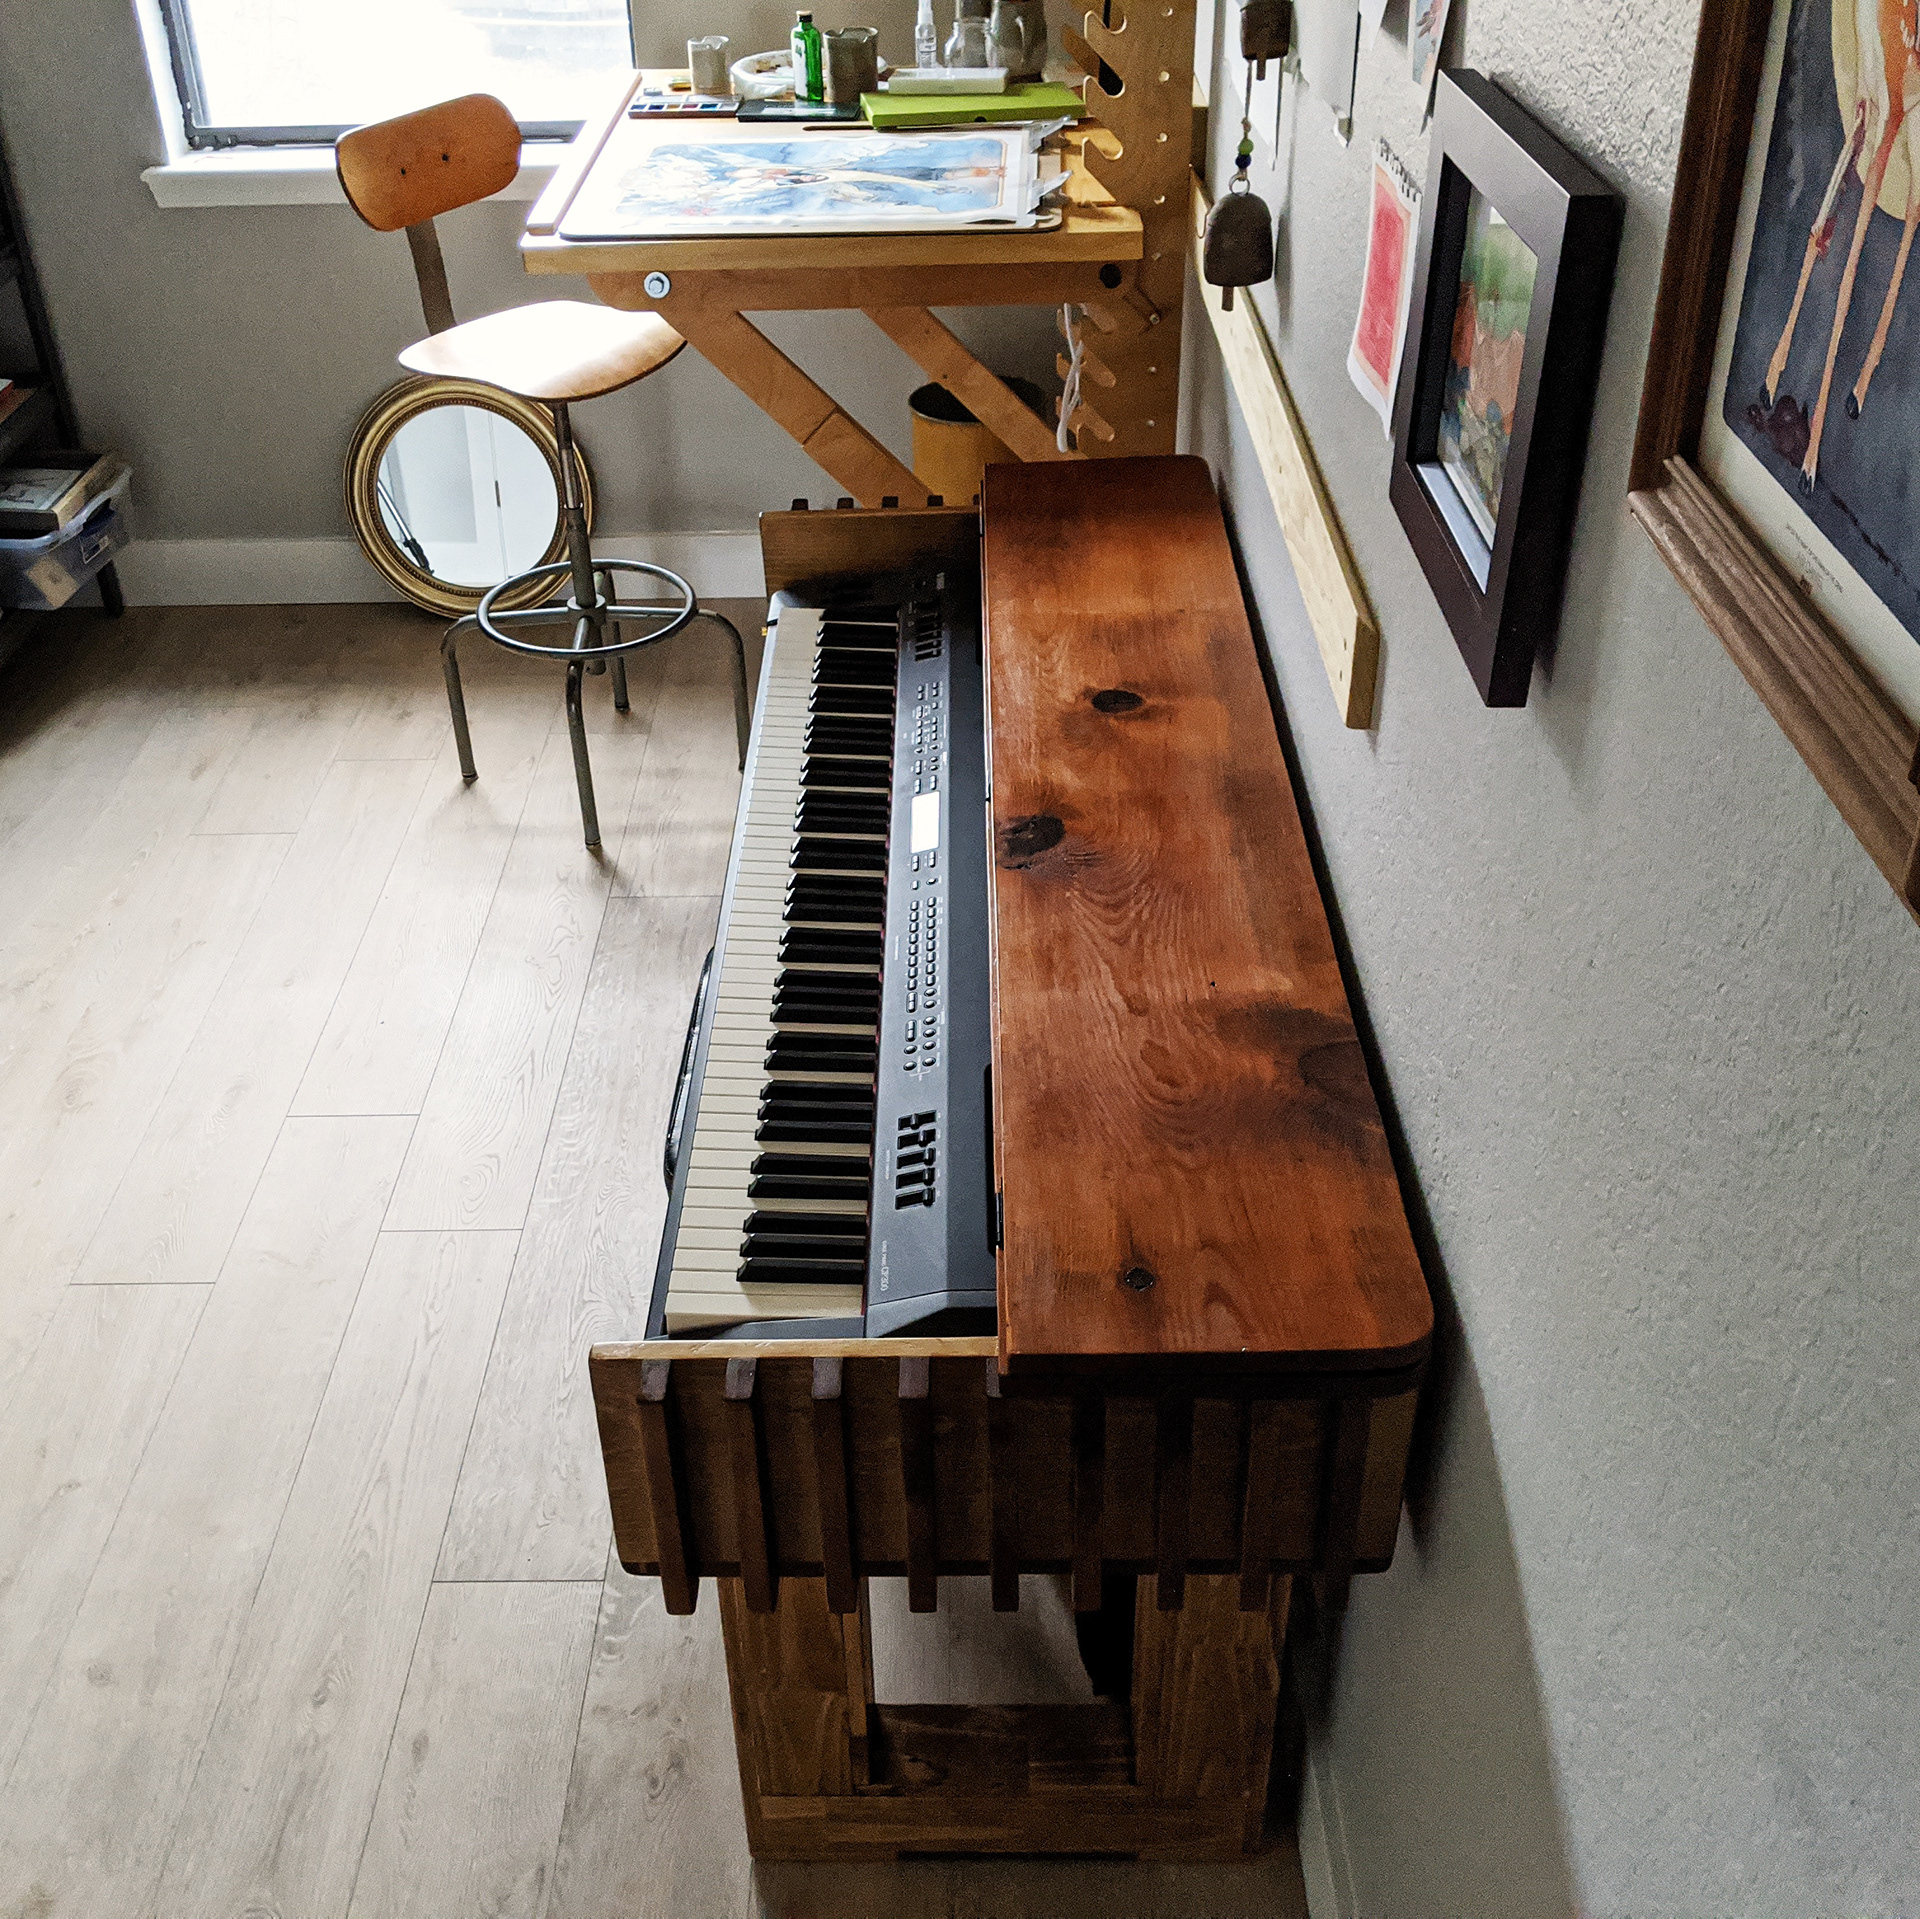
Lid closed, table mode. Side slats for decoration.
Lid closed, side of table.

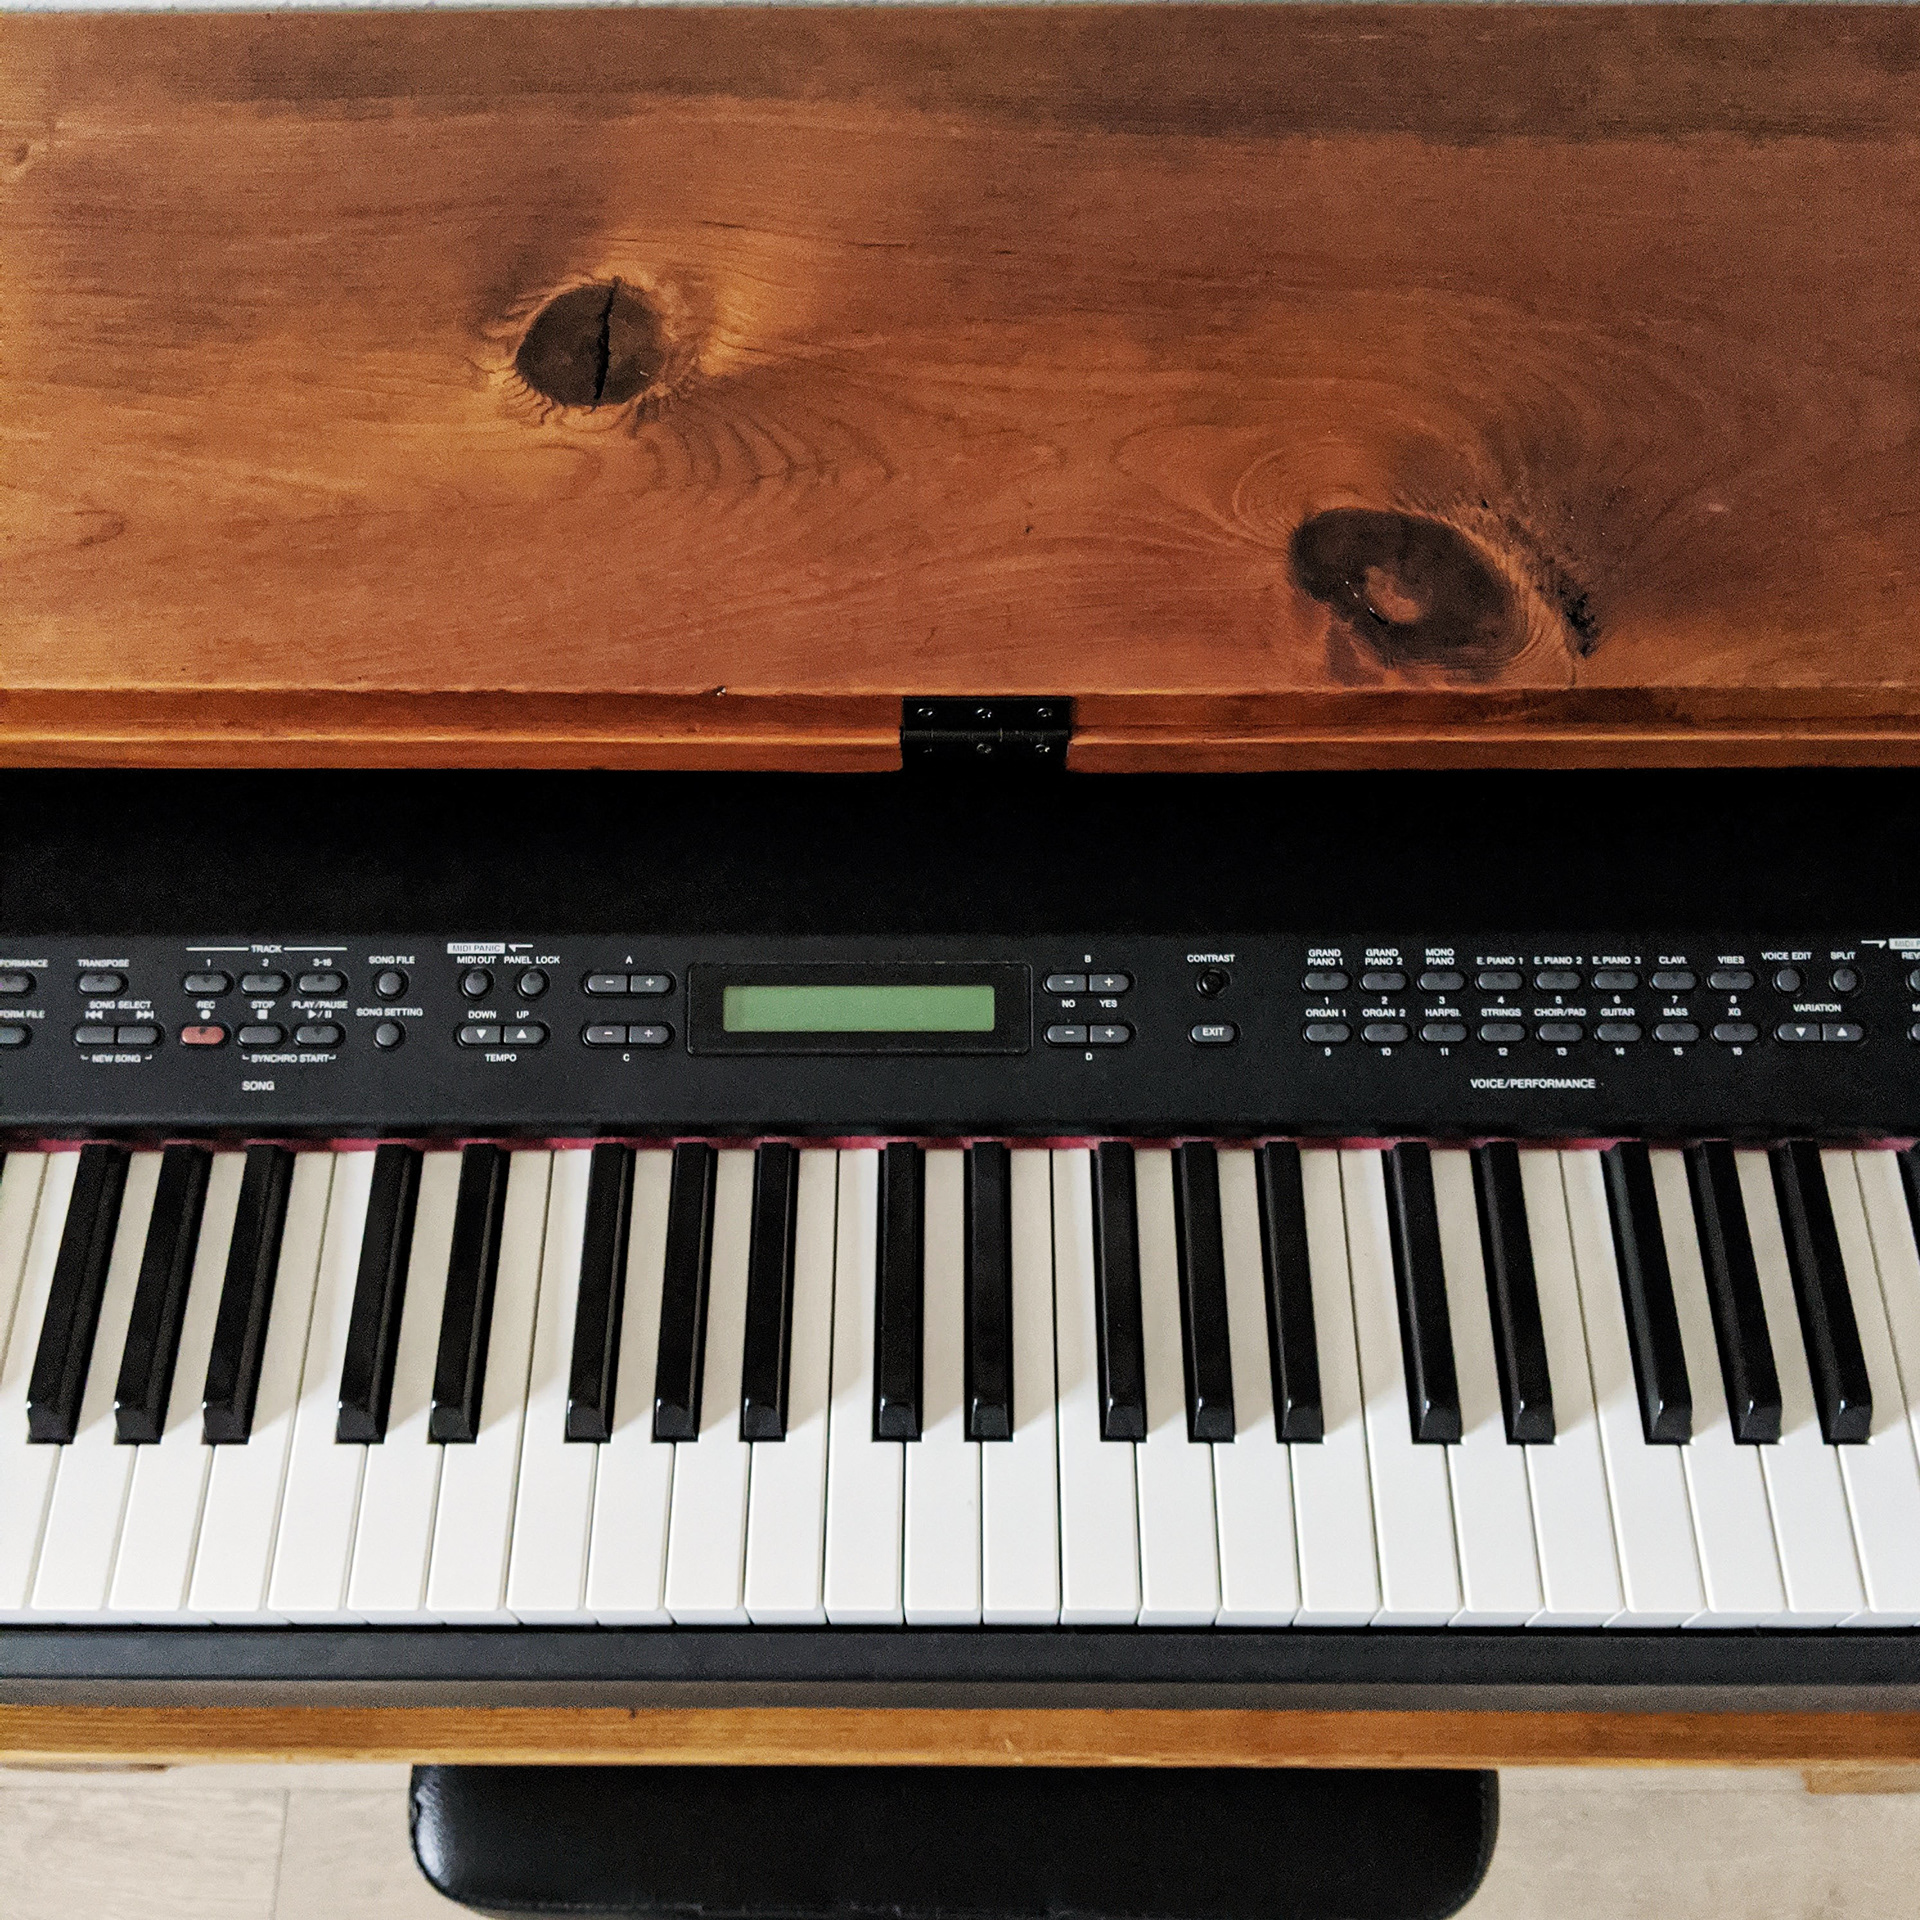
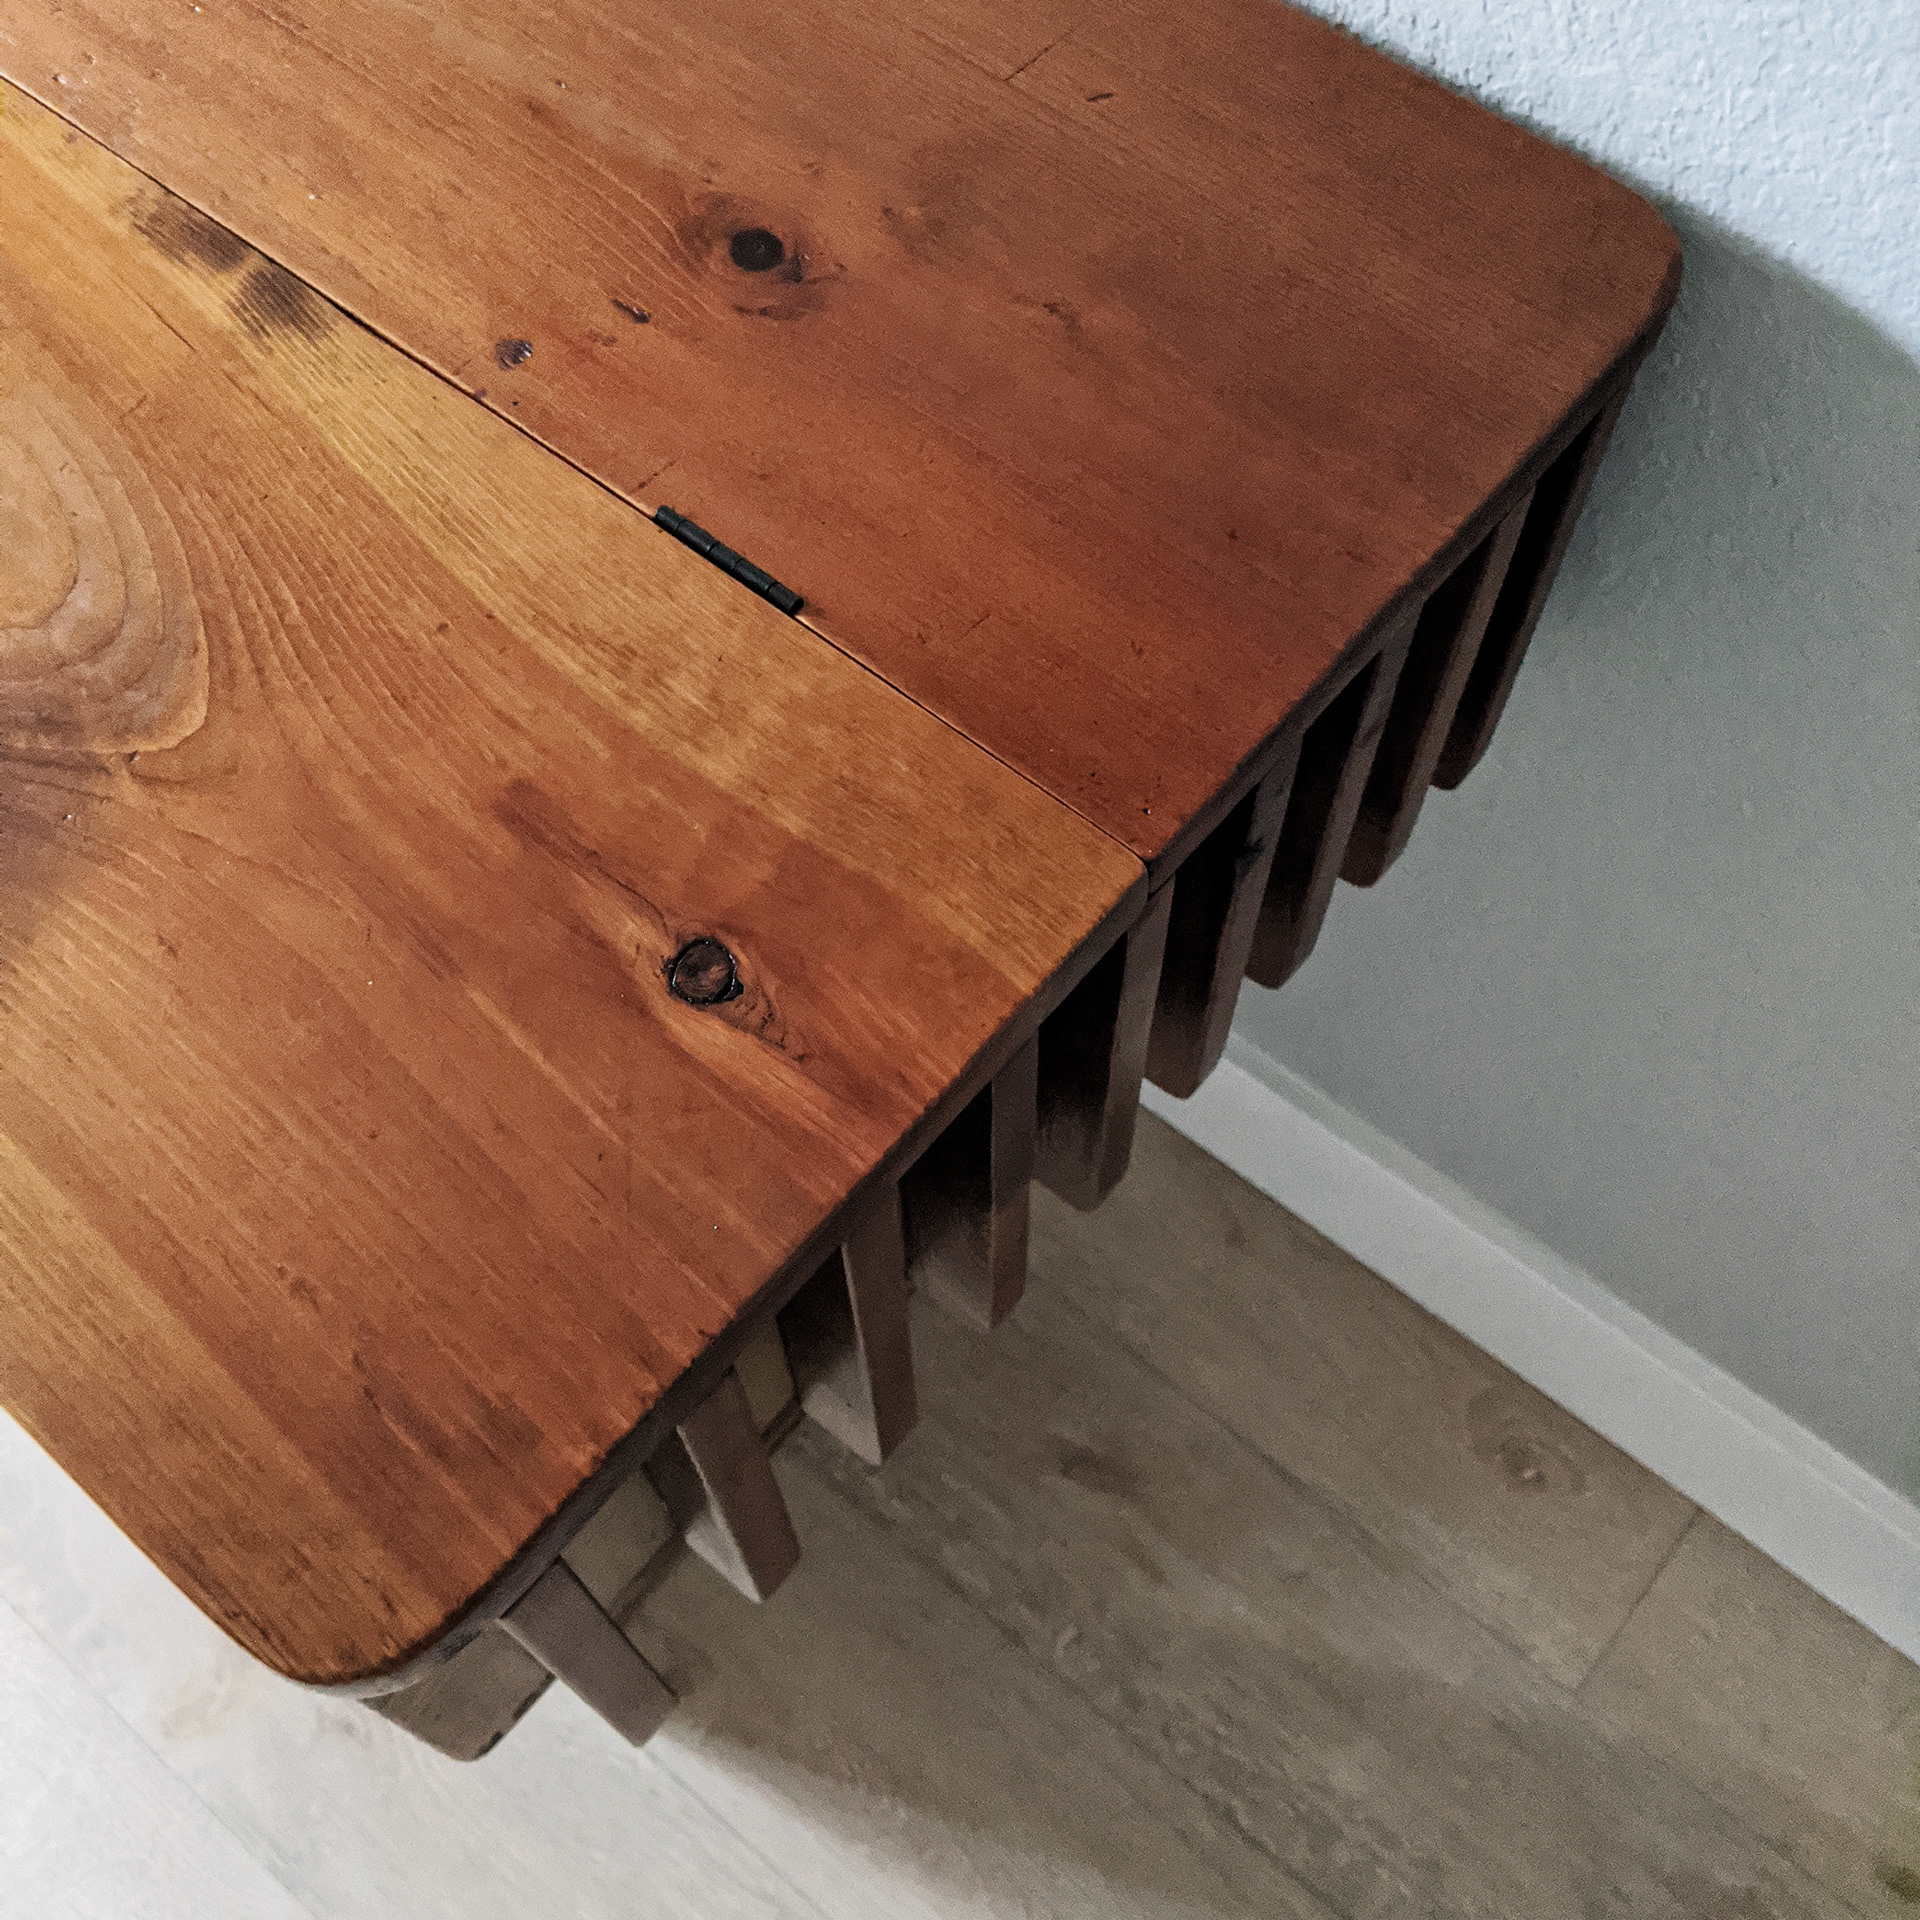
CU of hinges.

Front view, lid closed.
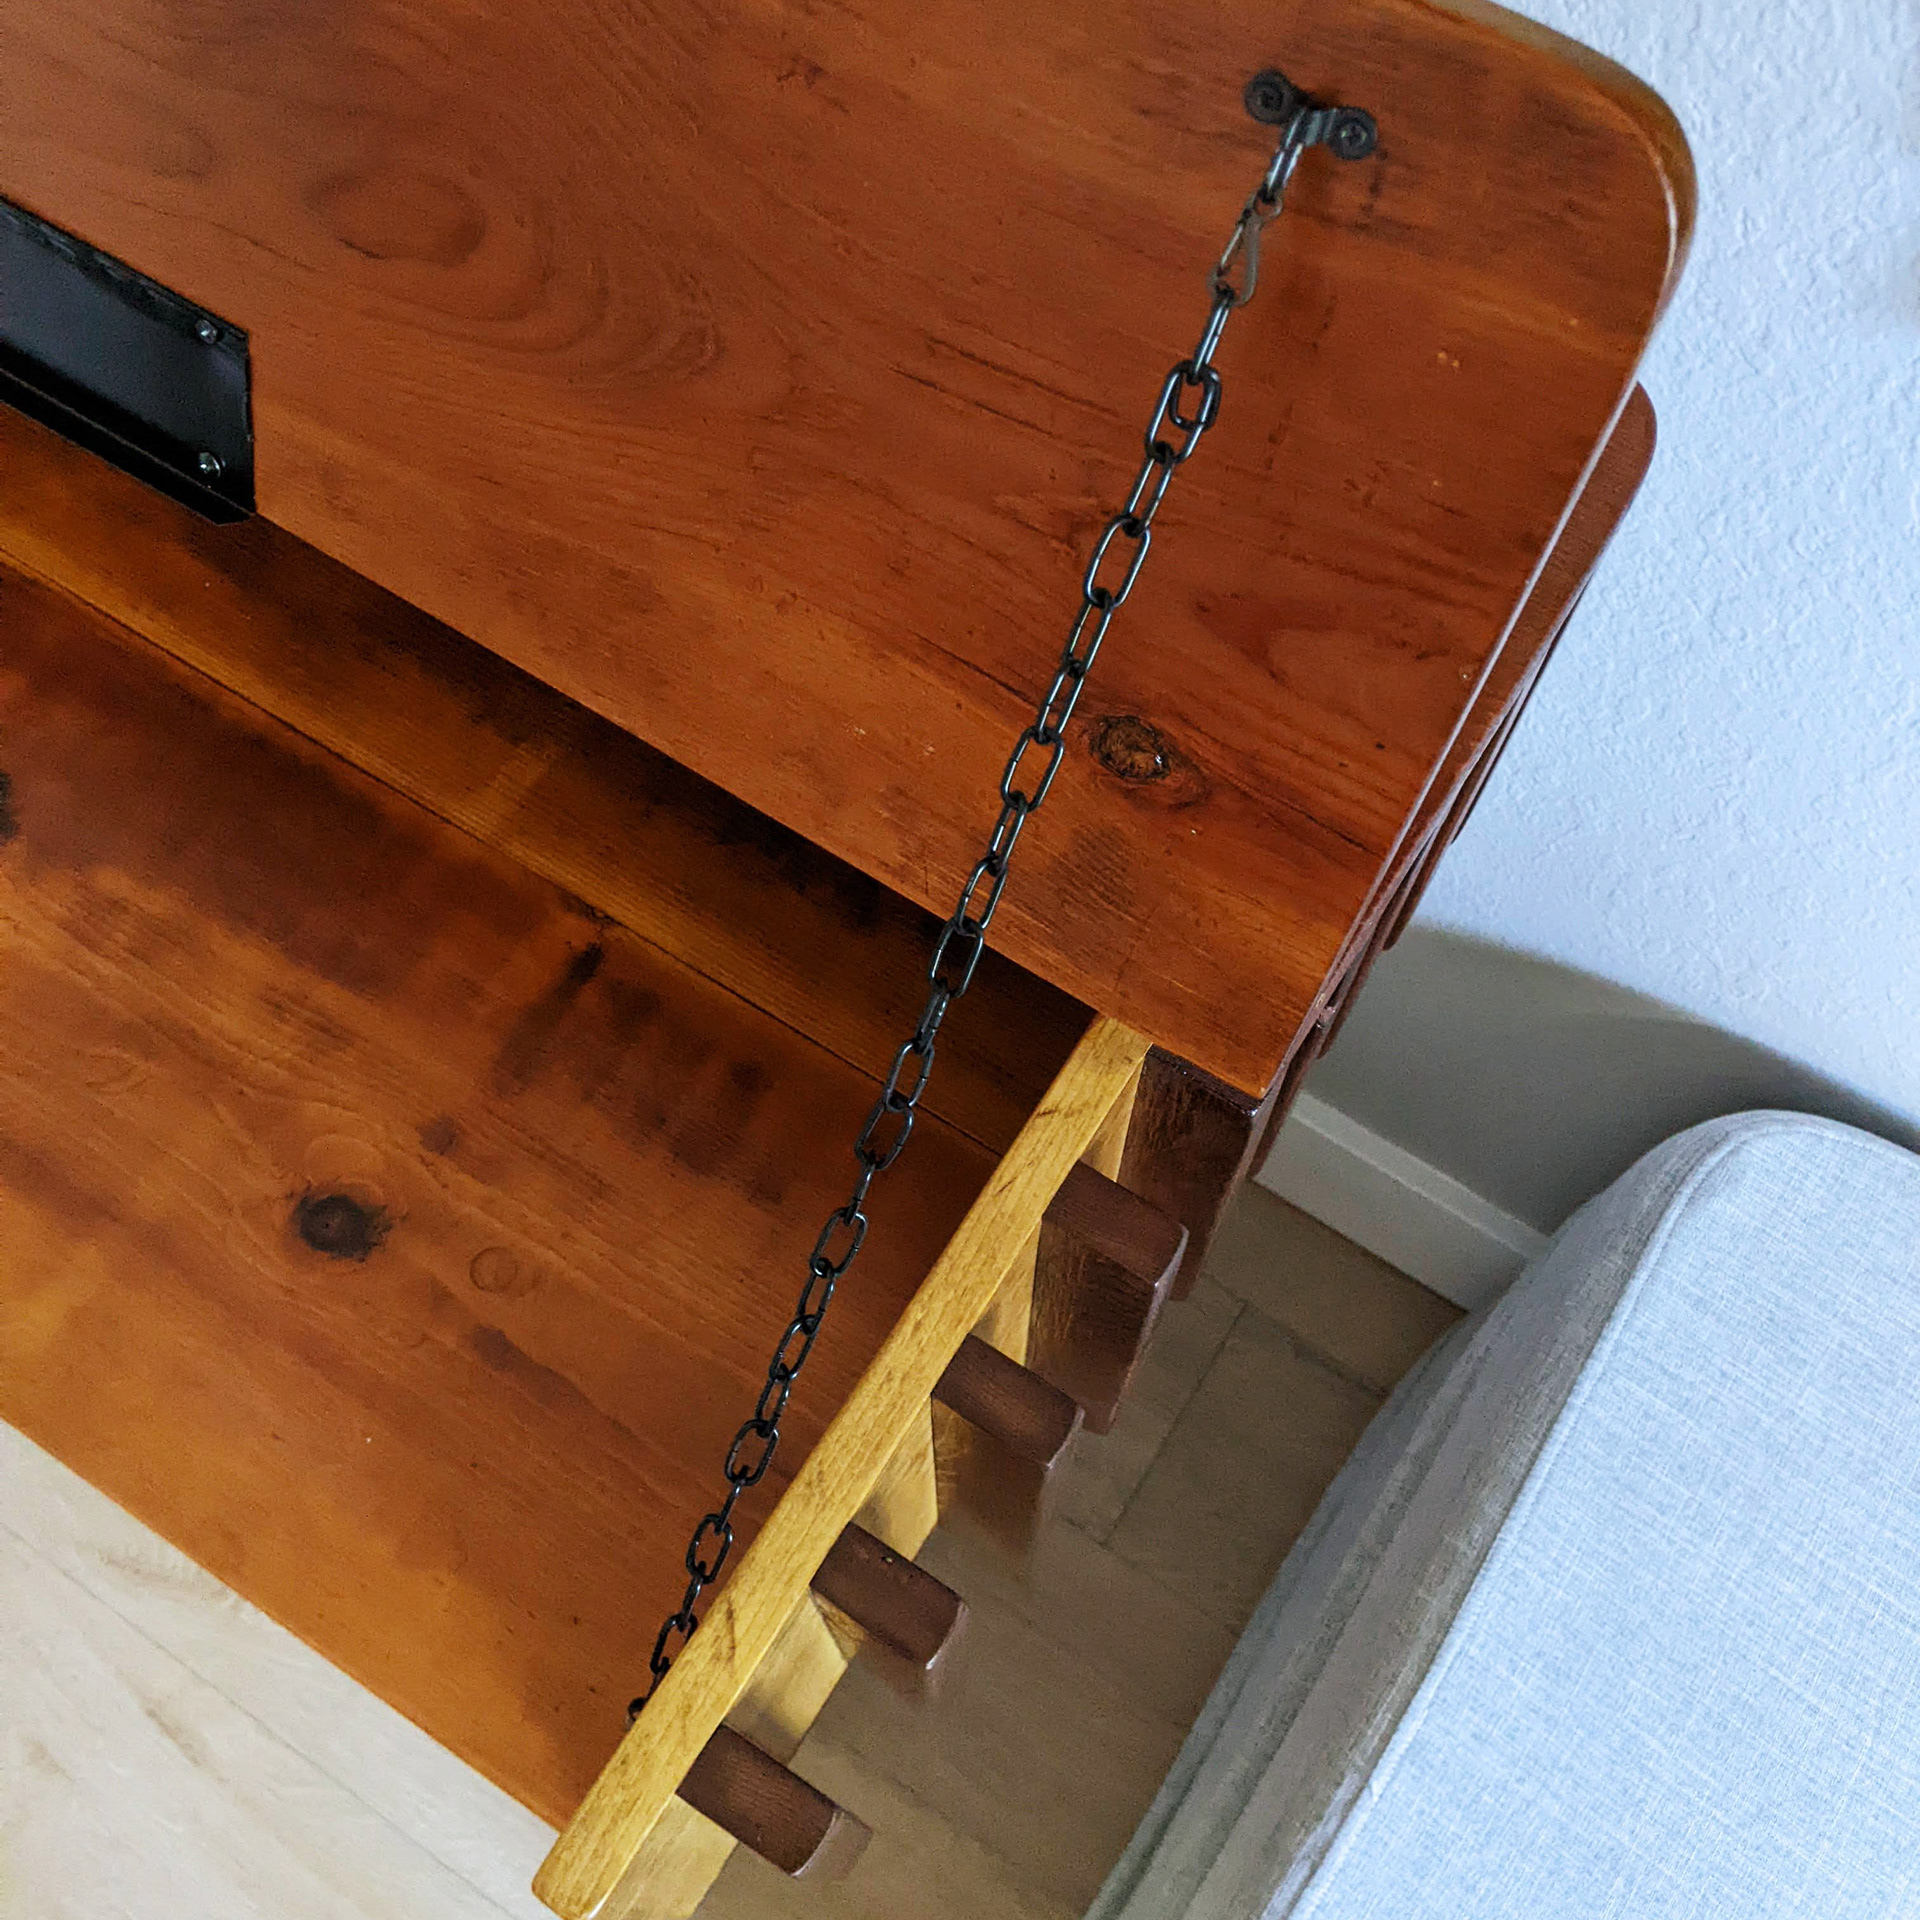
Chain for holding lid in music stand mode.
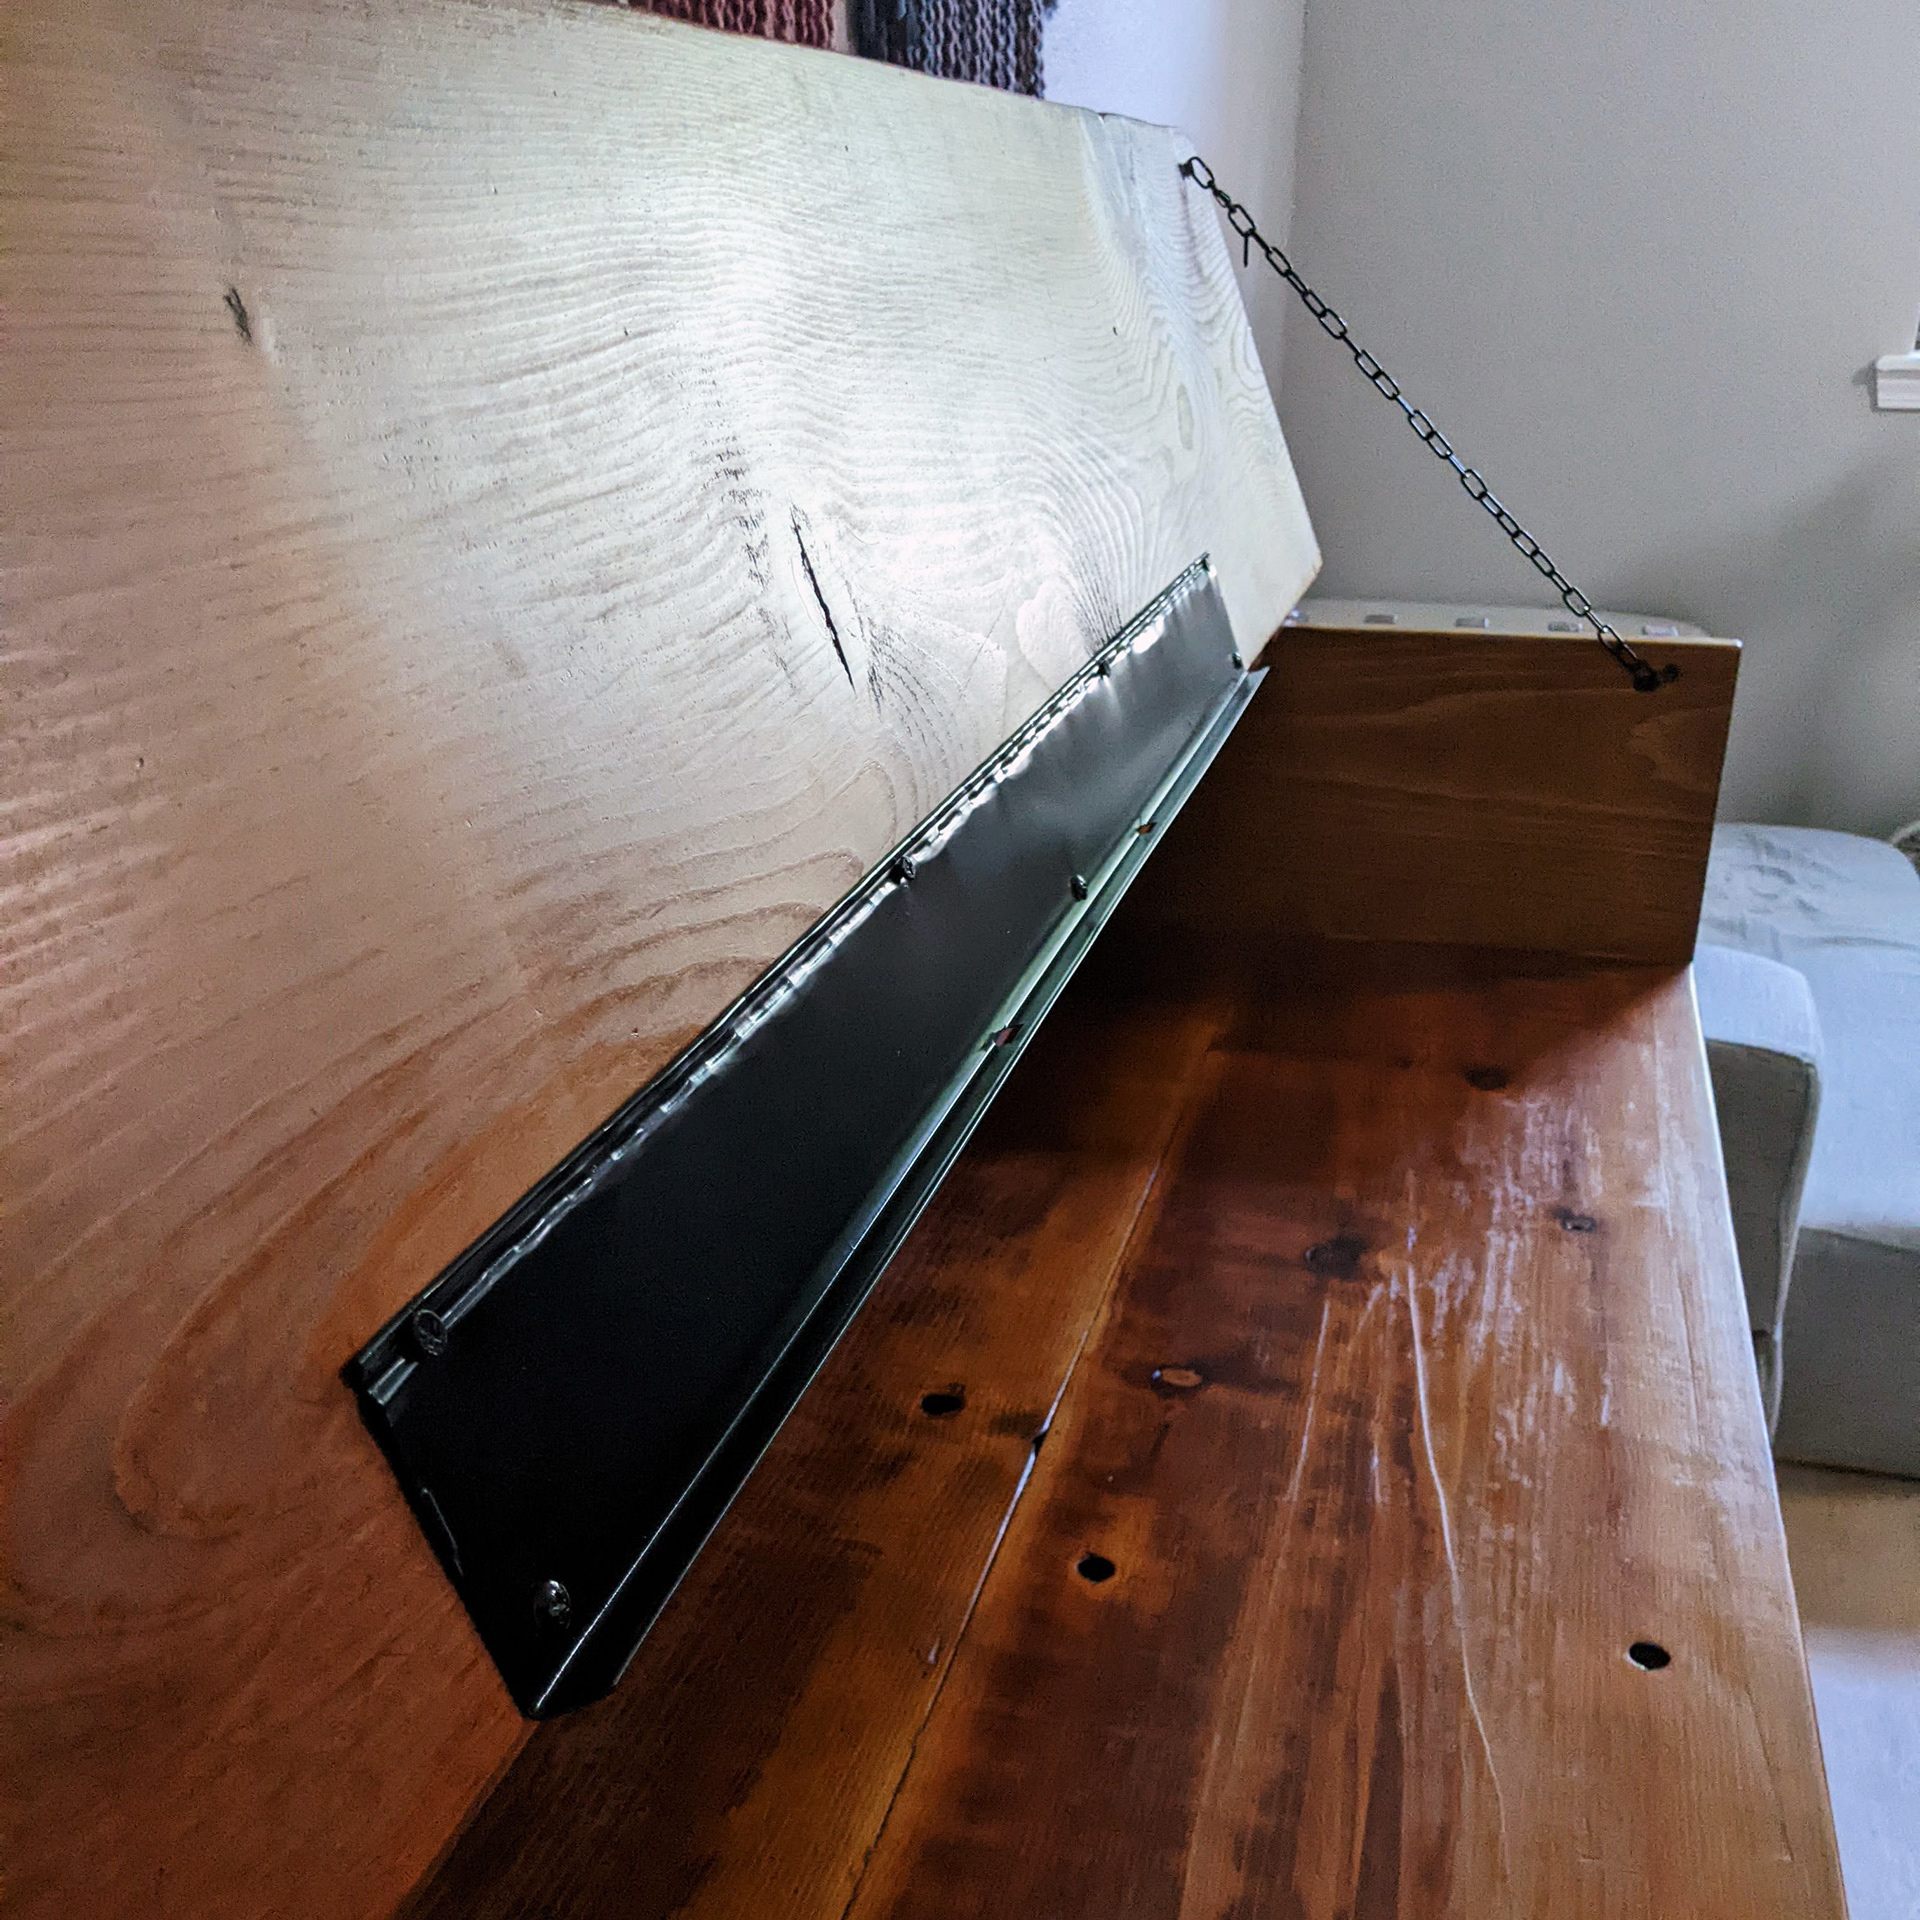
Scrap metal painted black and used as music stand.
The Design Process
There was no final drawing or 3D plan for this table. It was just made up on the go.
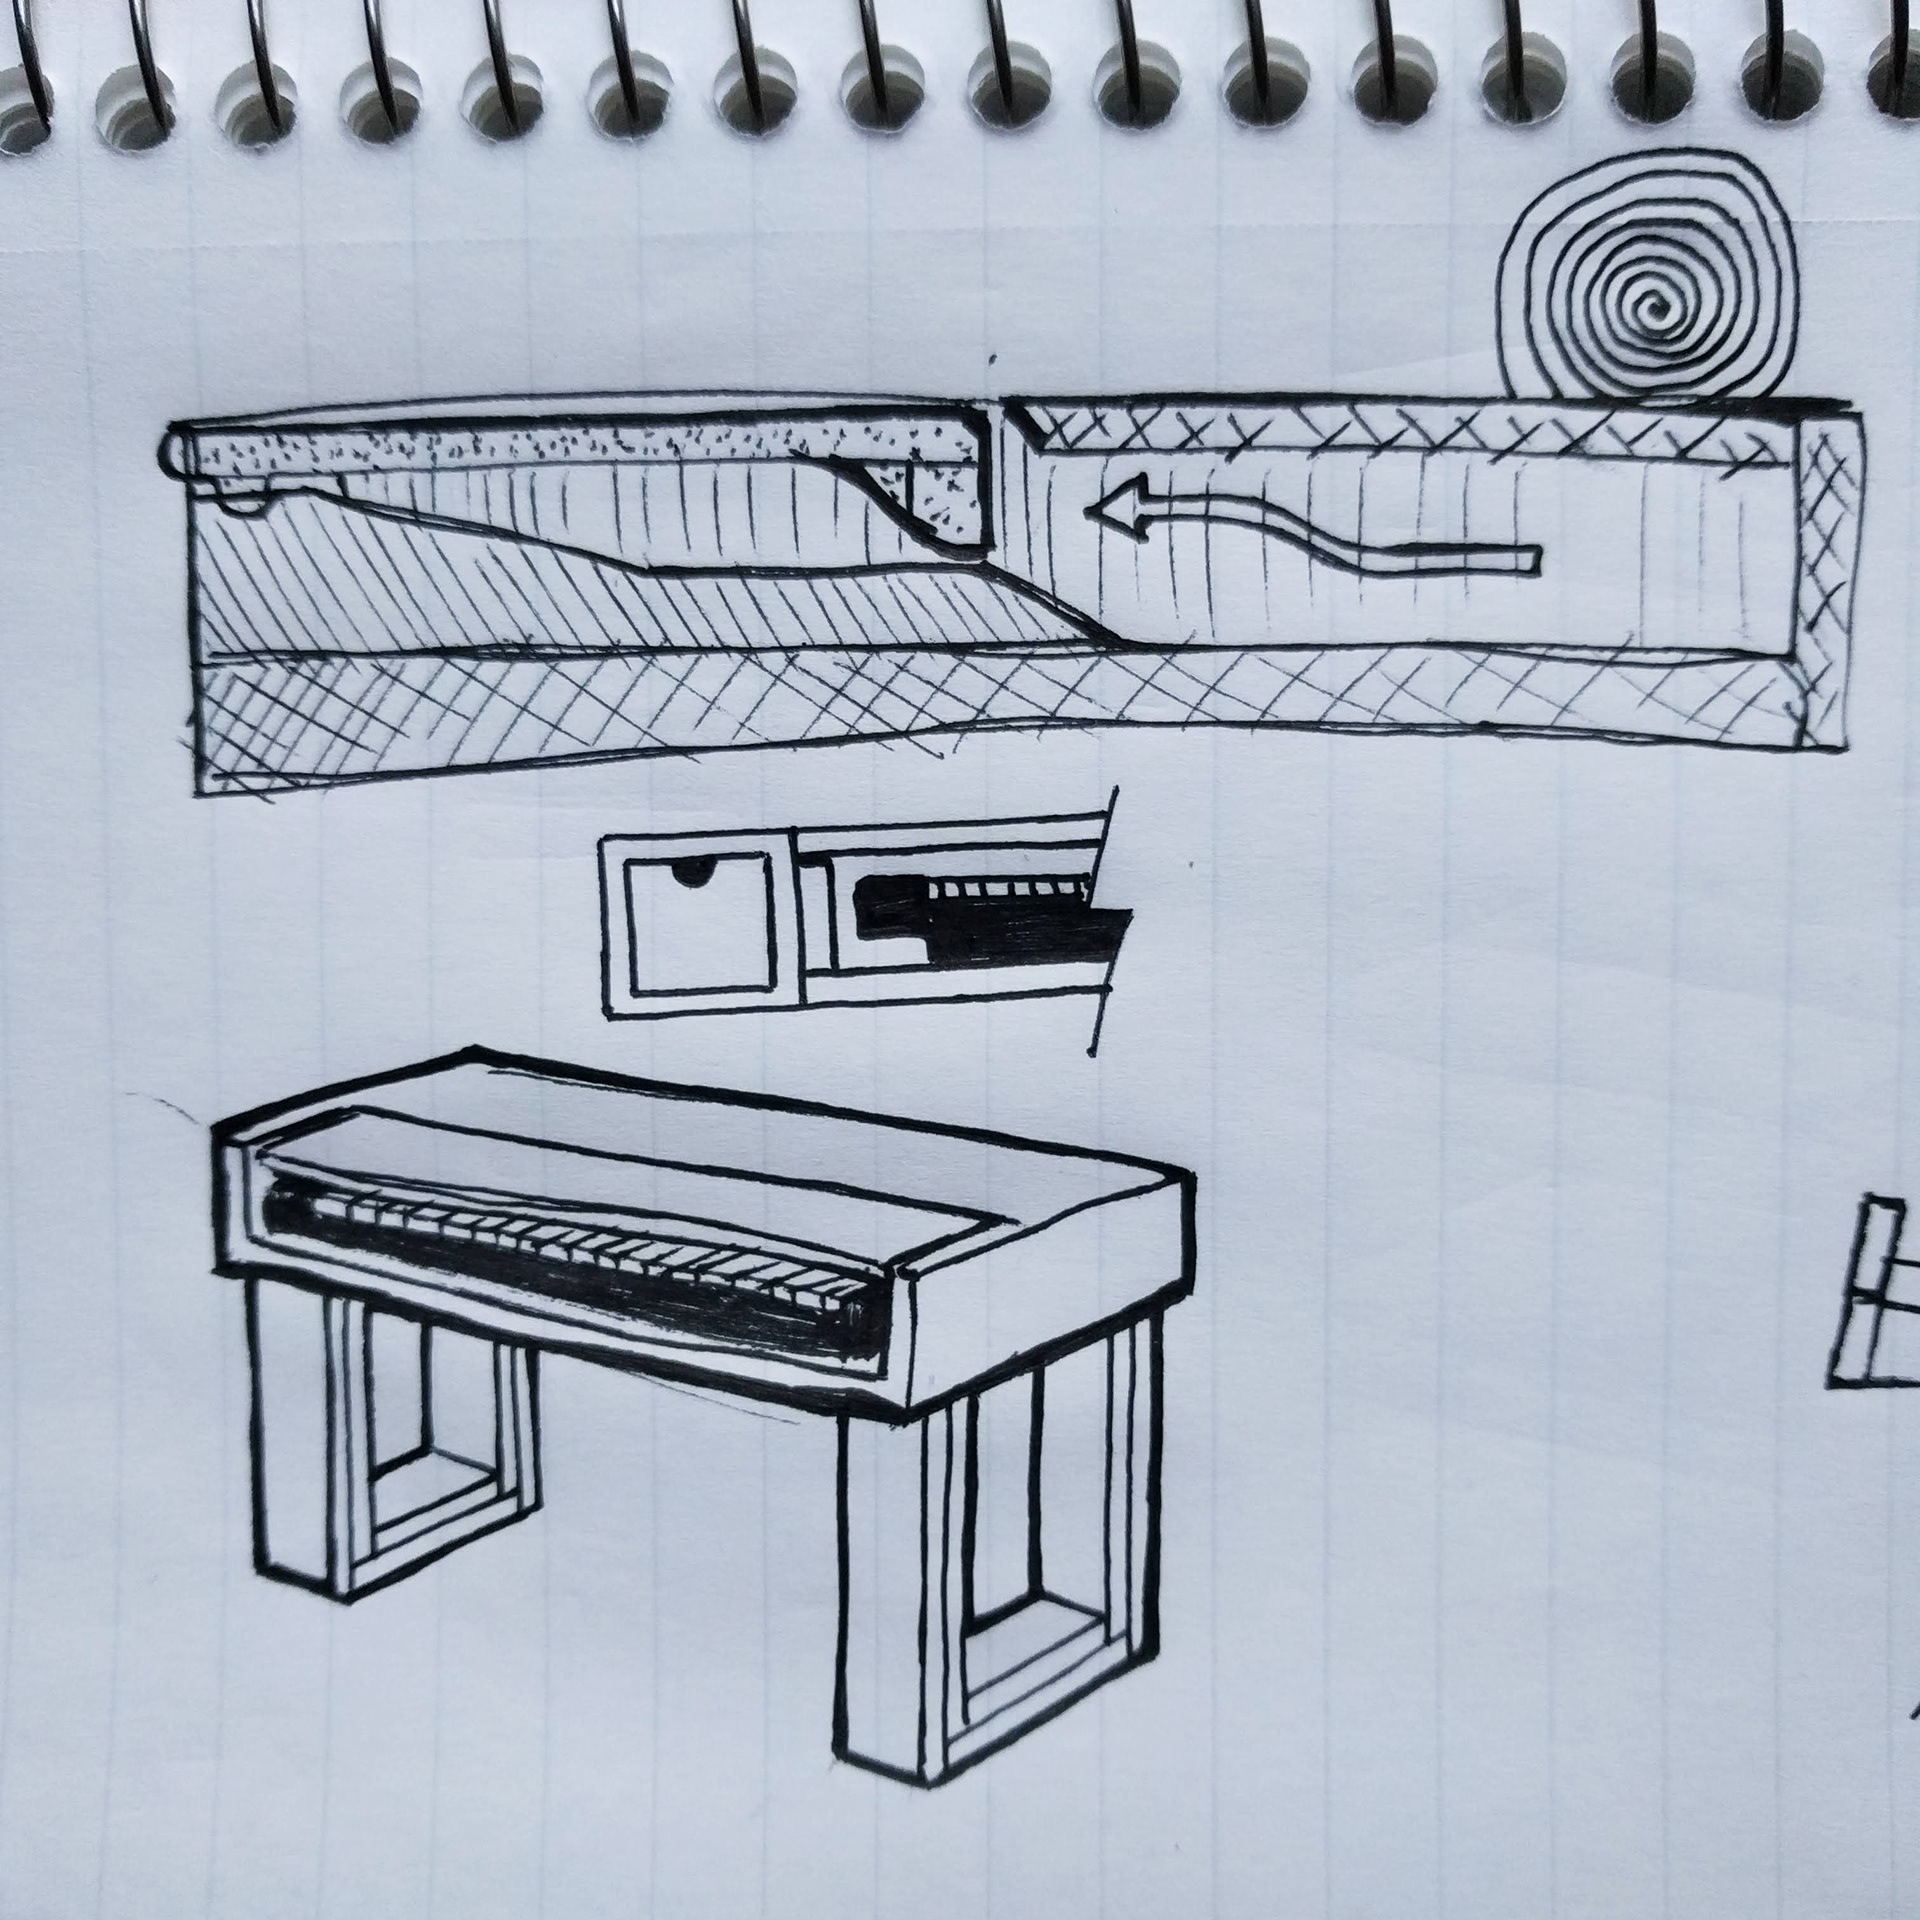
Early design sketch before deciding to go with a fold out music stand.
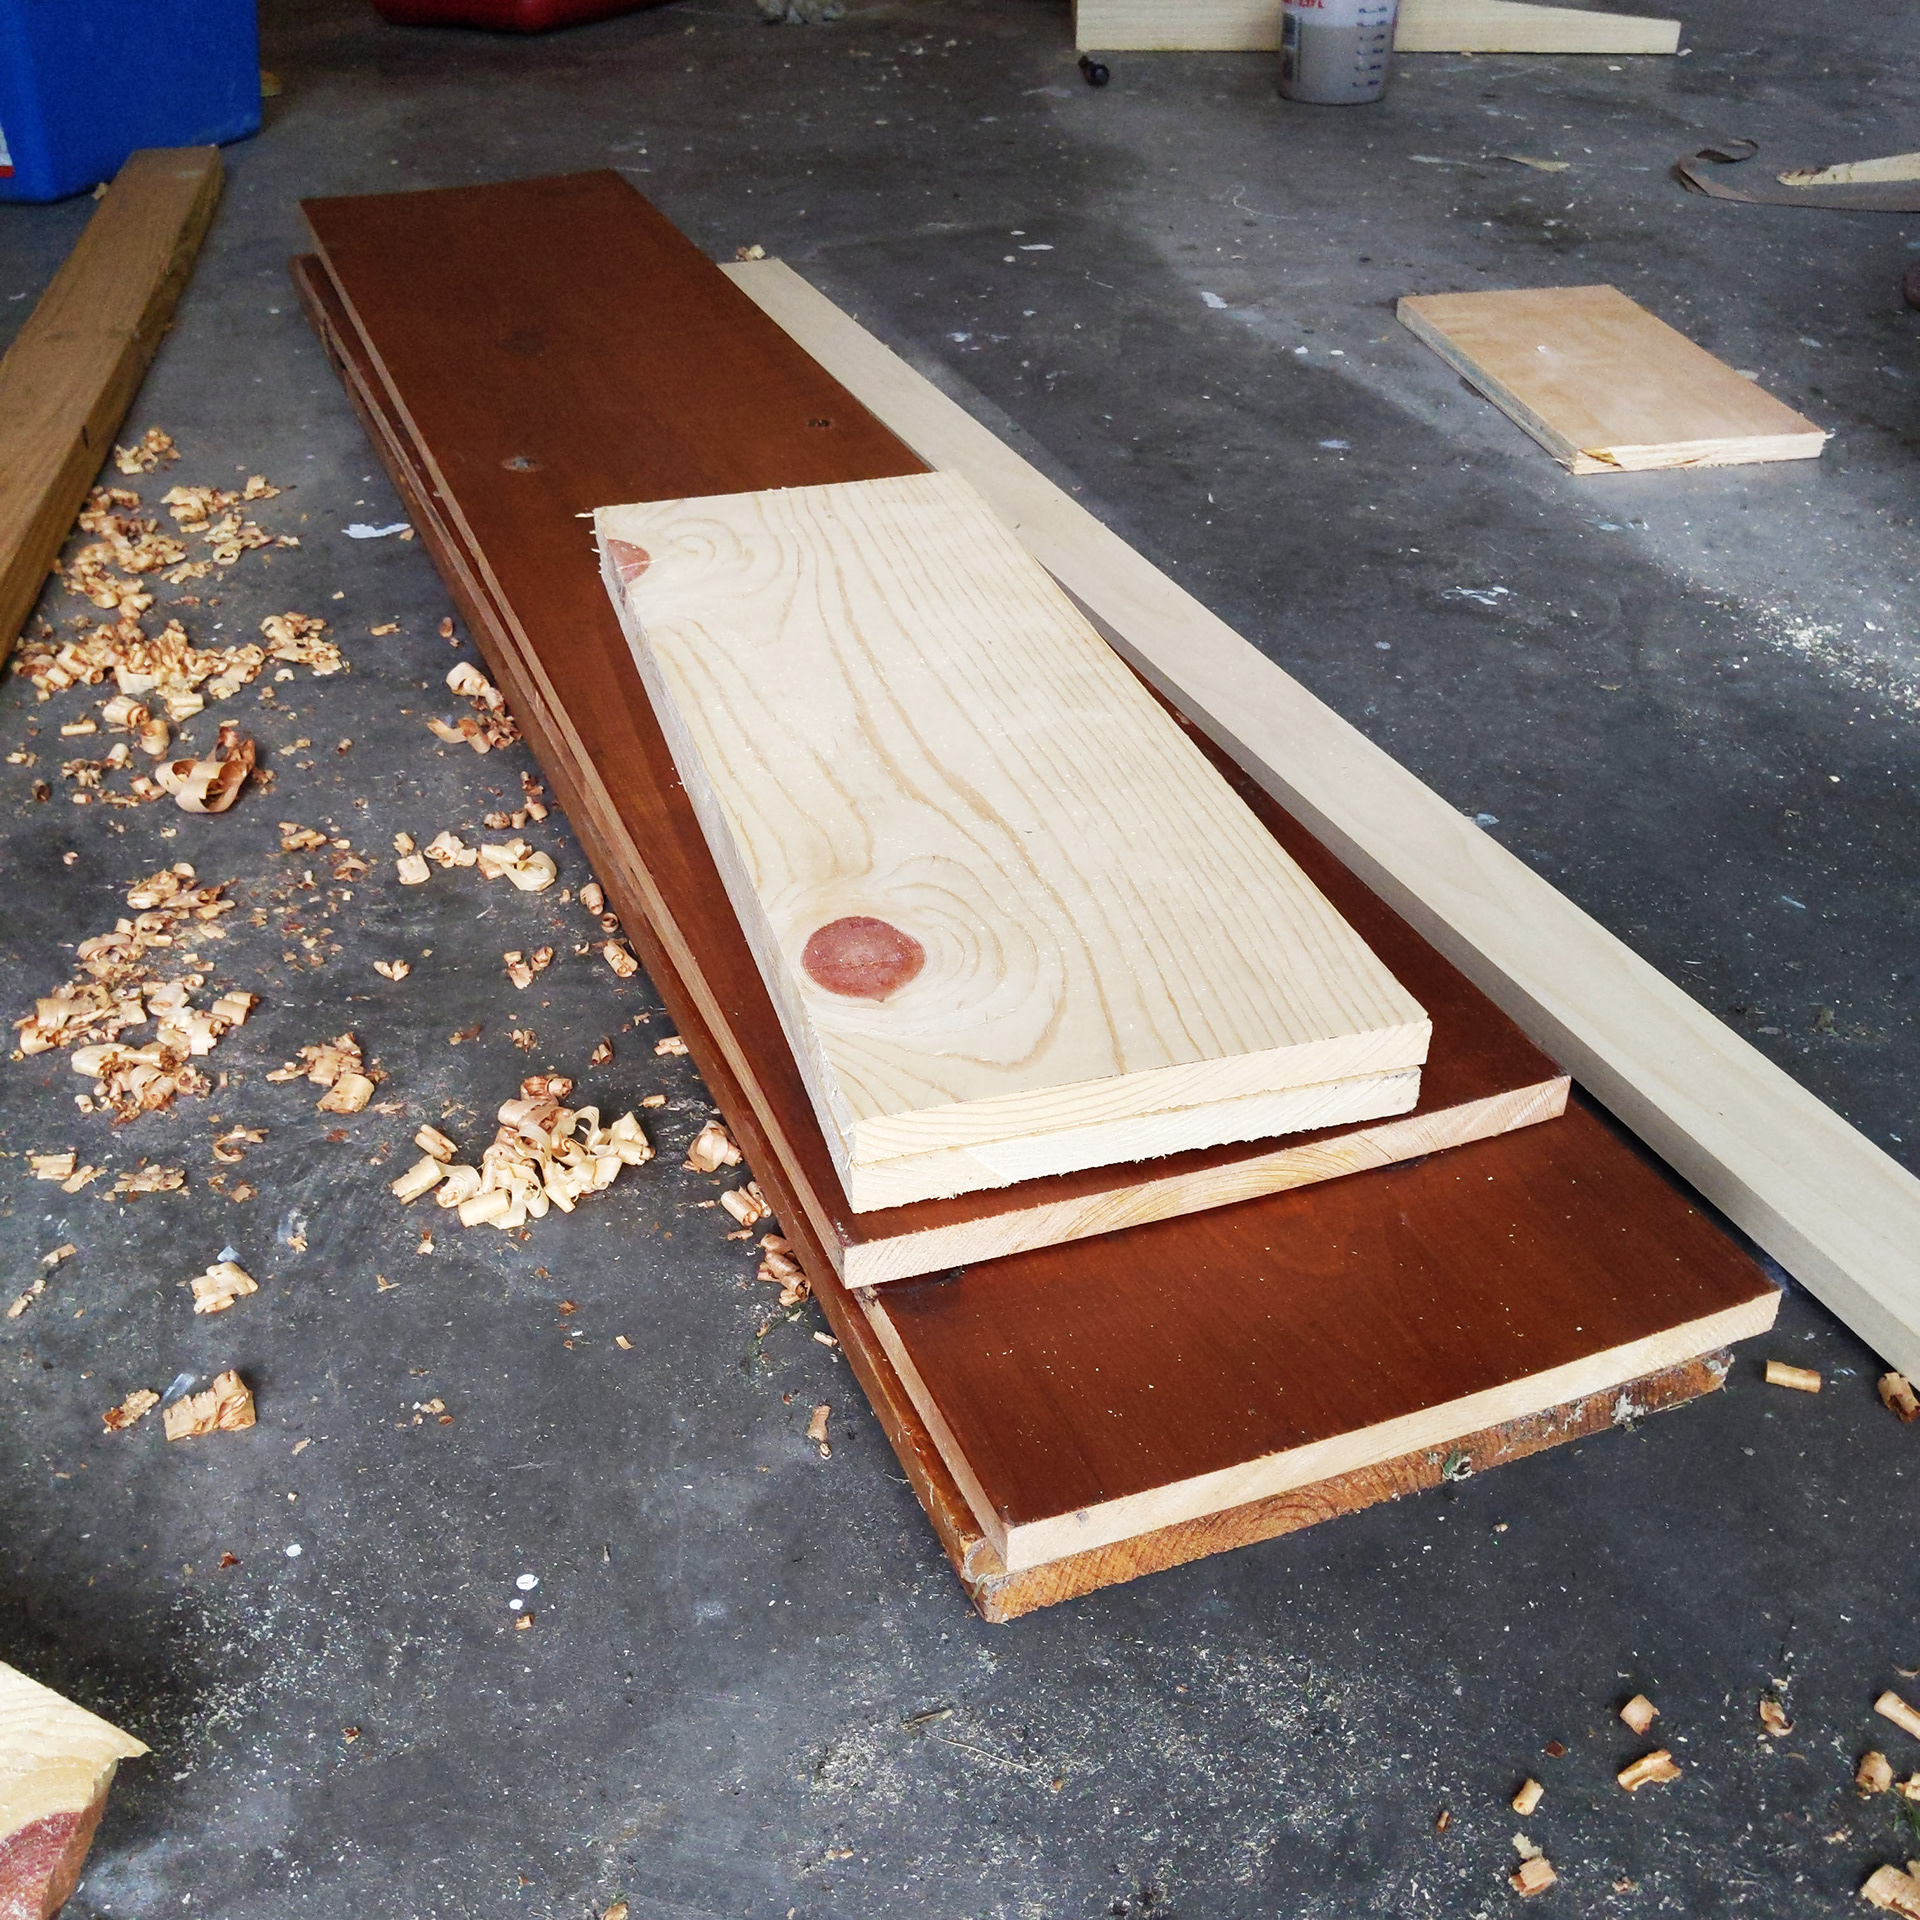
Cutting the pieces from scrap wood.
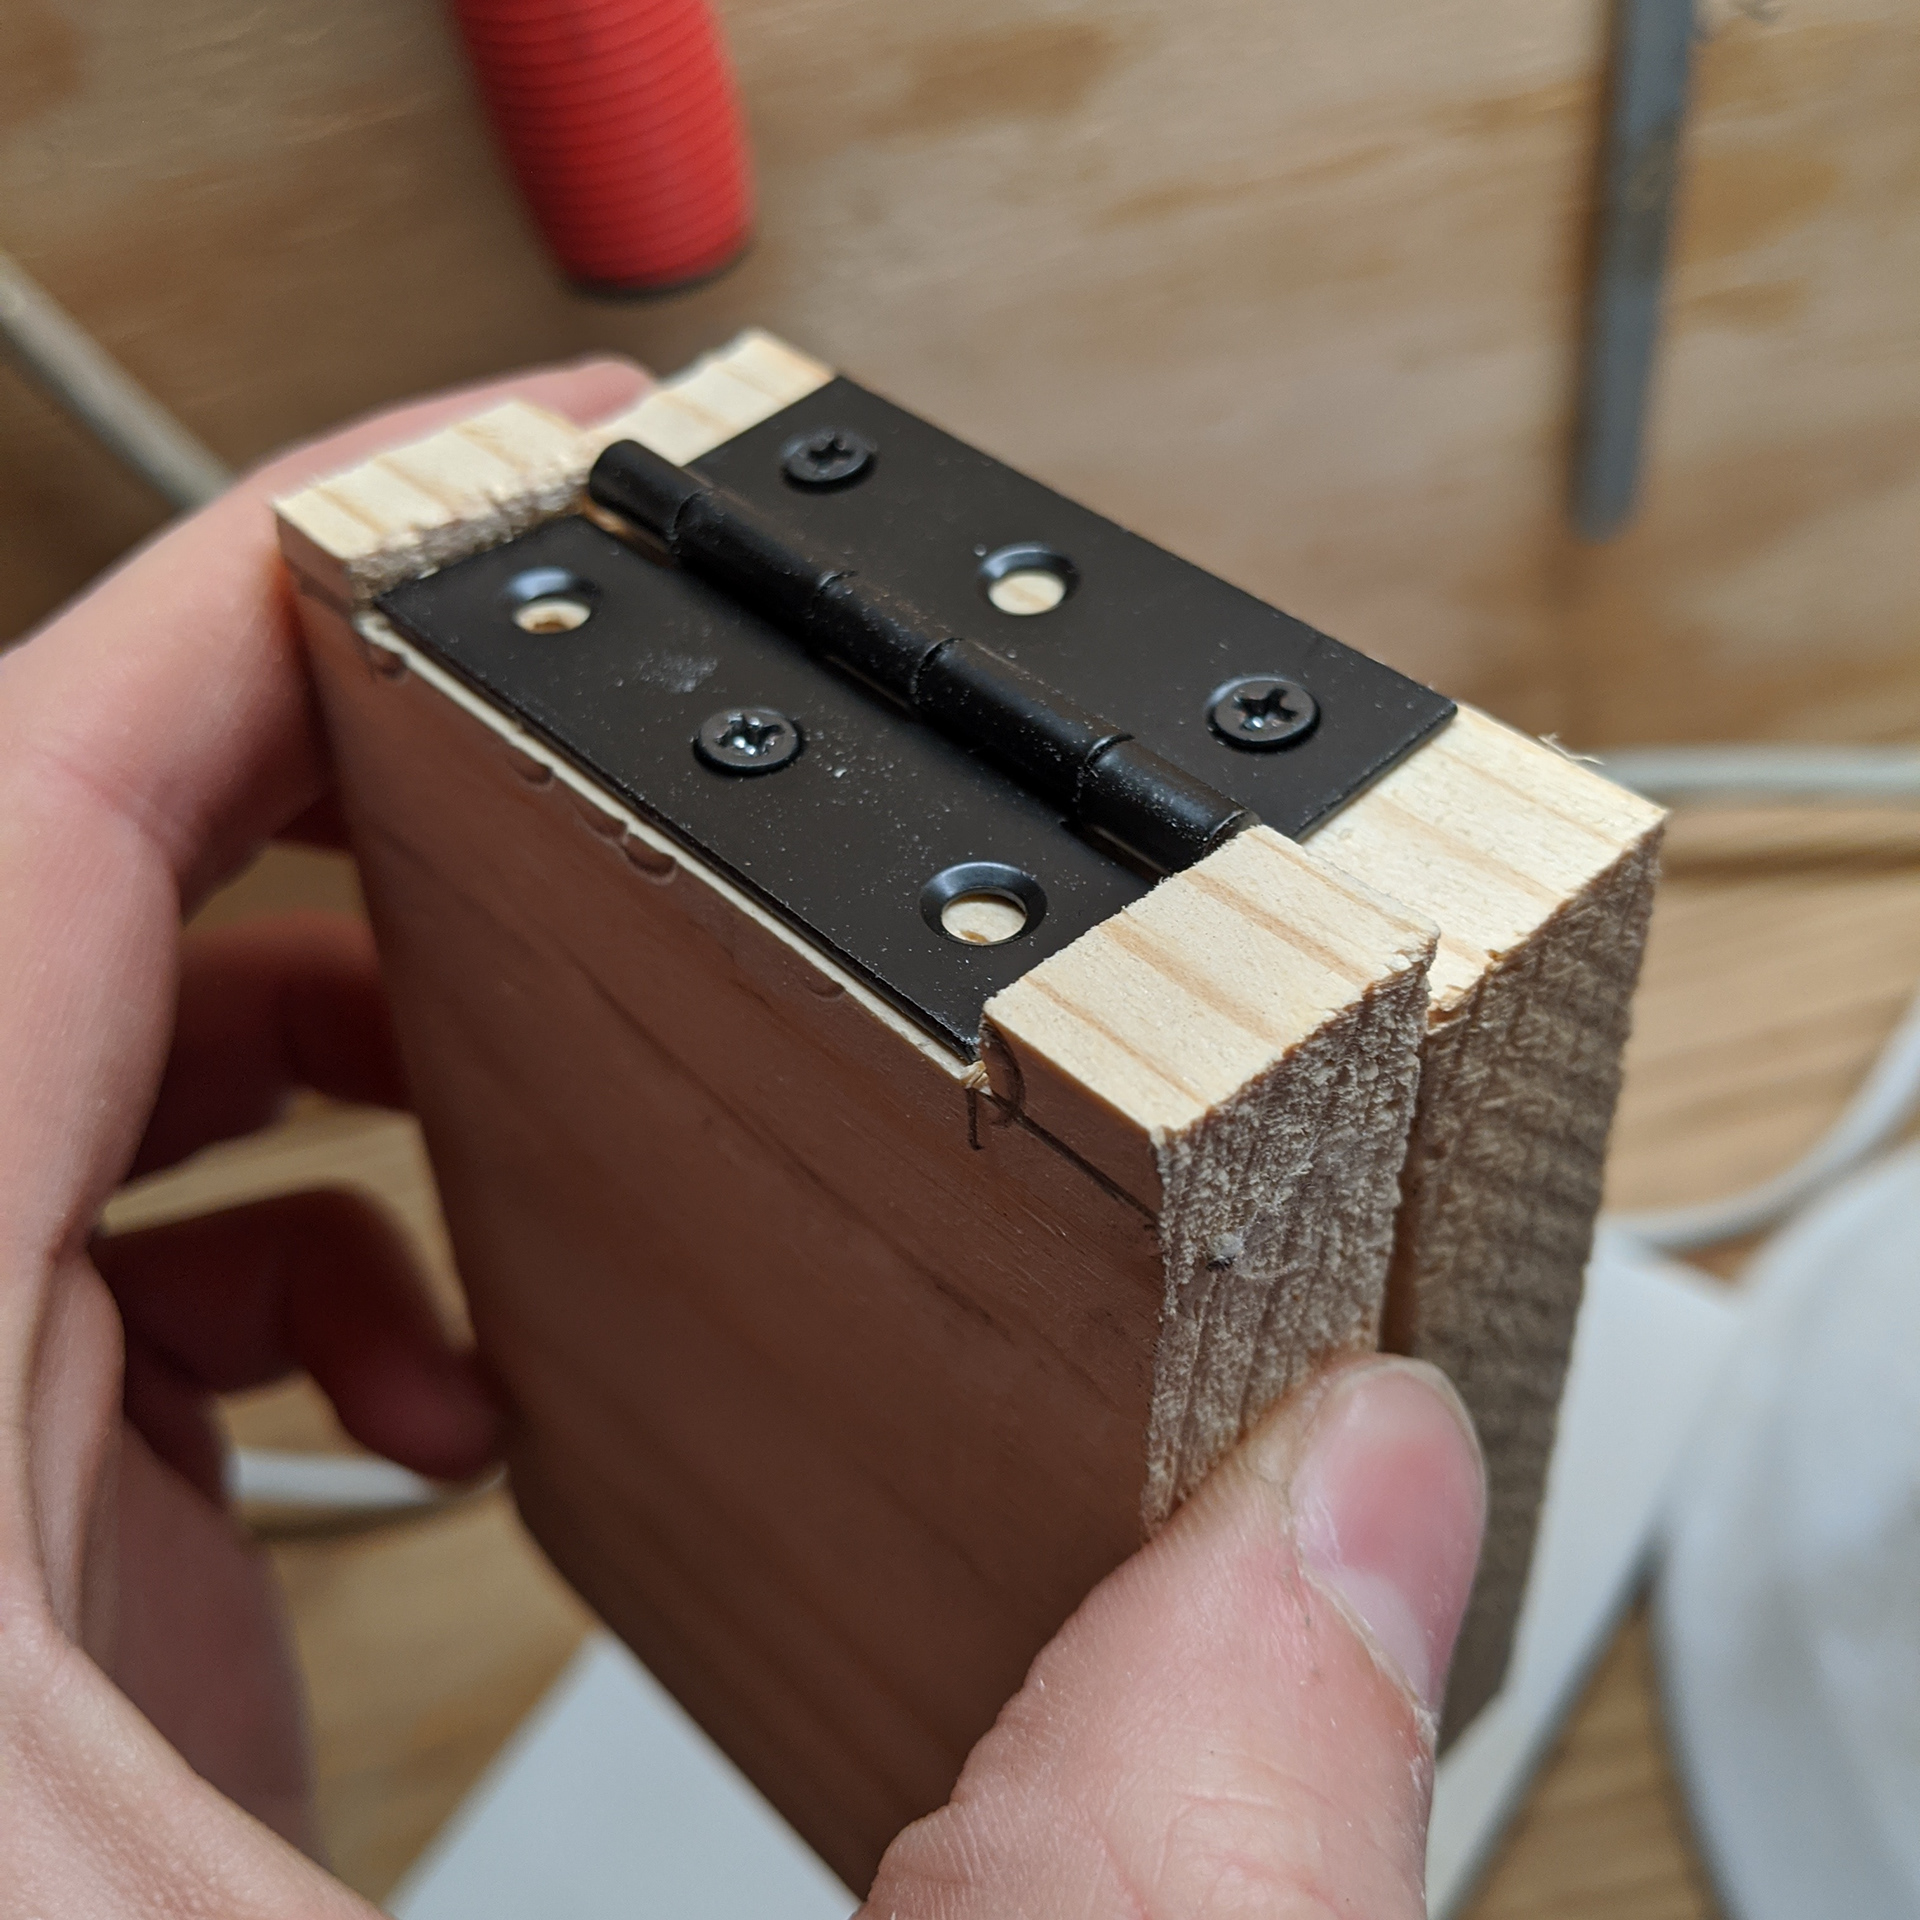
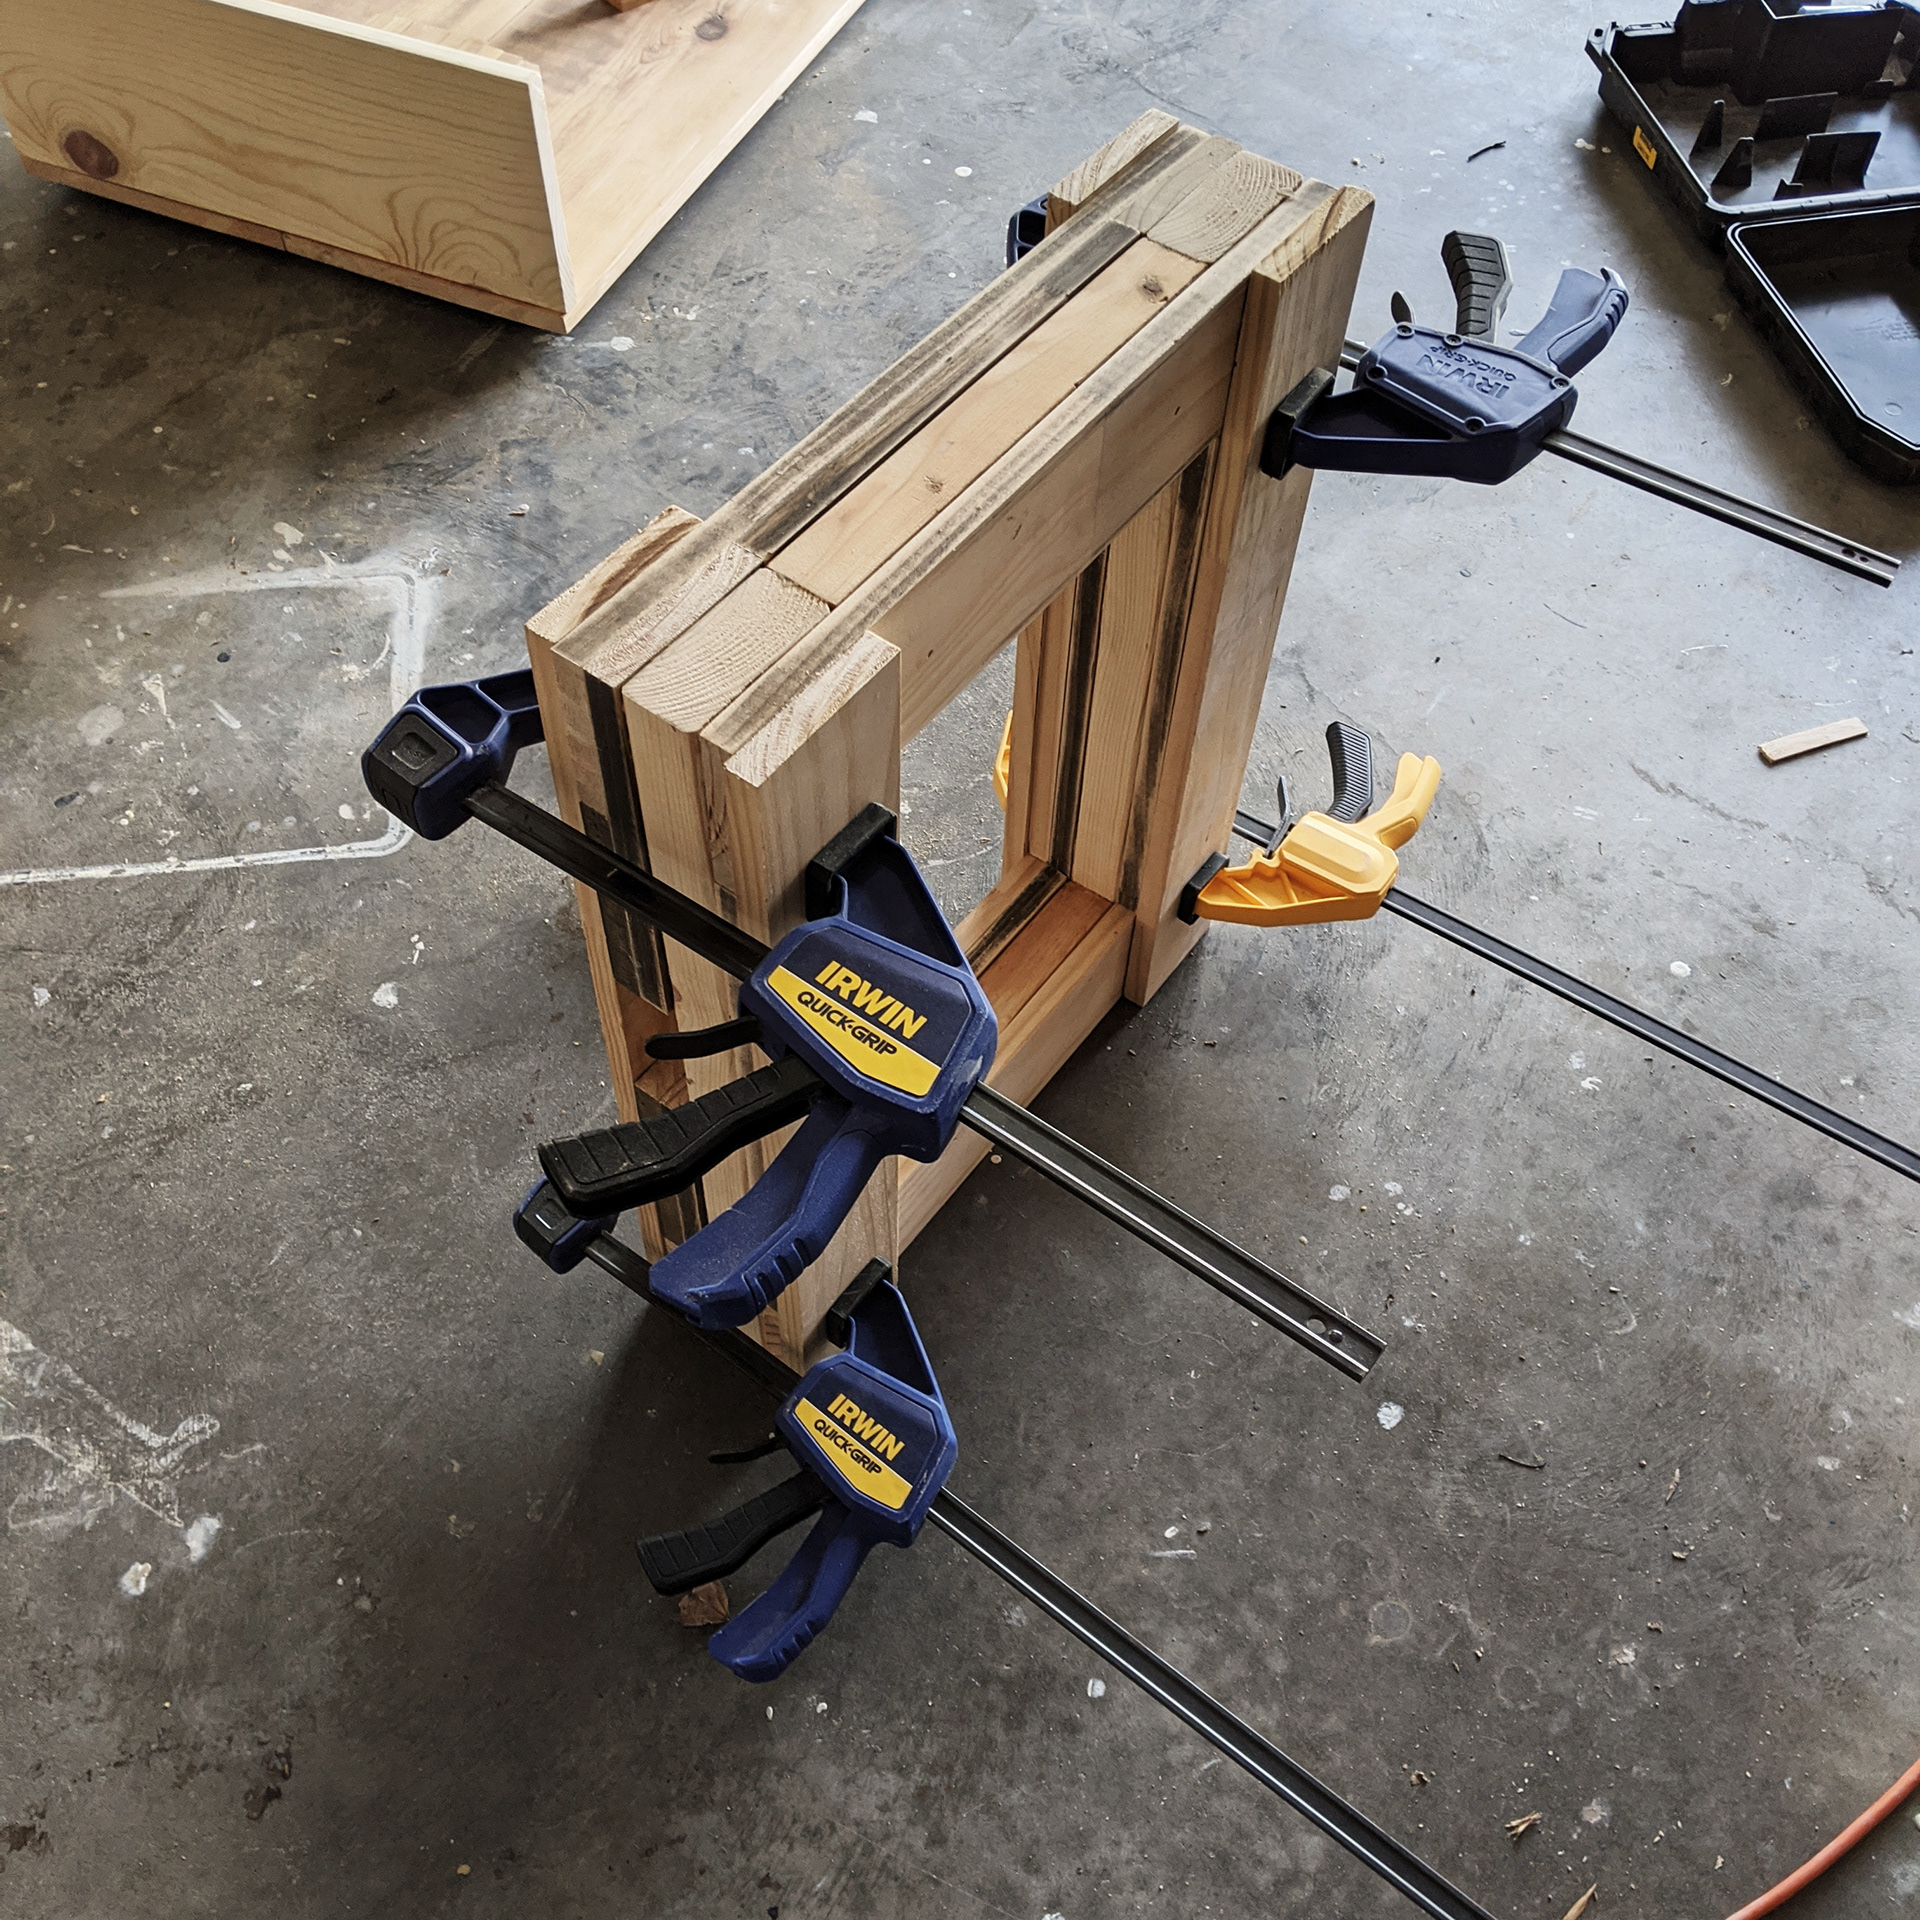
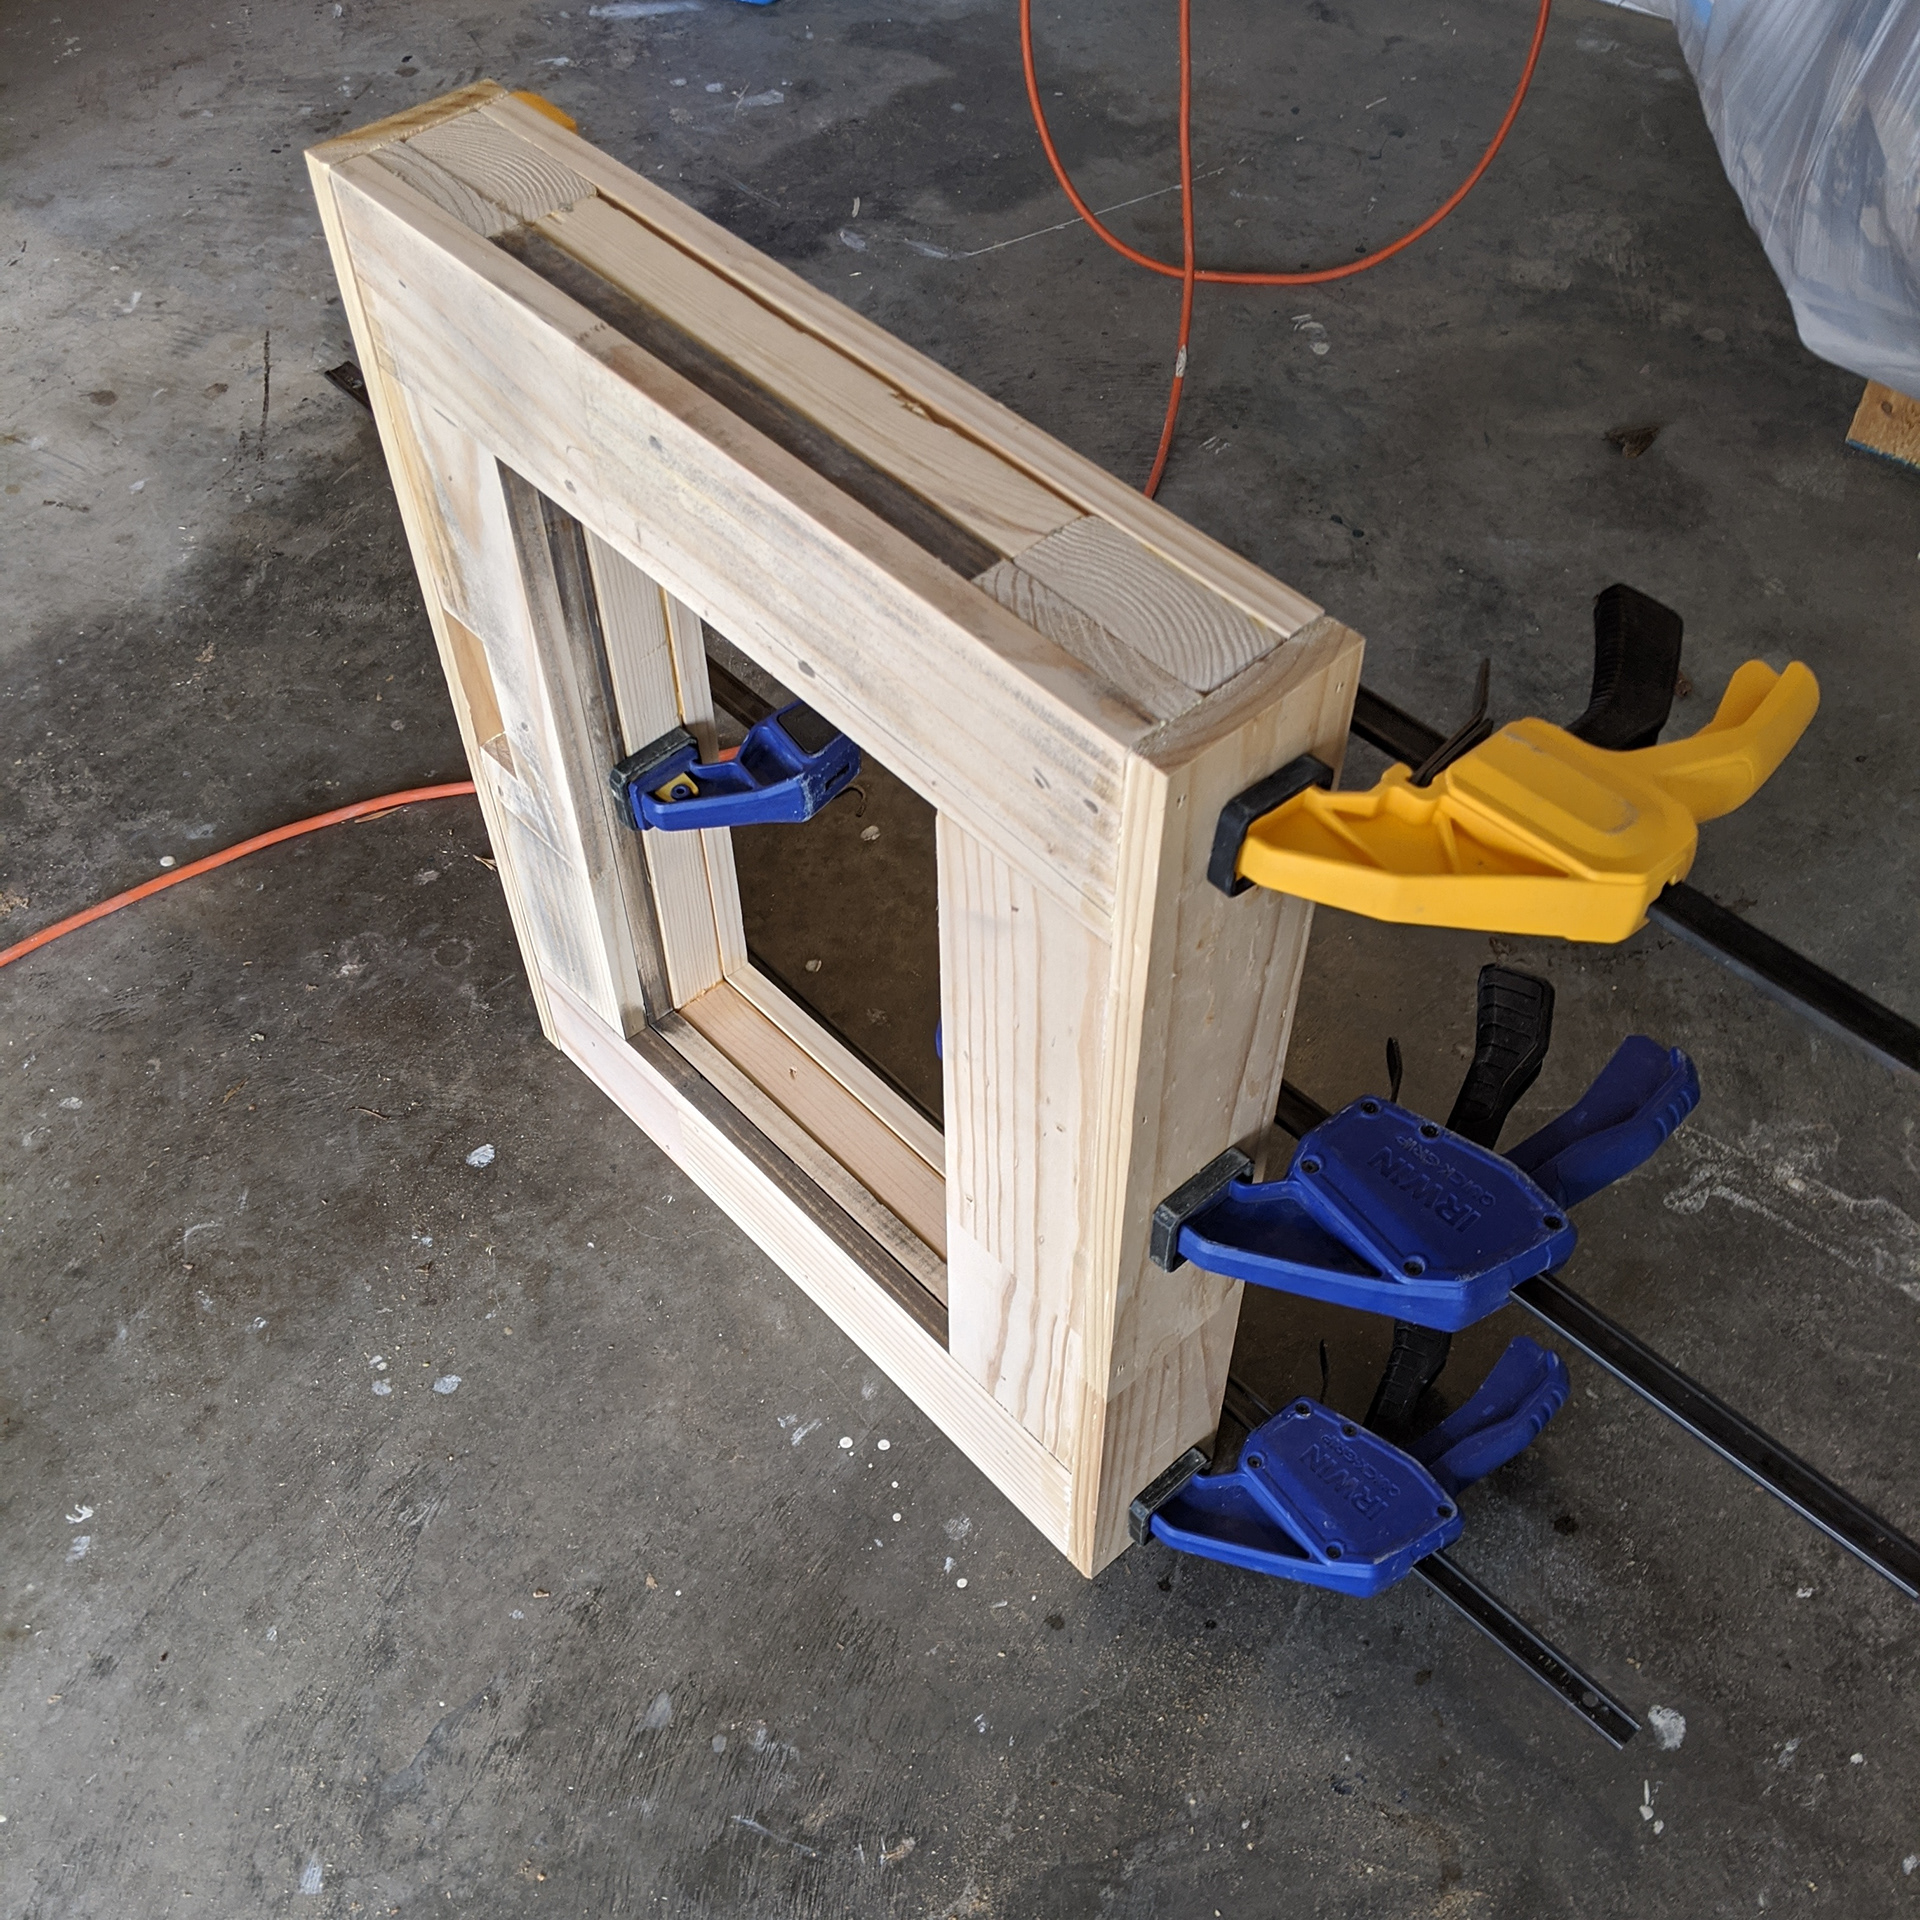
Prototype test of the hinge position.
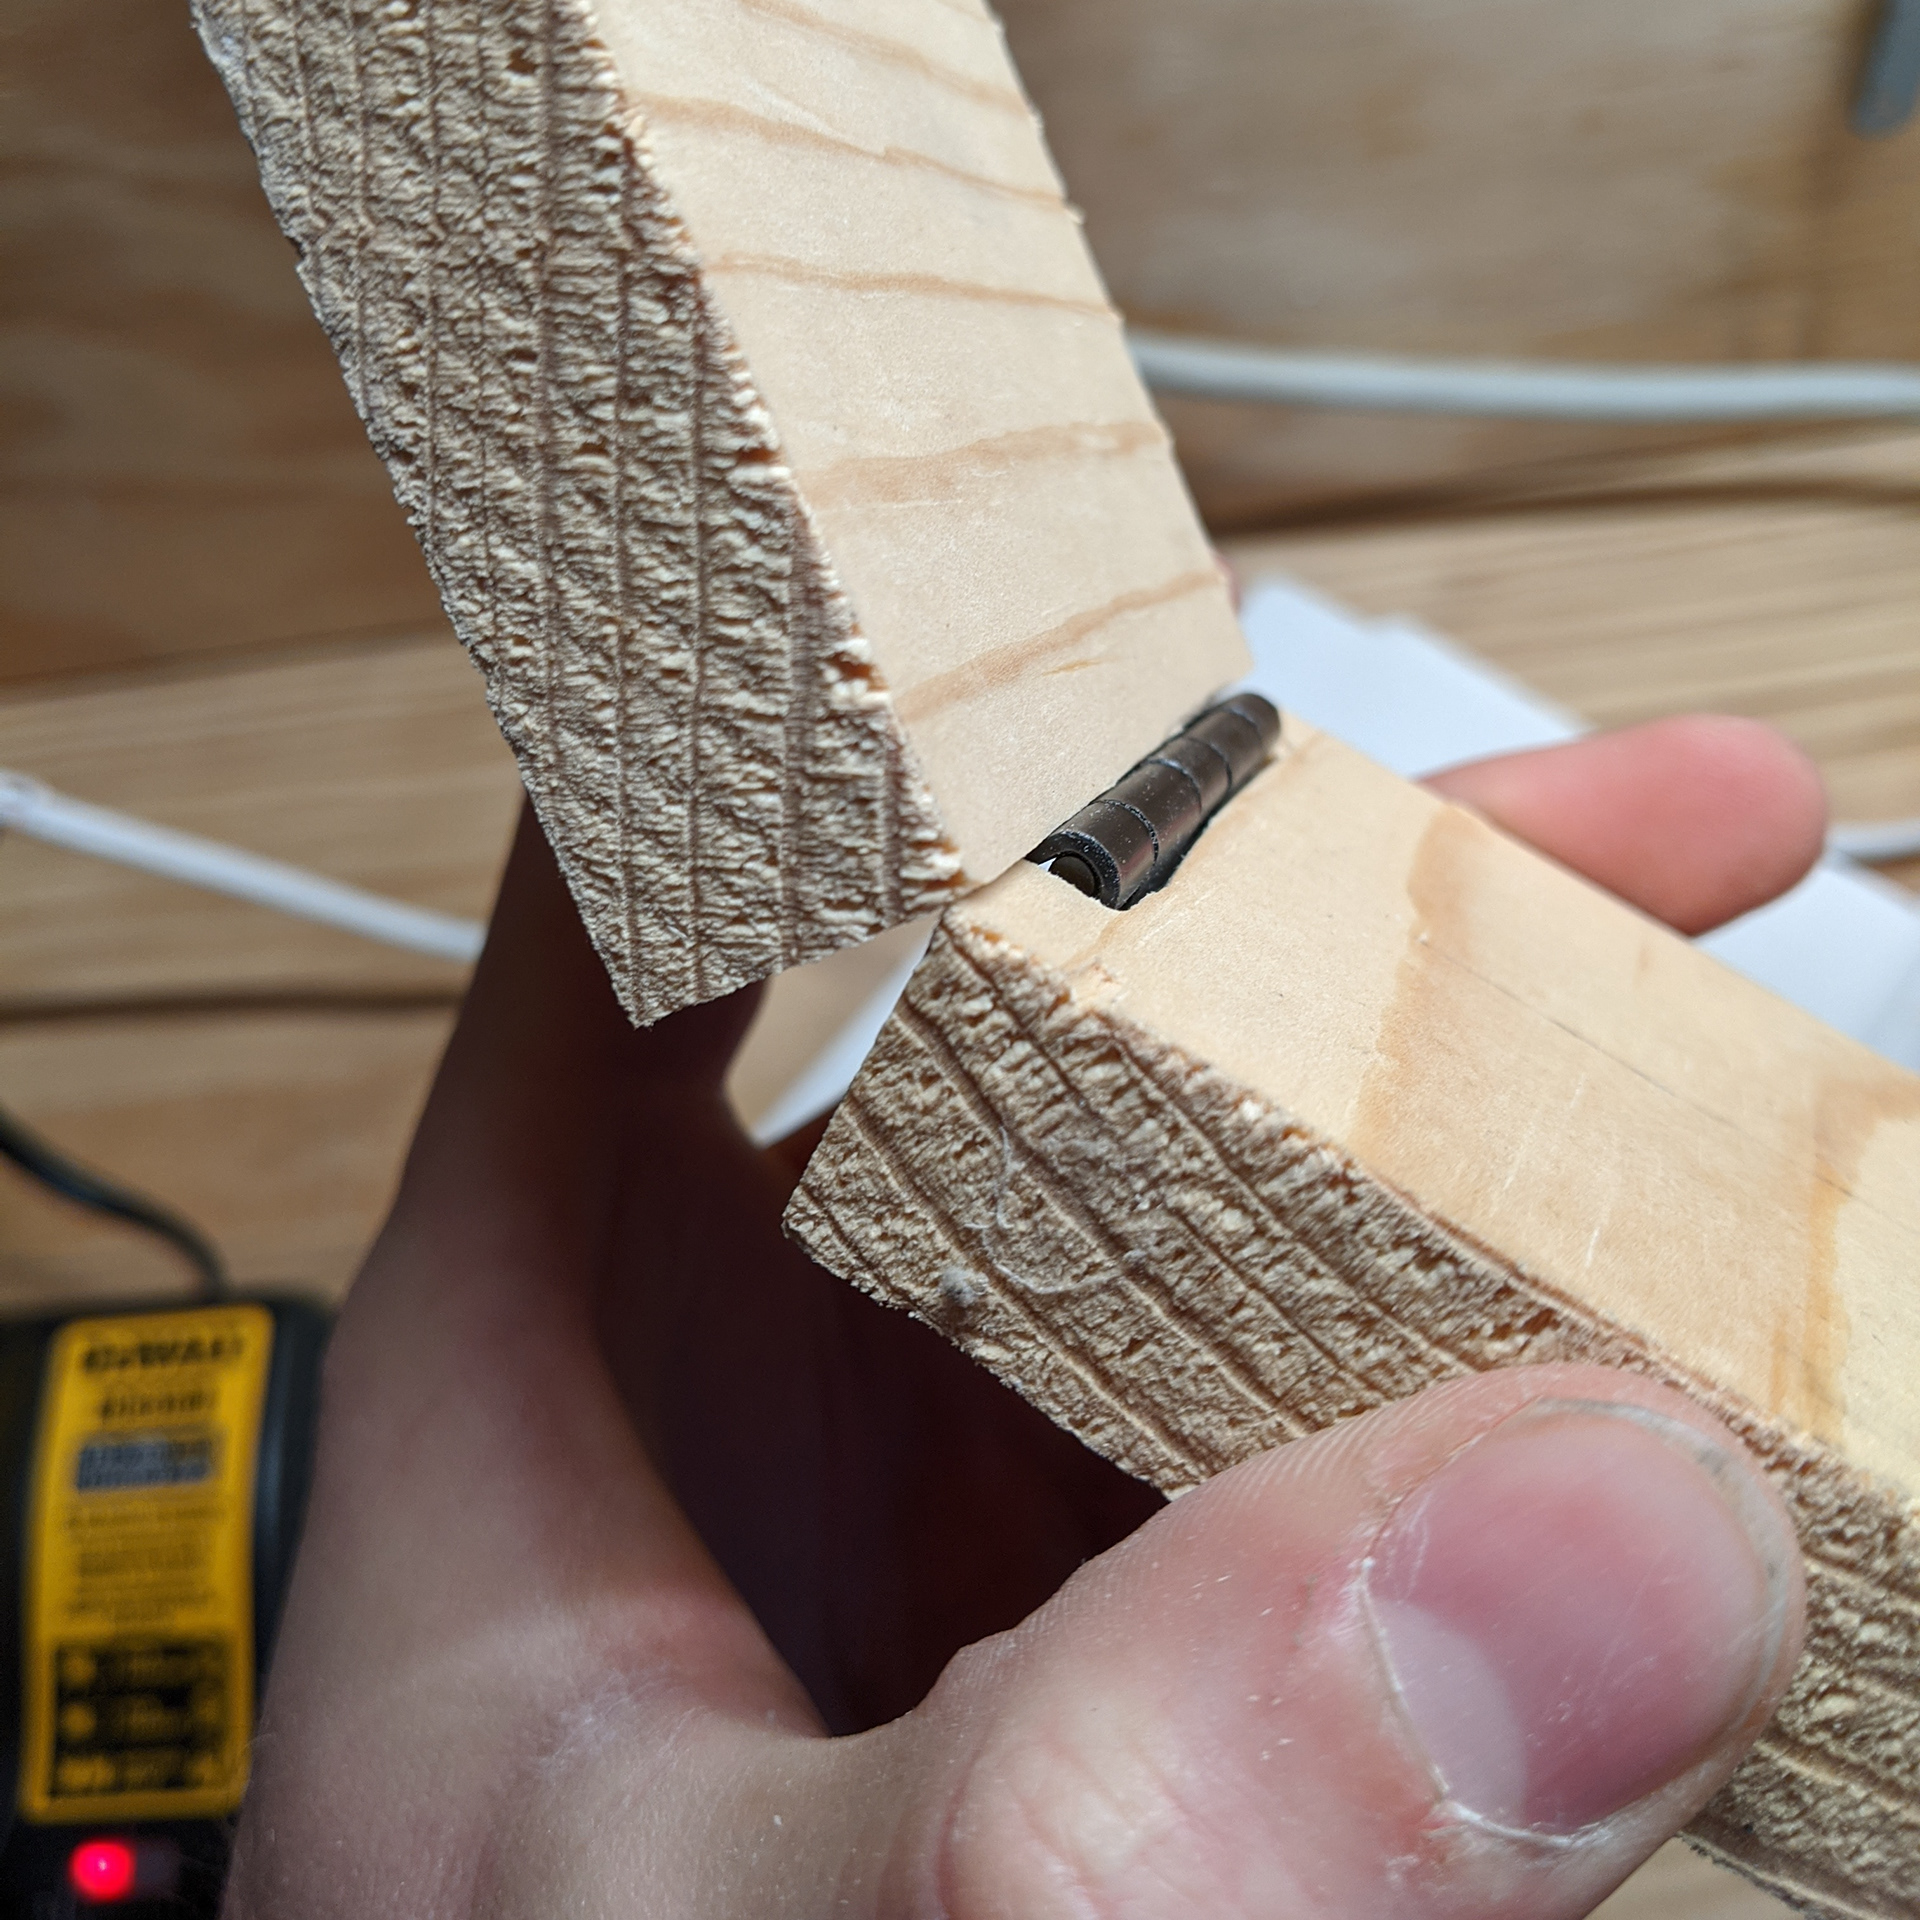
Prototype test of the hinge position.
Assembling the basic structure of the legs.

Experimenting with the leg spacing and height.
Propping the boards up to see if the dimensions were good.
Trying to decide if the top should overhang or sit flush with the sides.
Building Process

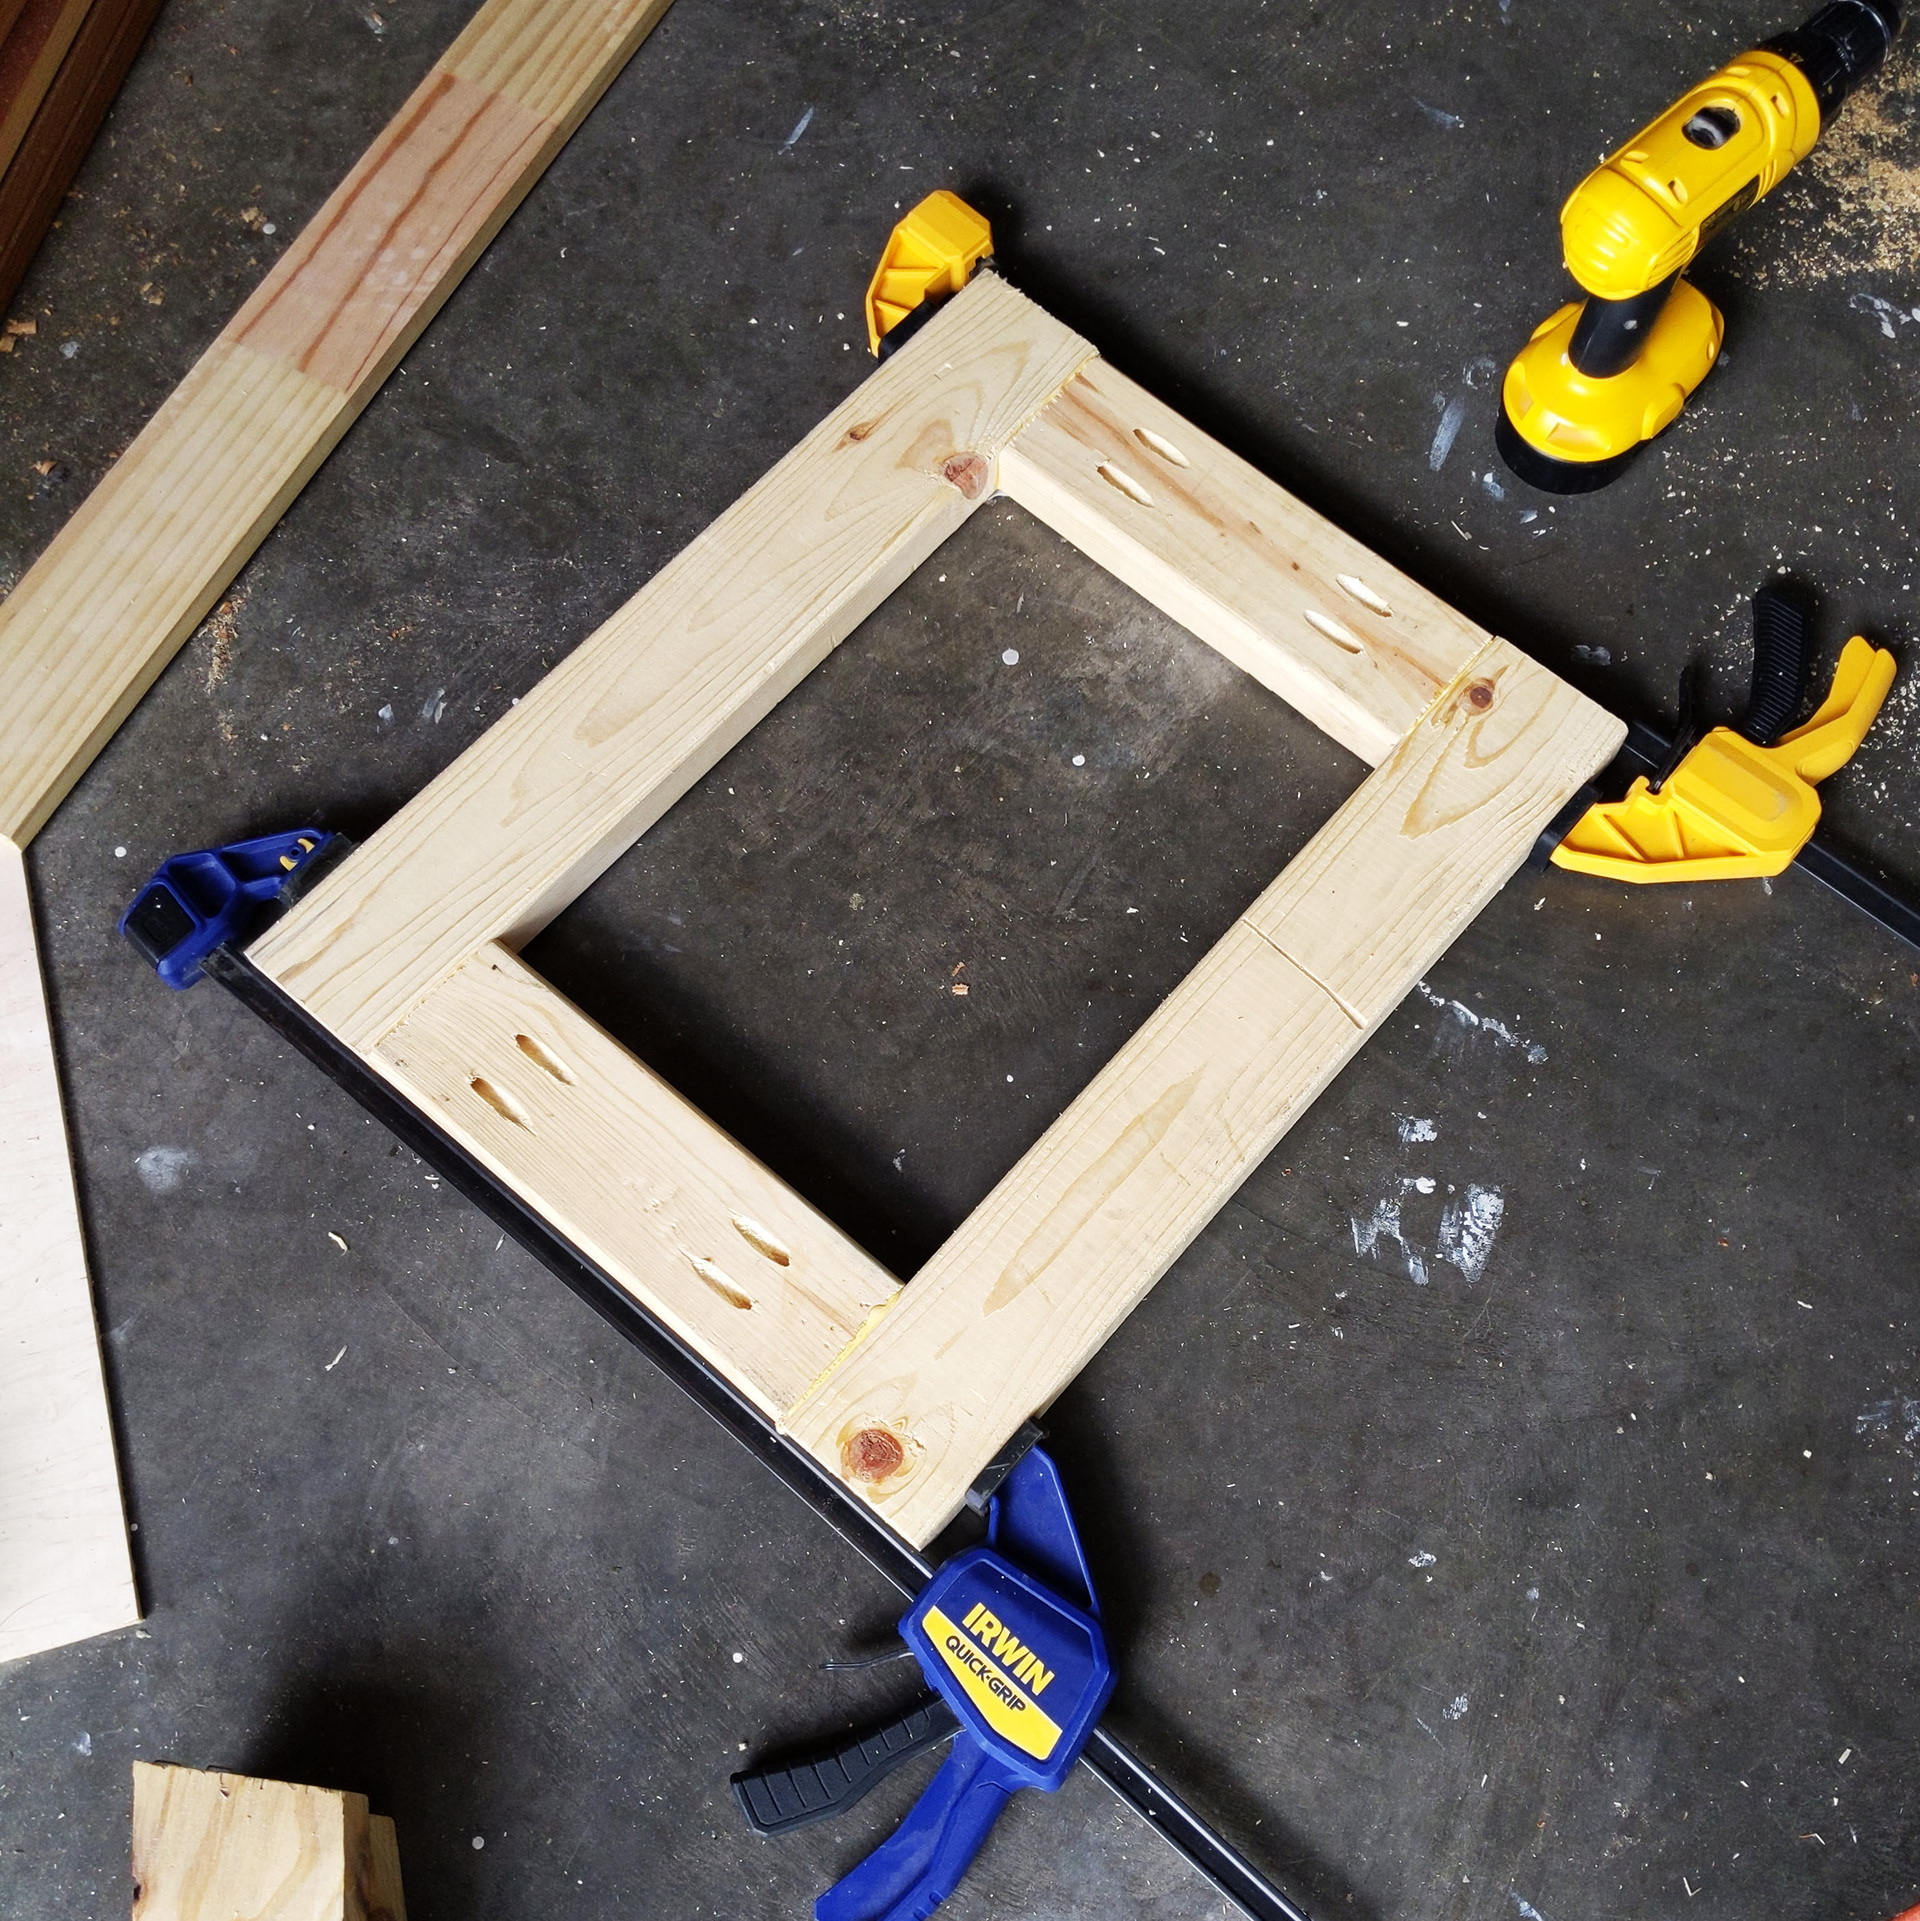
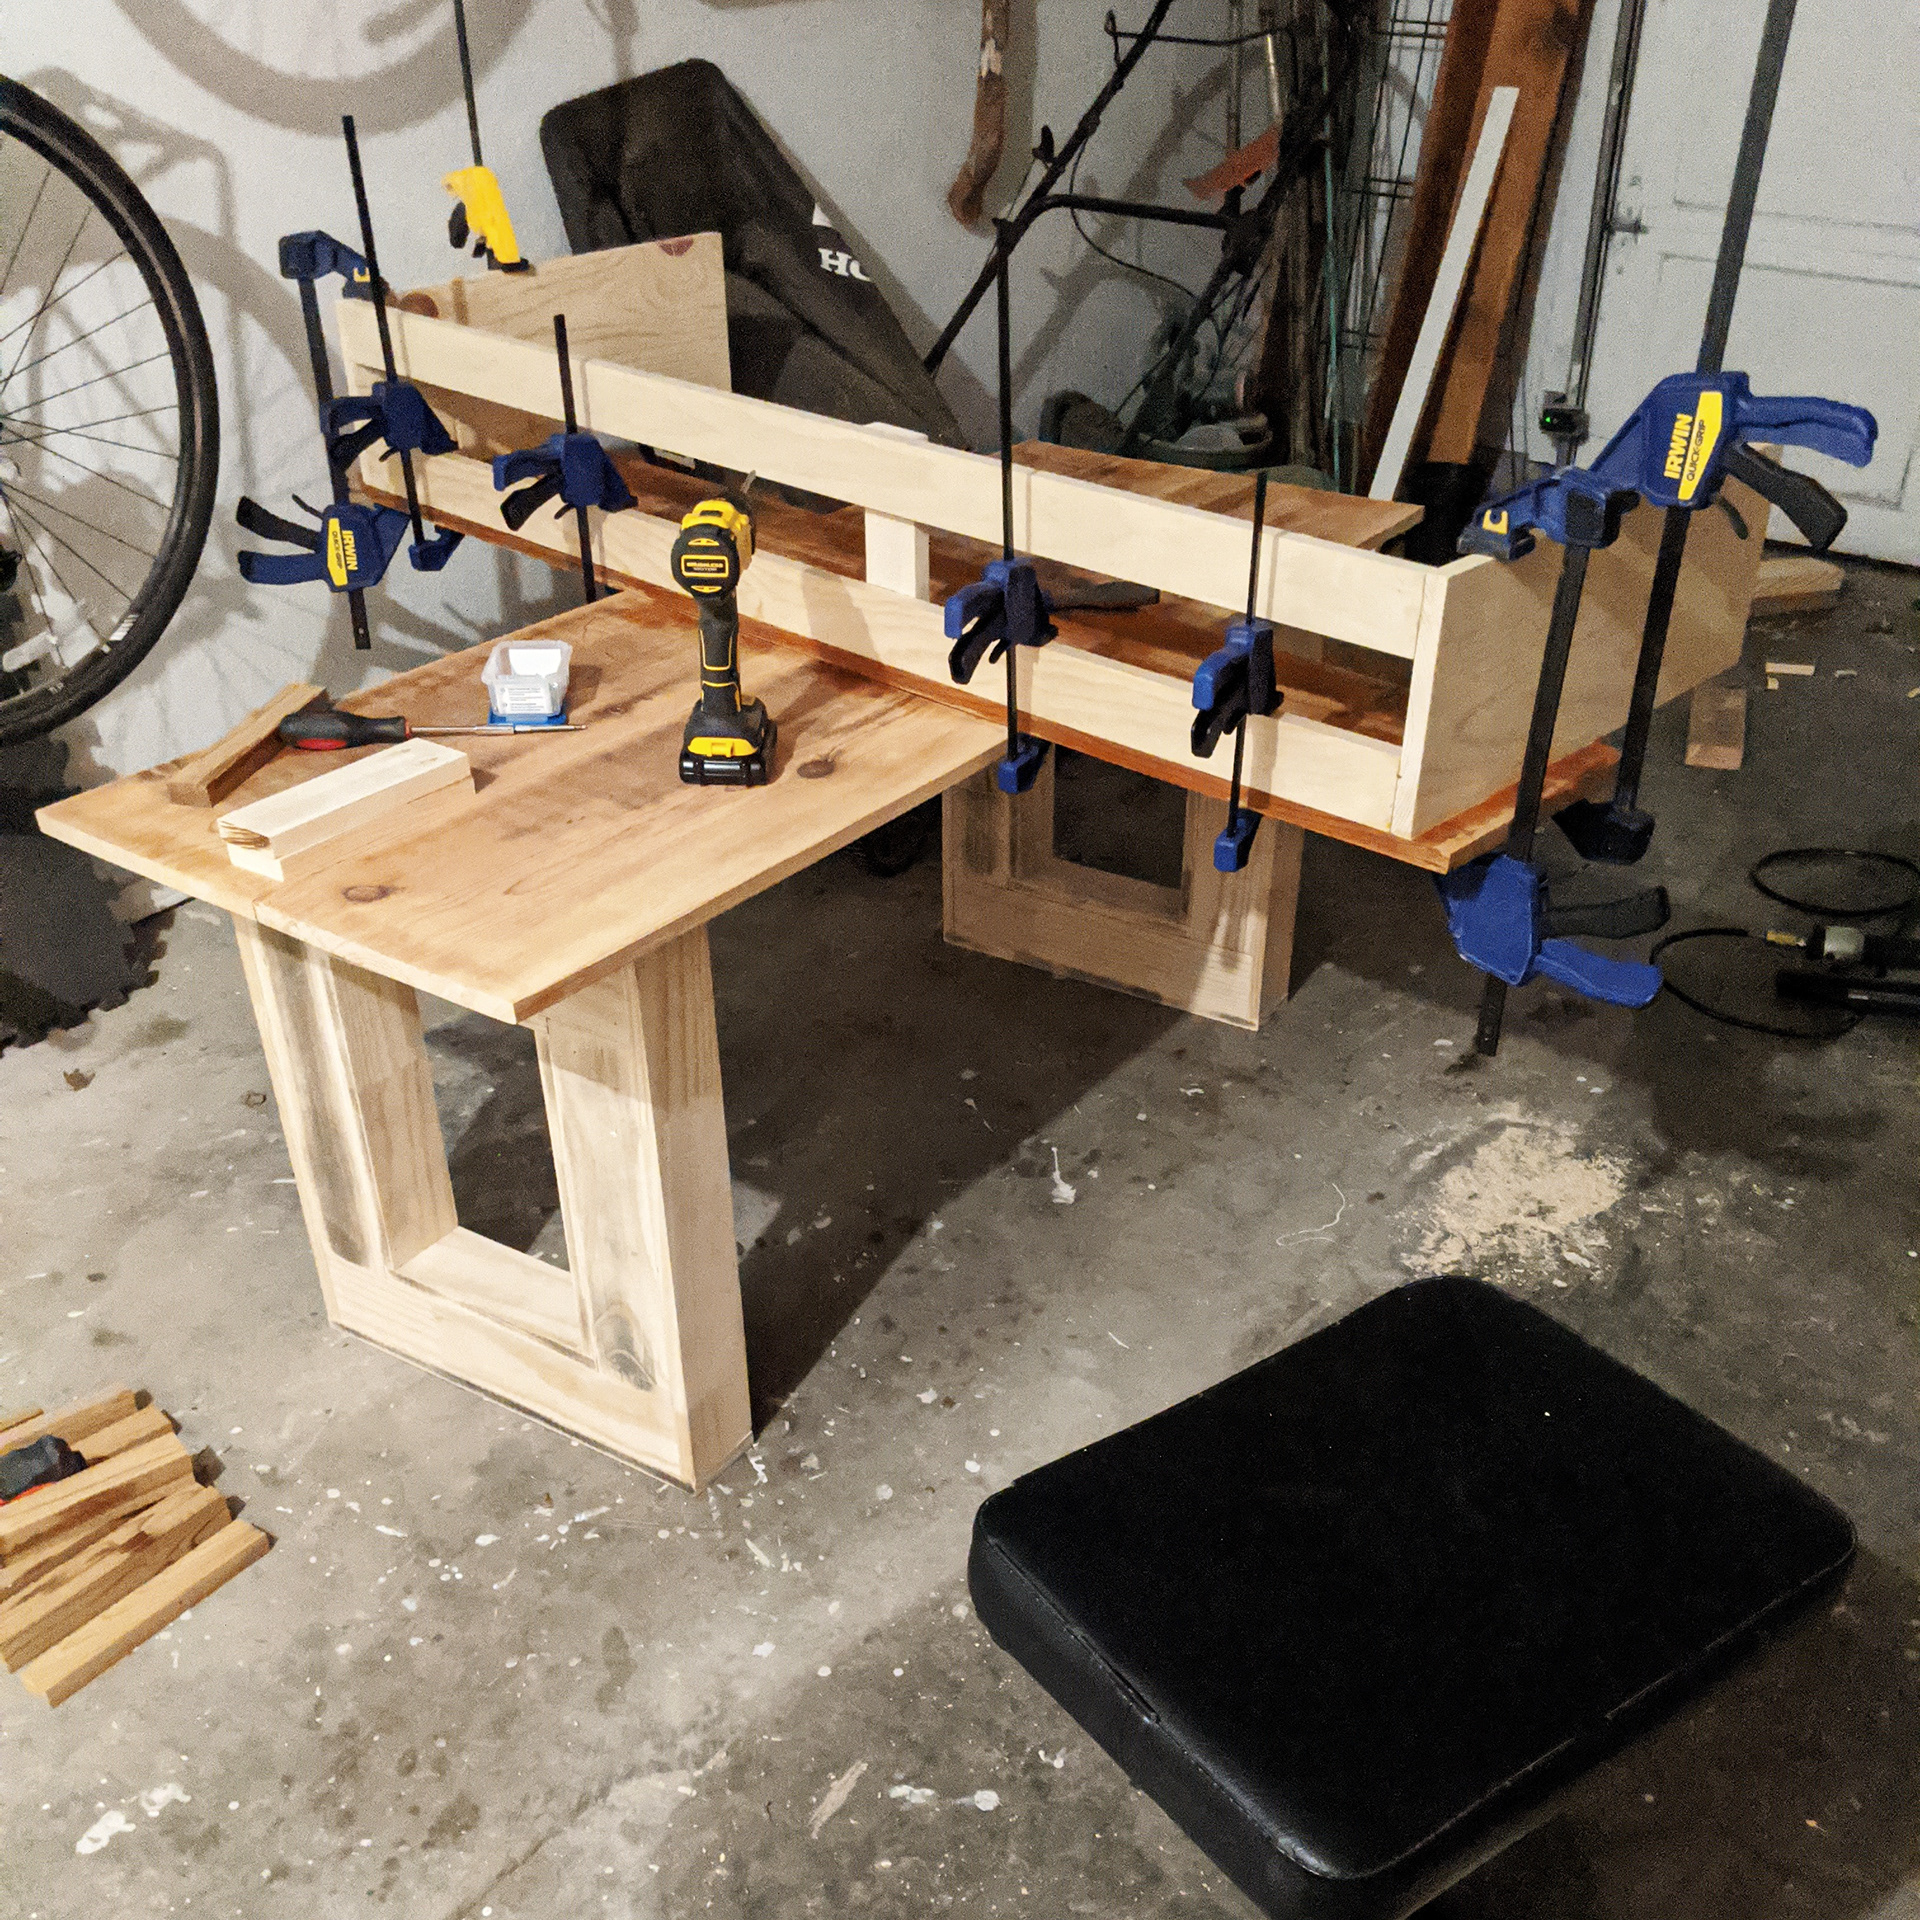
Support for legs and for joining table boards.
Slapping more scrap wood together to bulk up the legs.
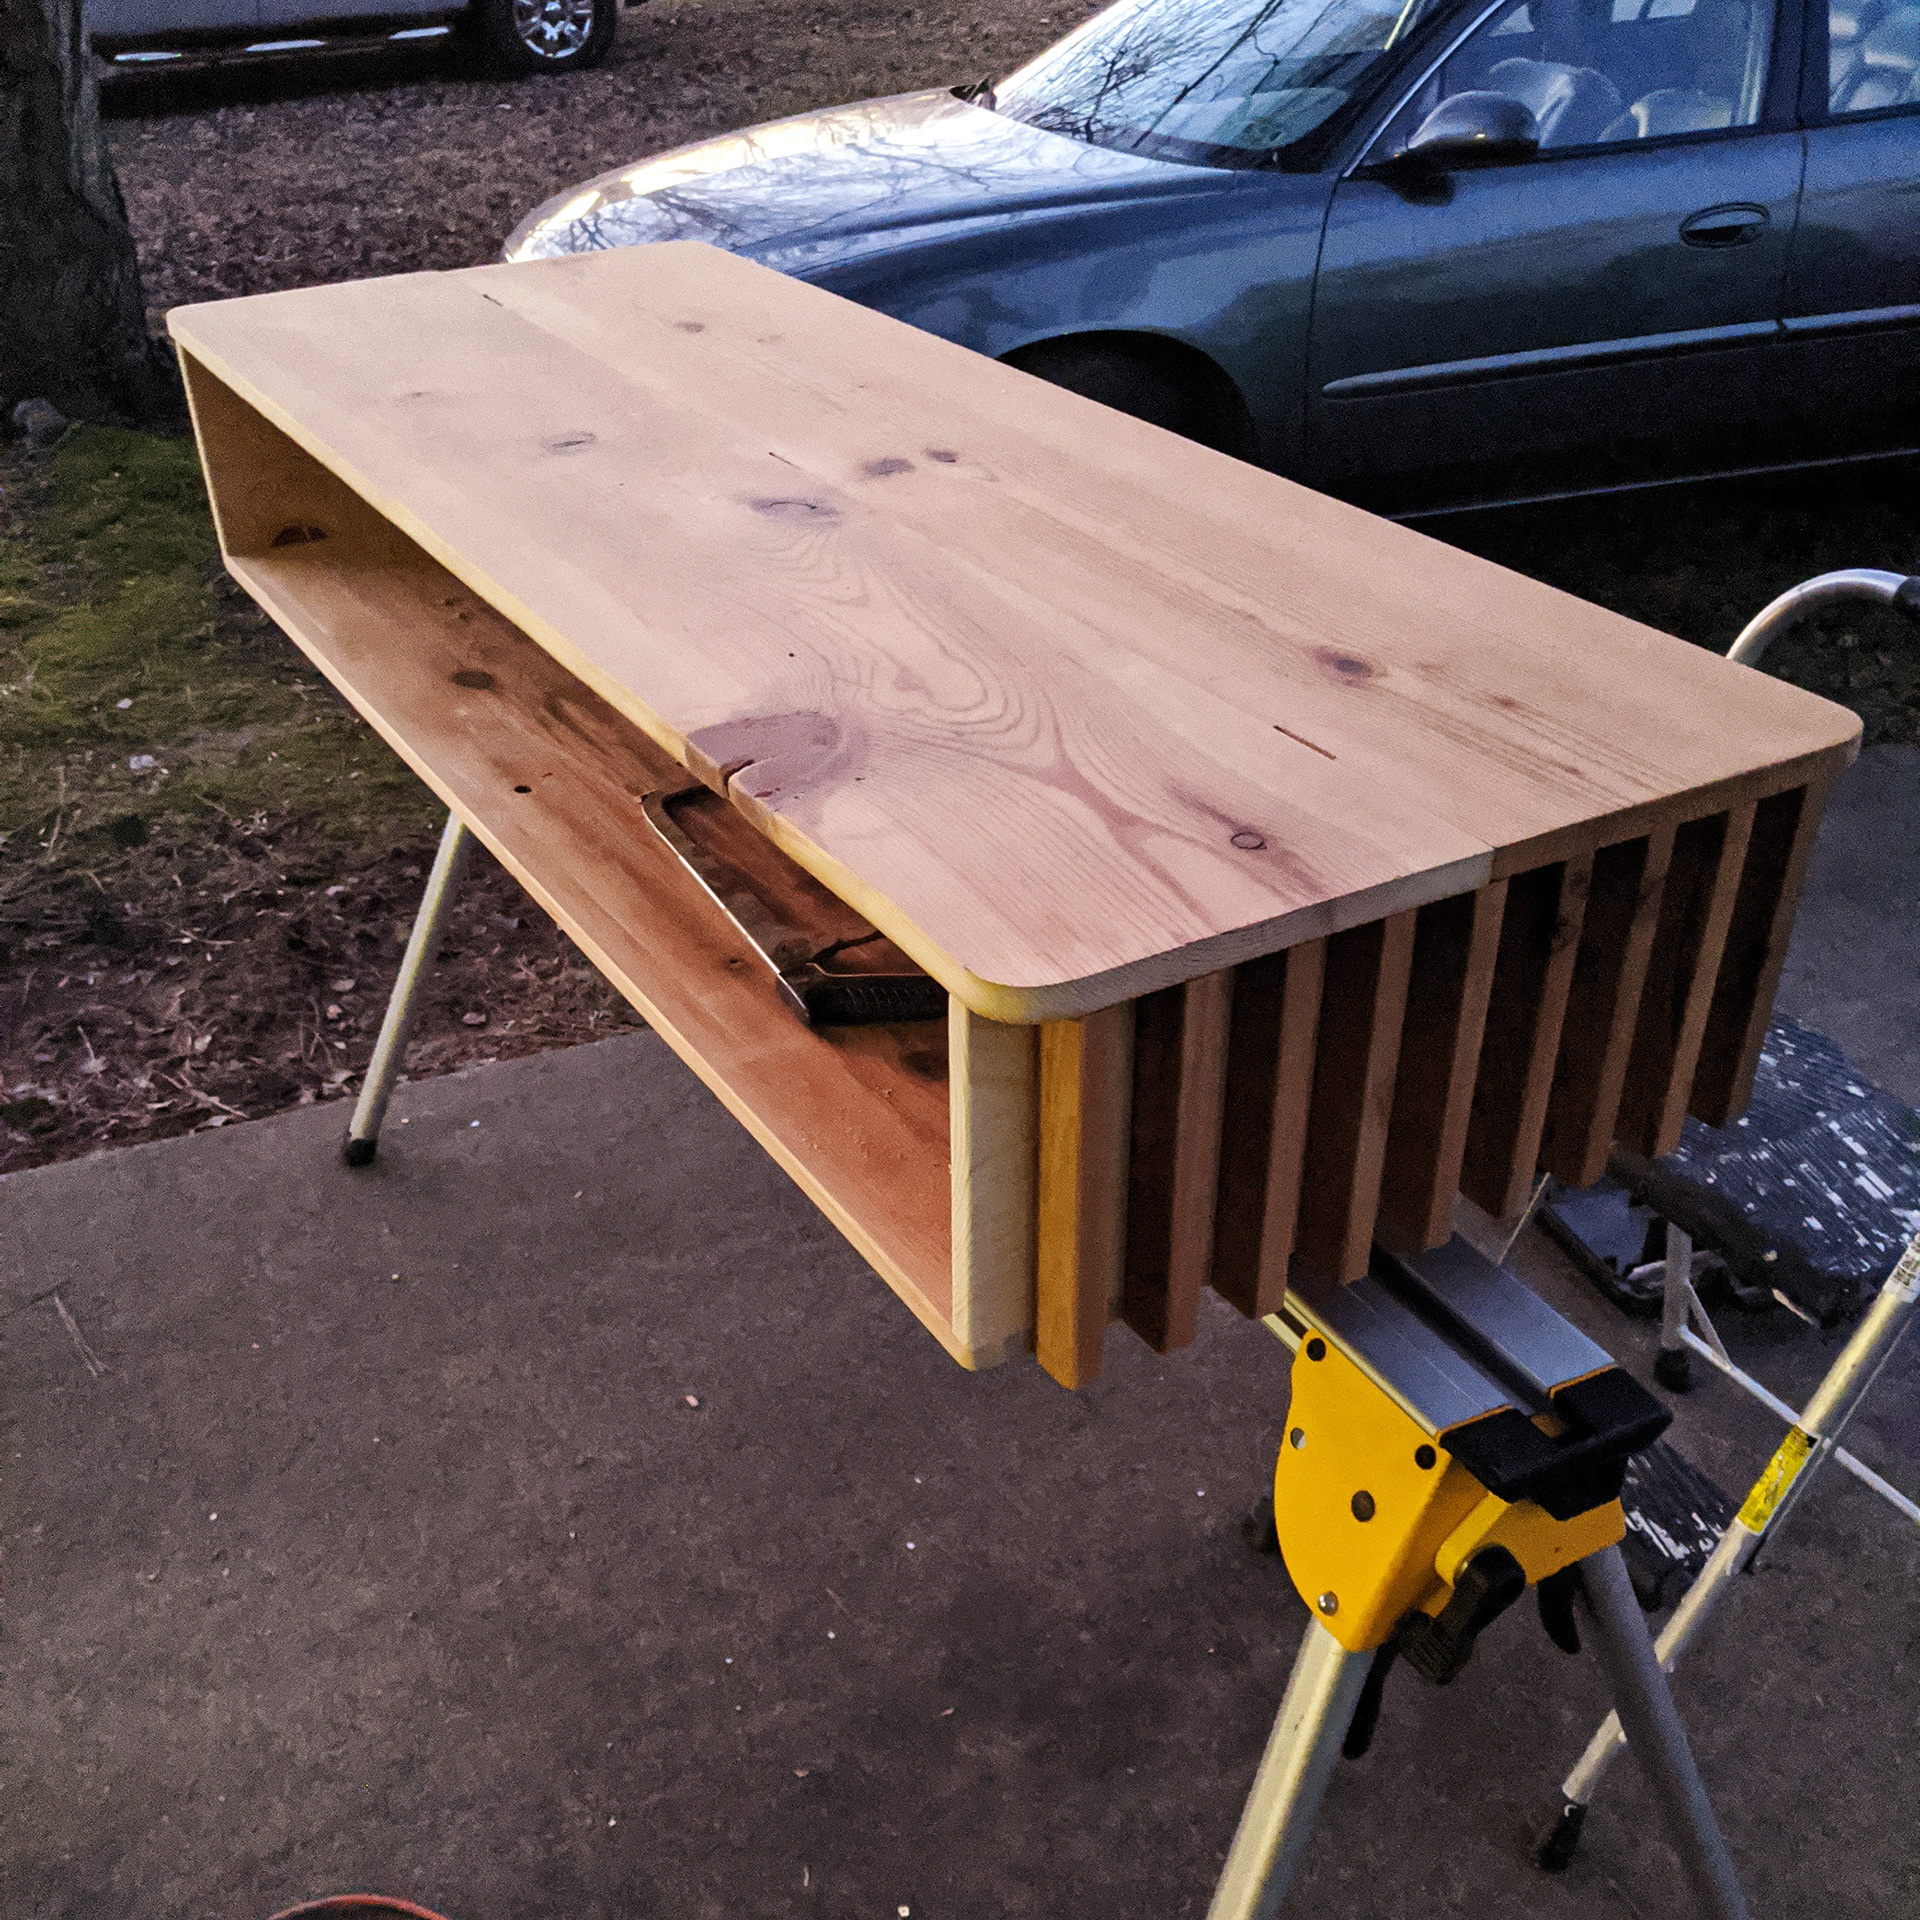
Covering the front and back.
Attaching the side and back walls of the table. Leaving the back open for cables.
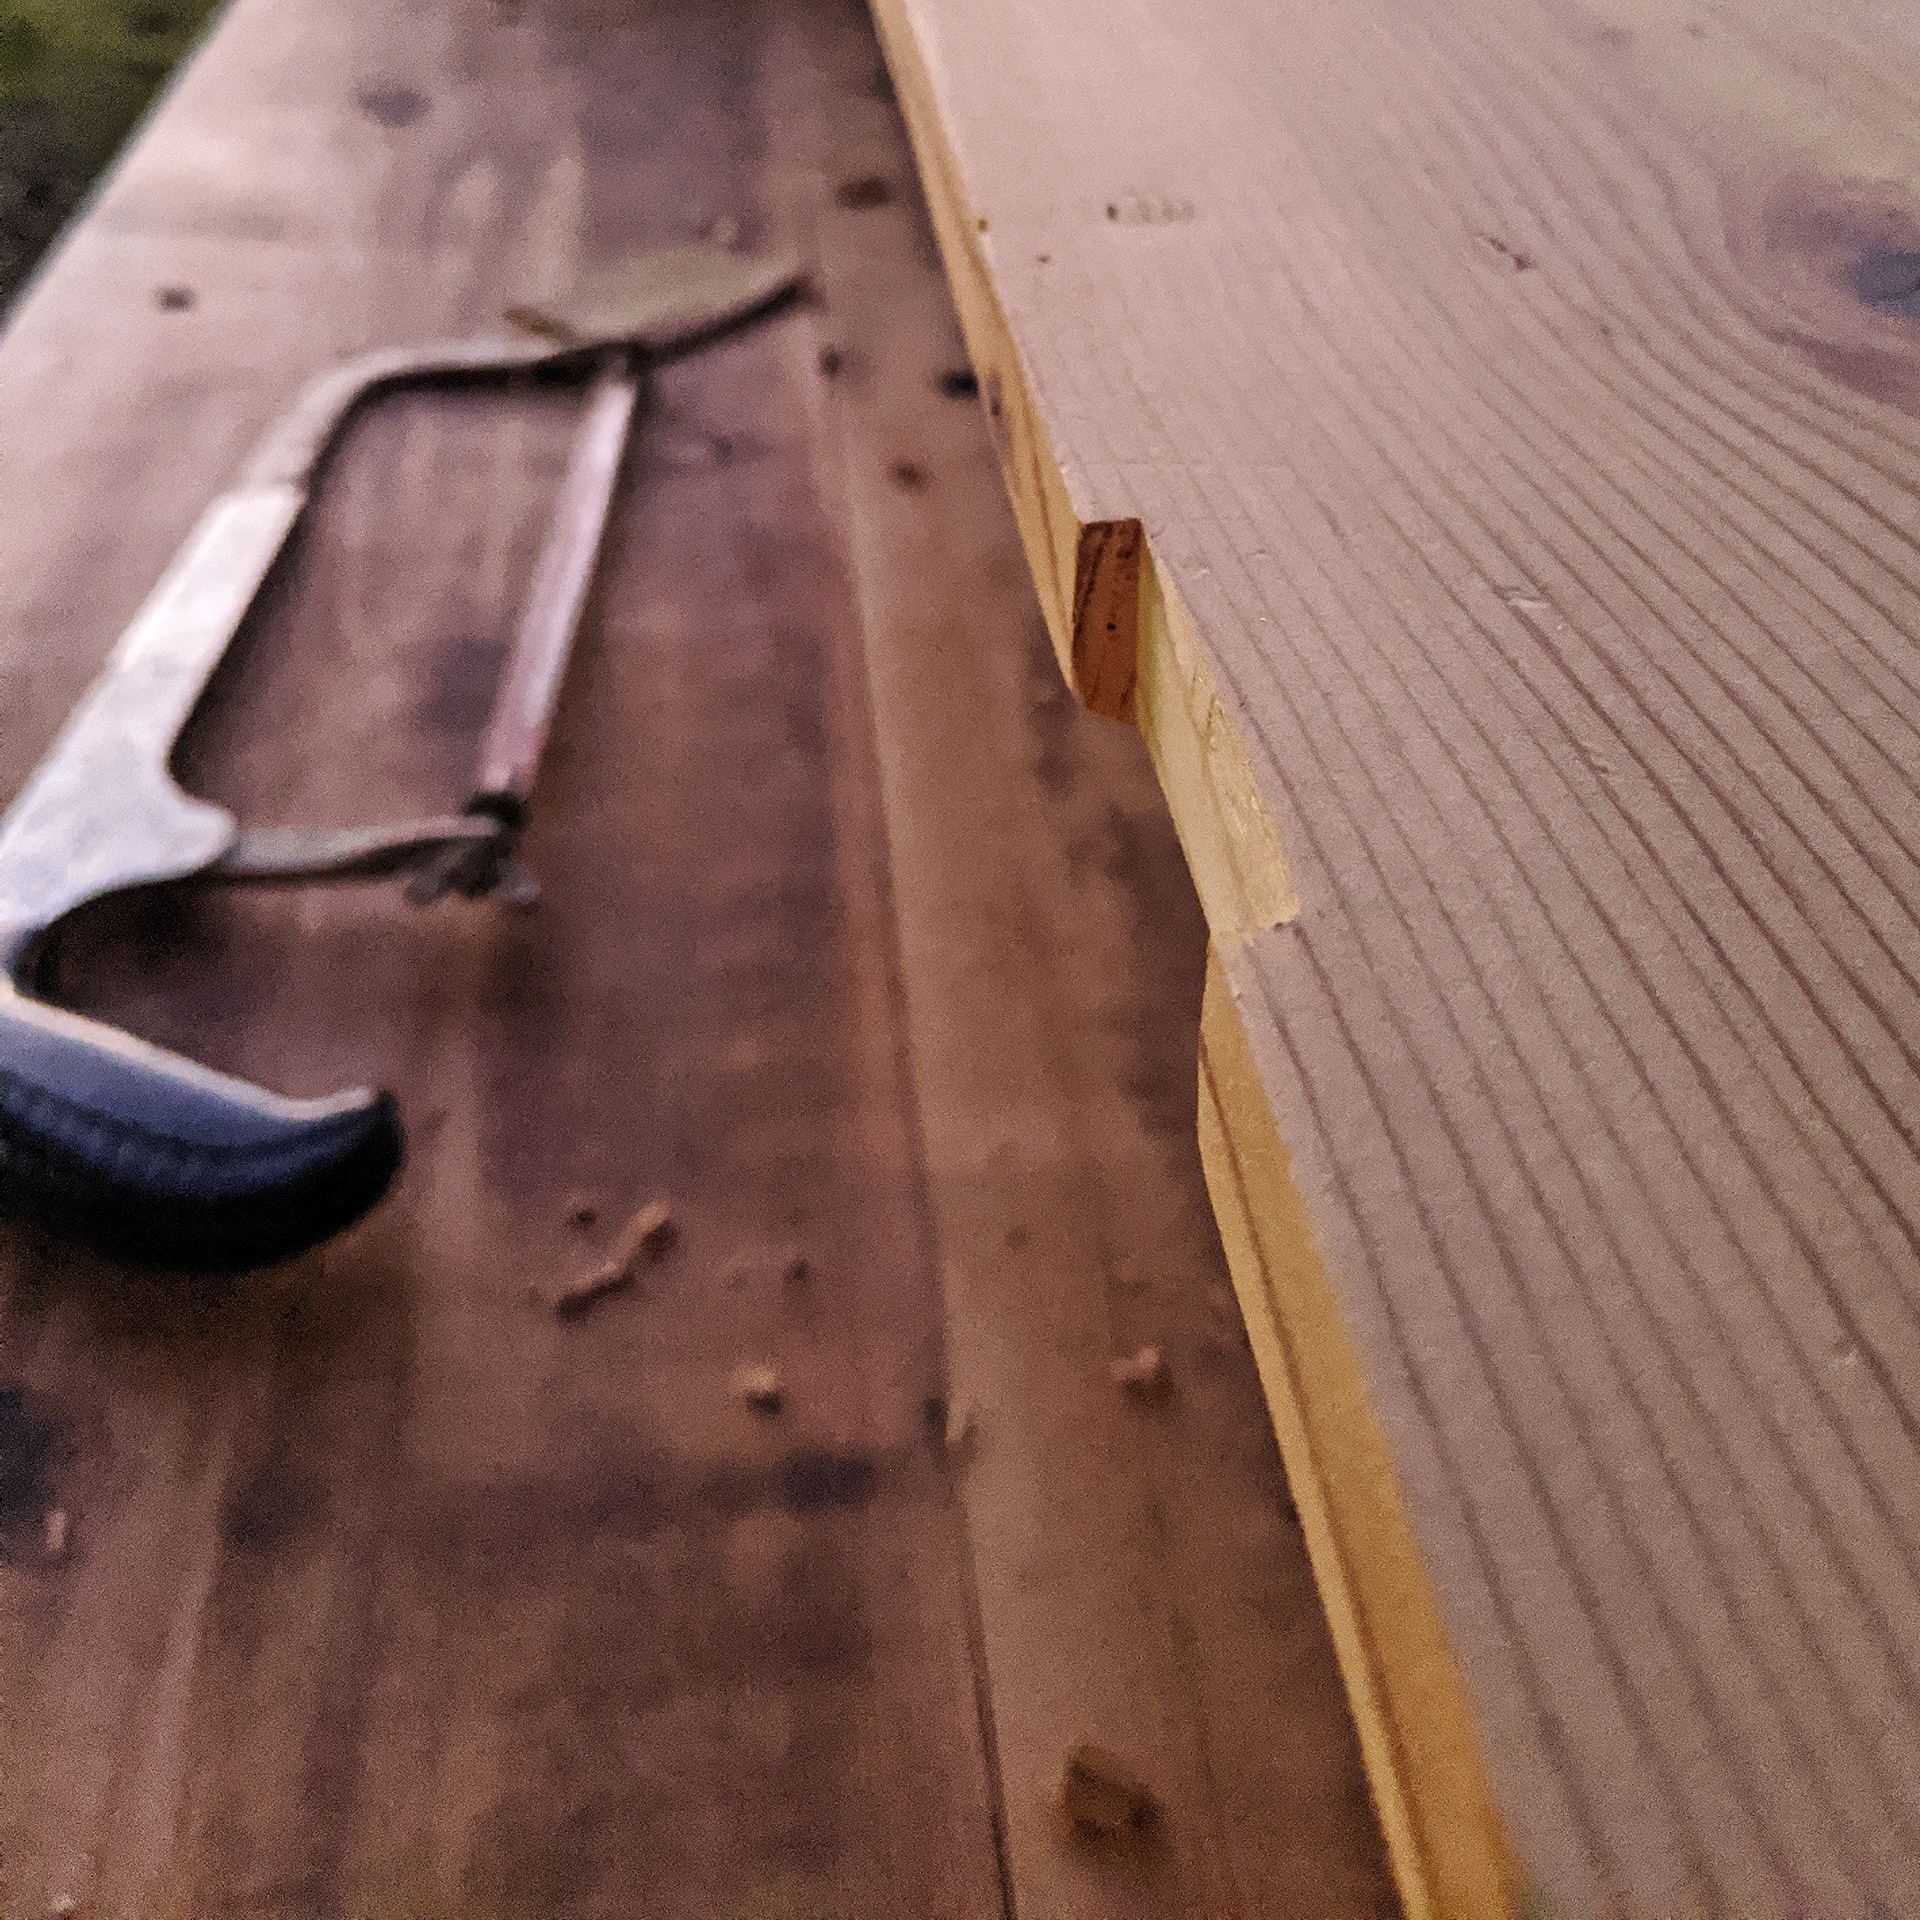
Cutting notches for the hinges.
All sanded and ready for stain.
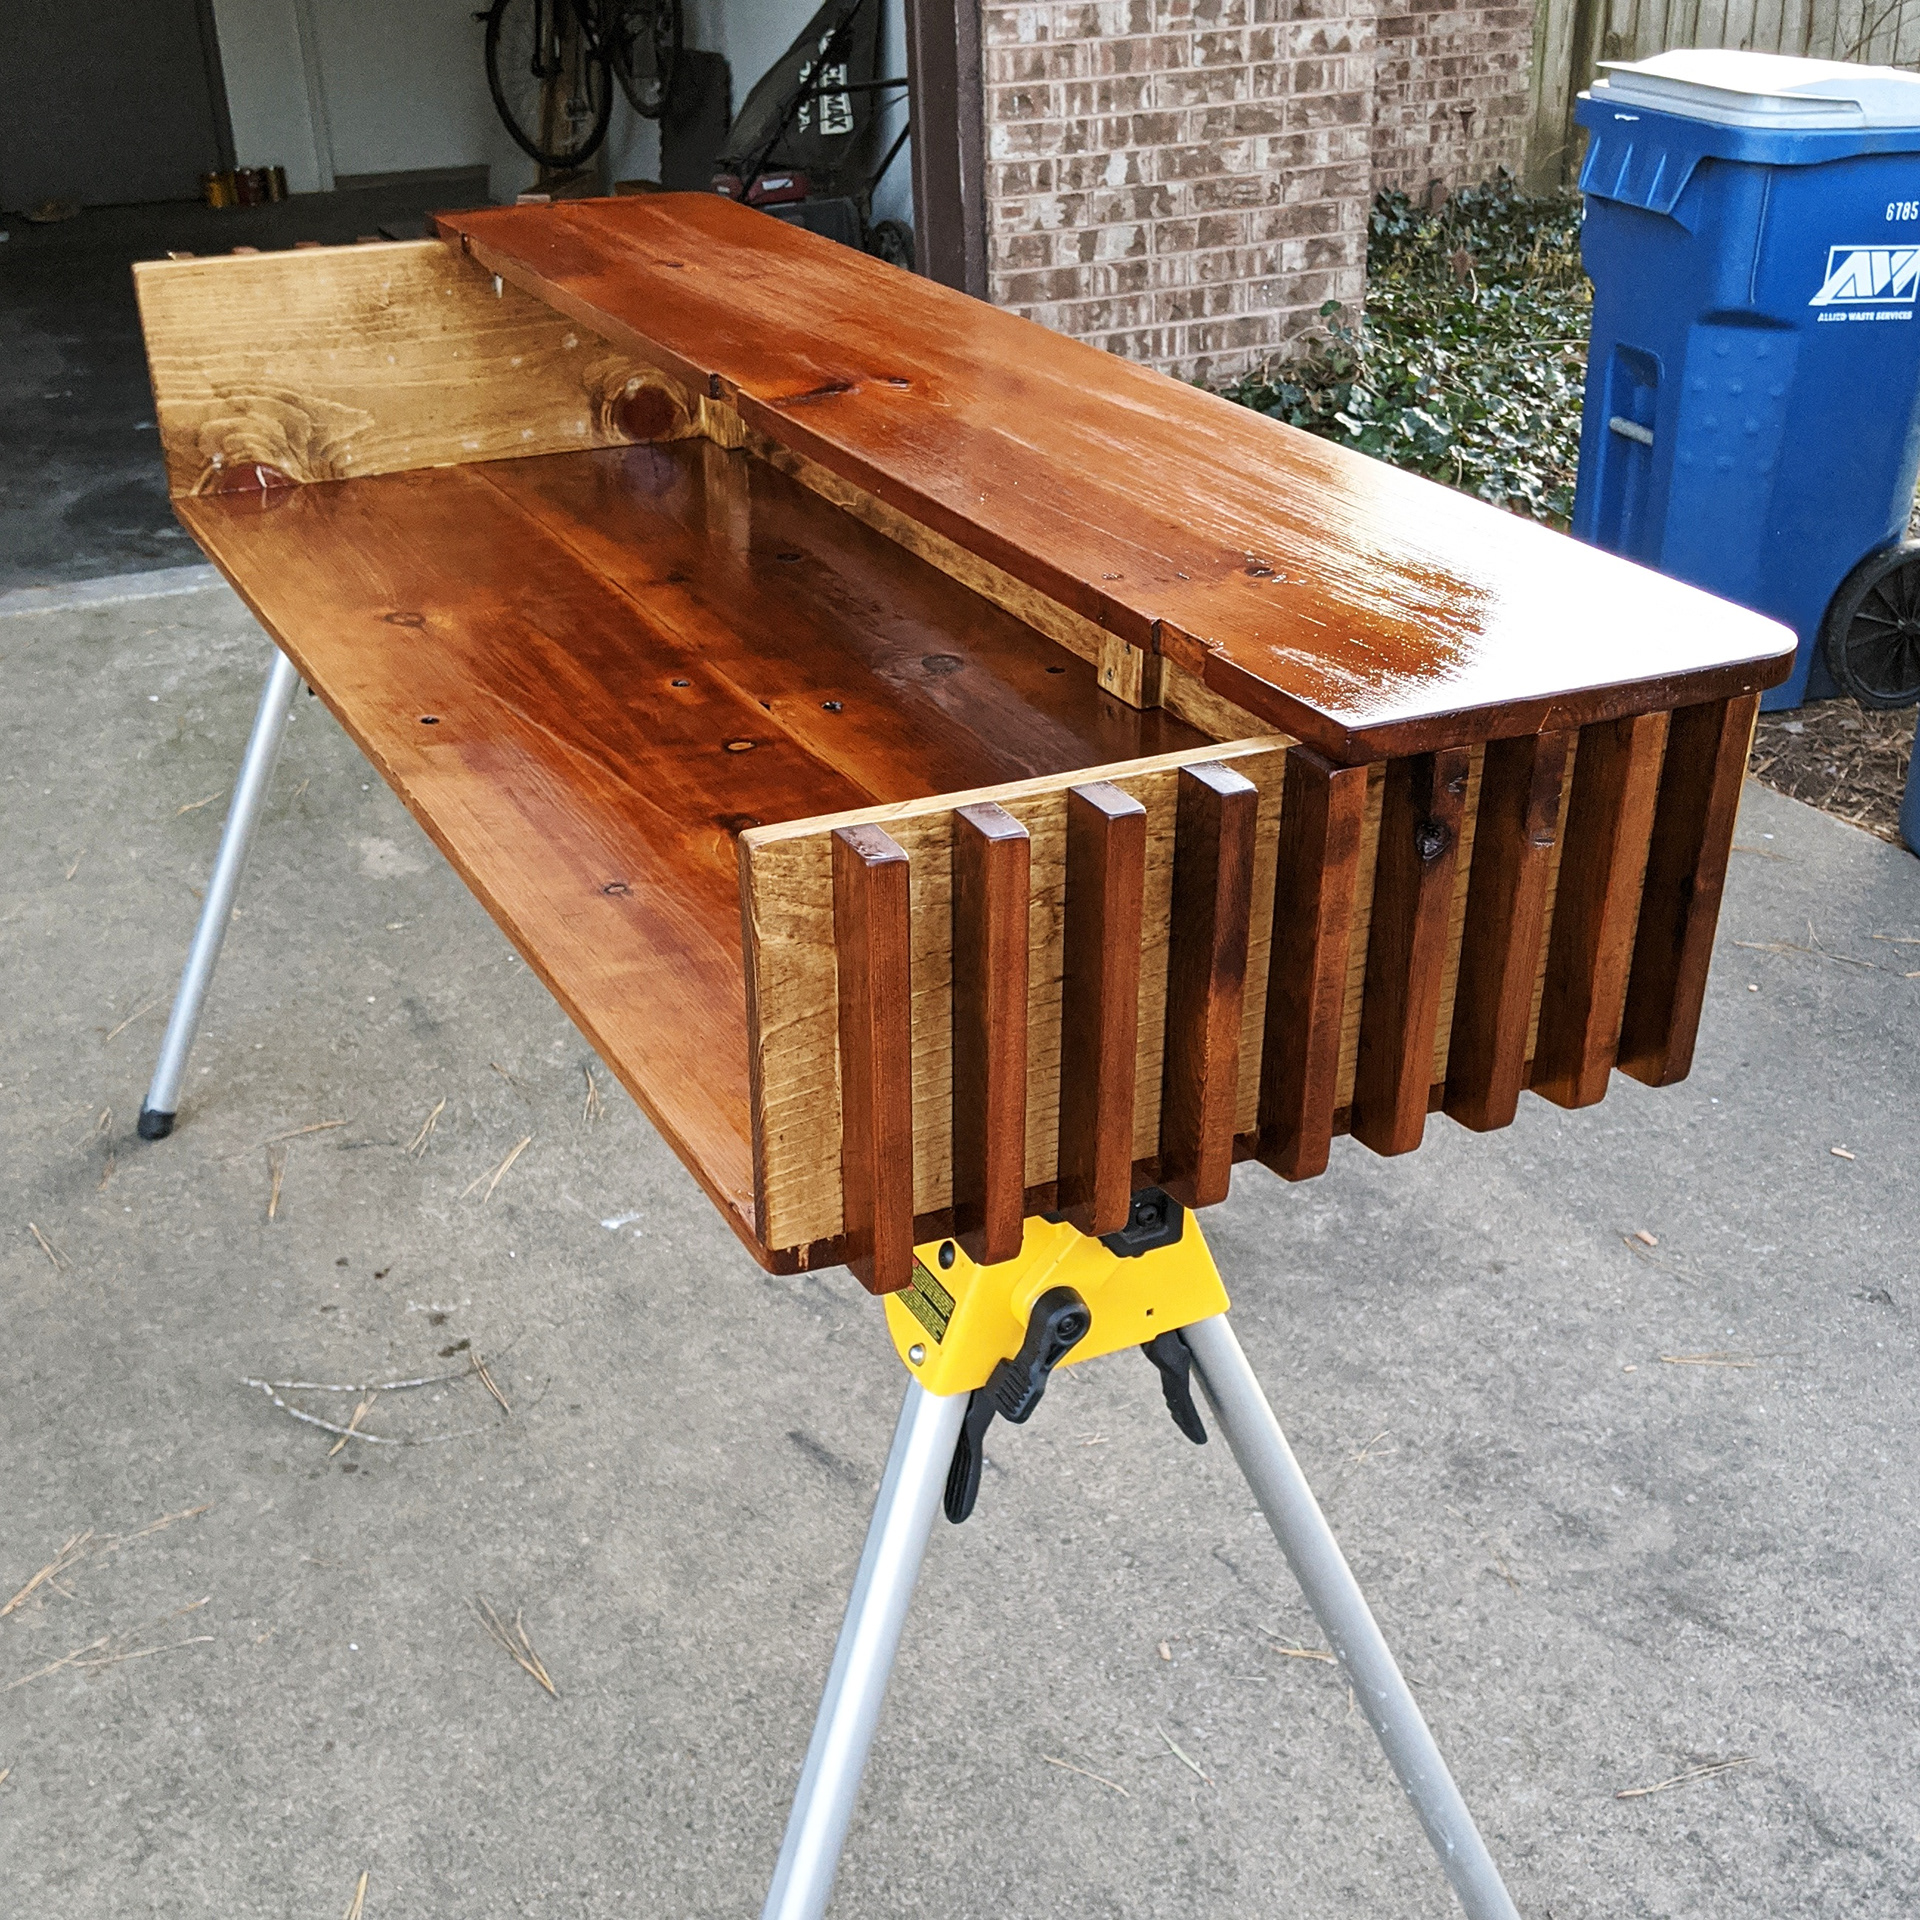
Adding stain.
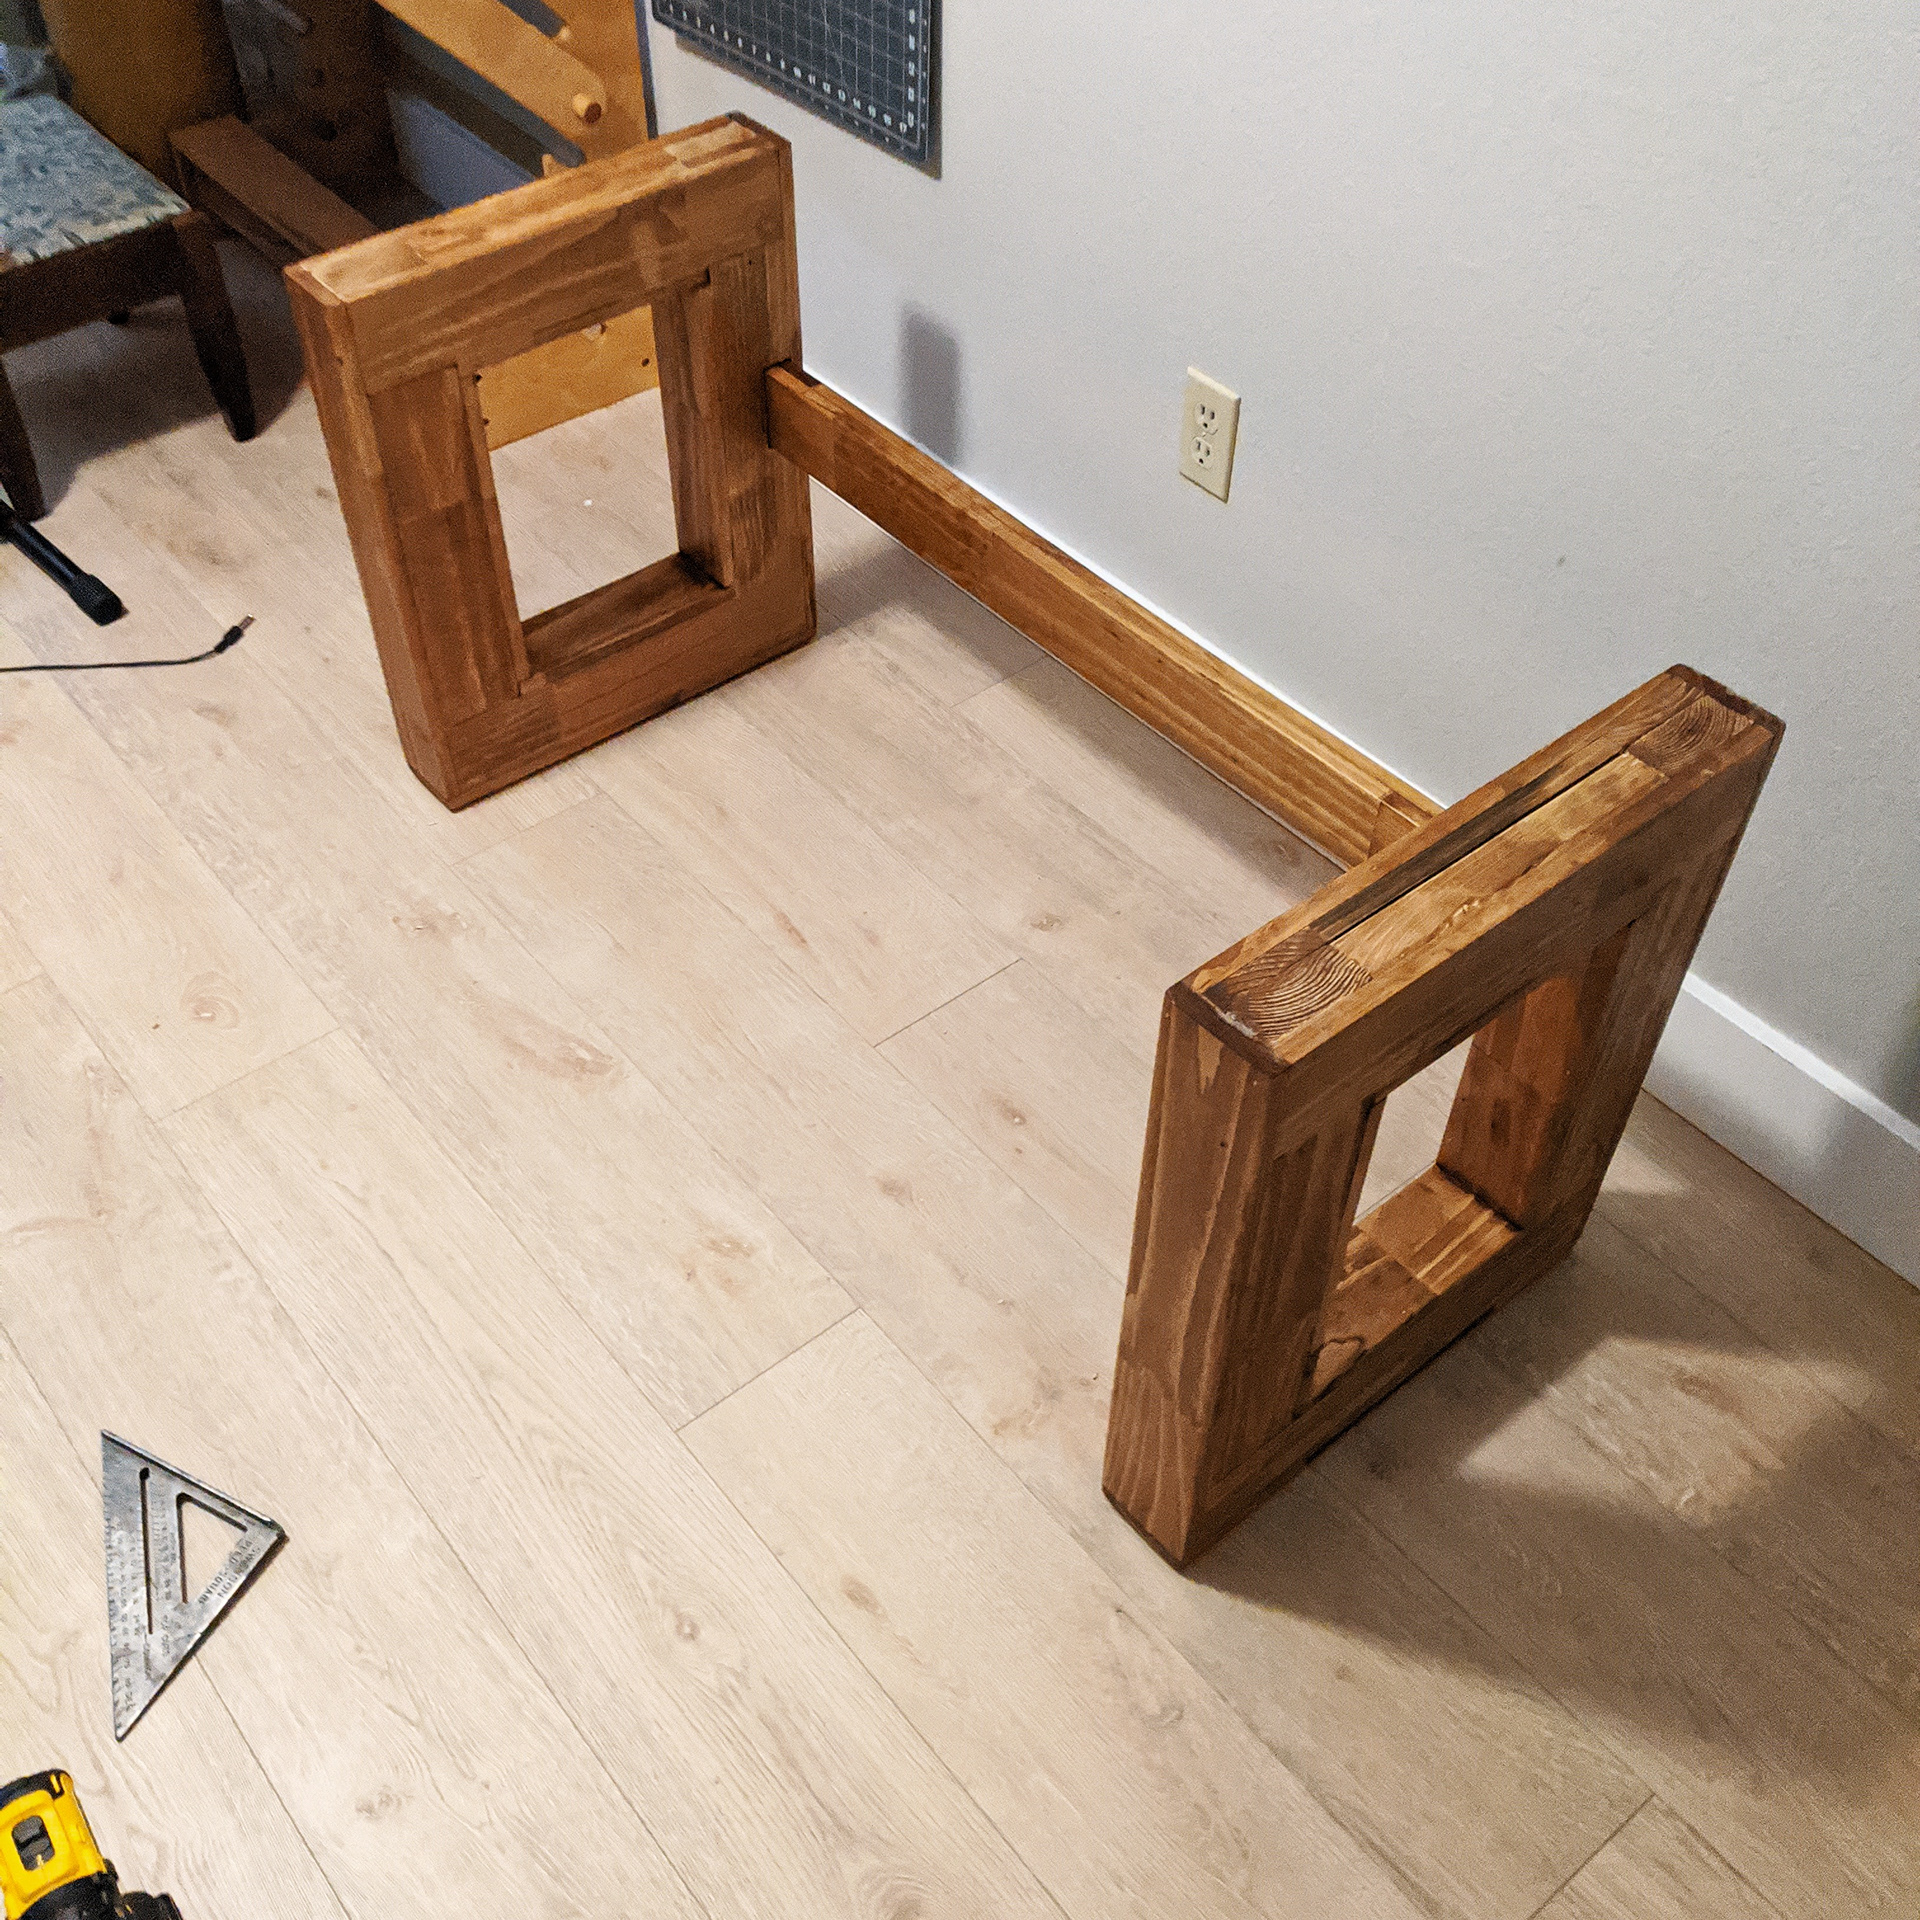
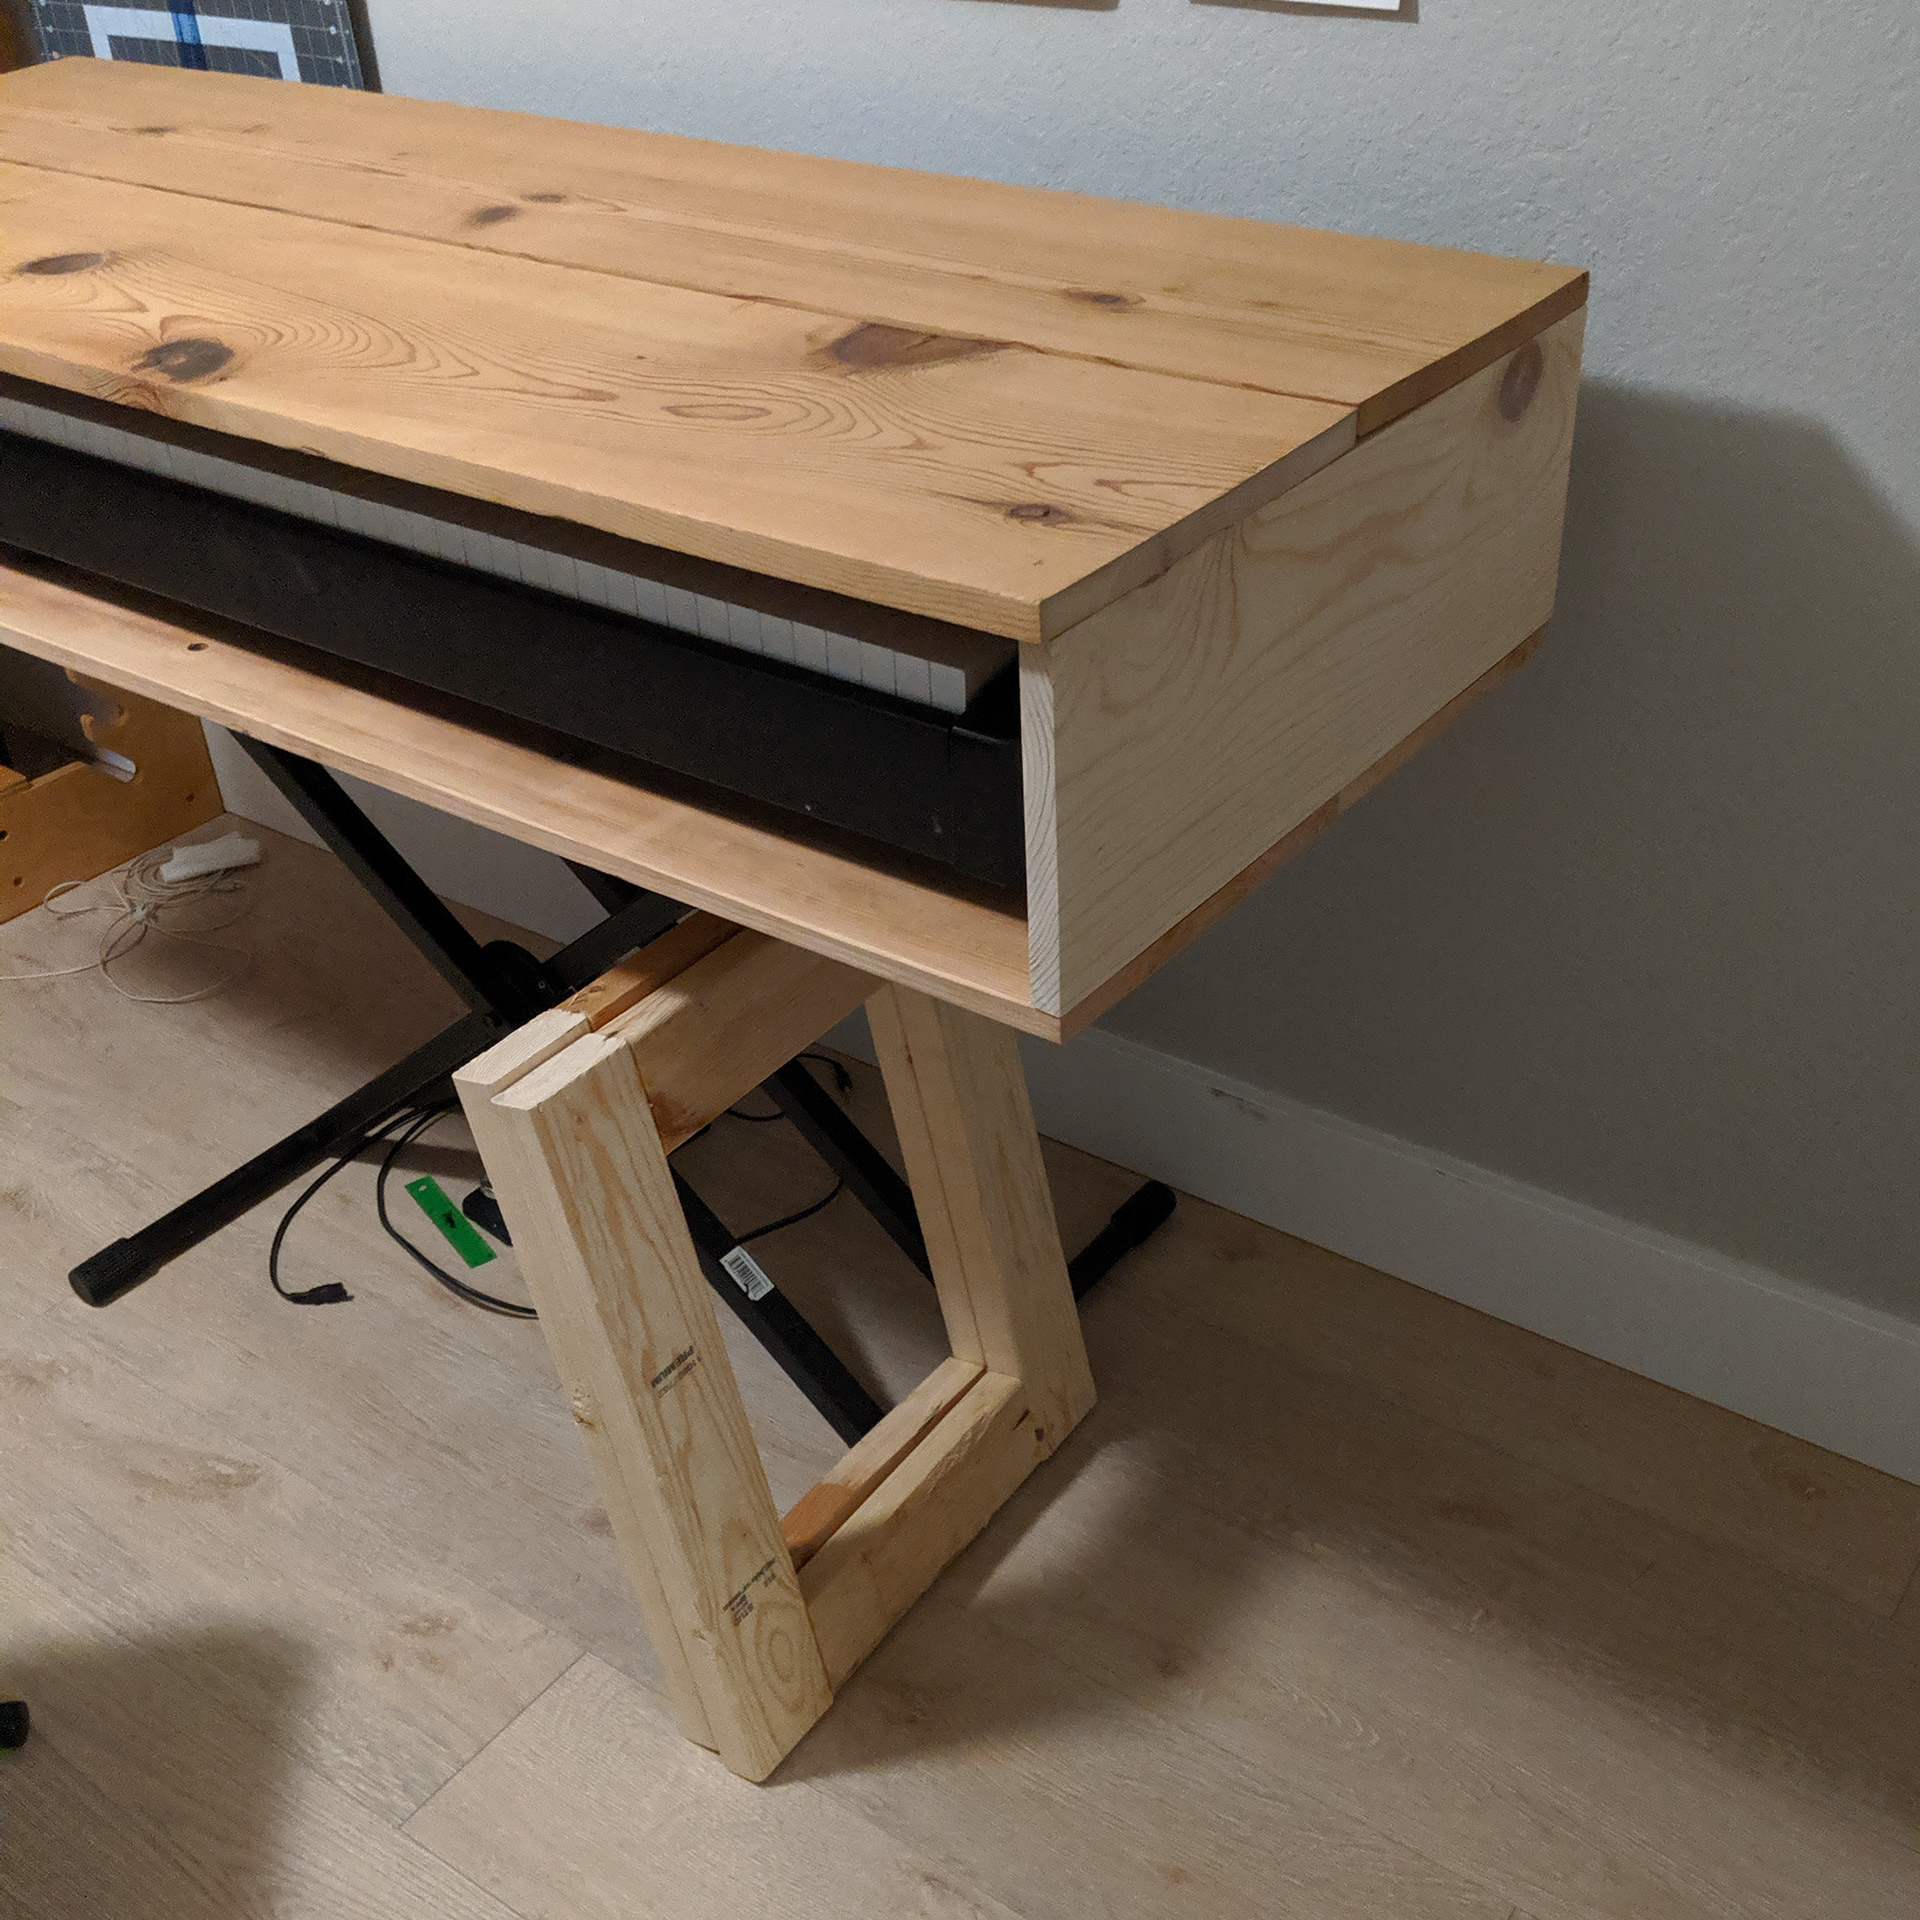
Legs assembled separately to make future moves easier.
Side view of legs.
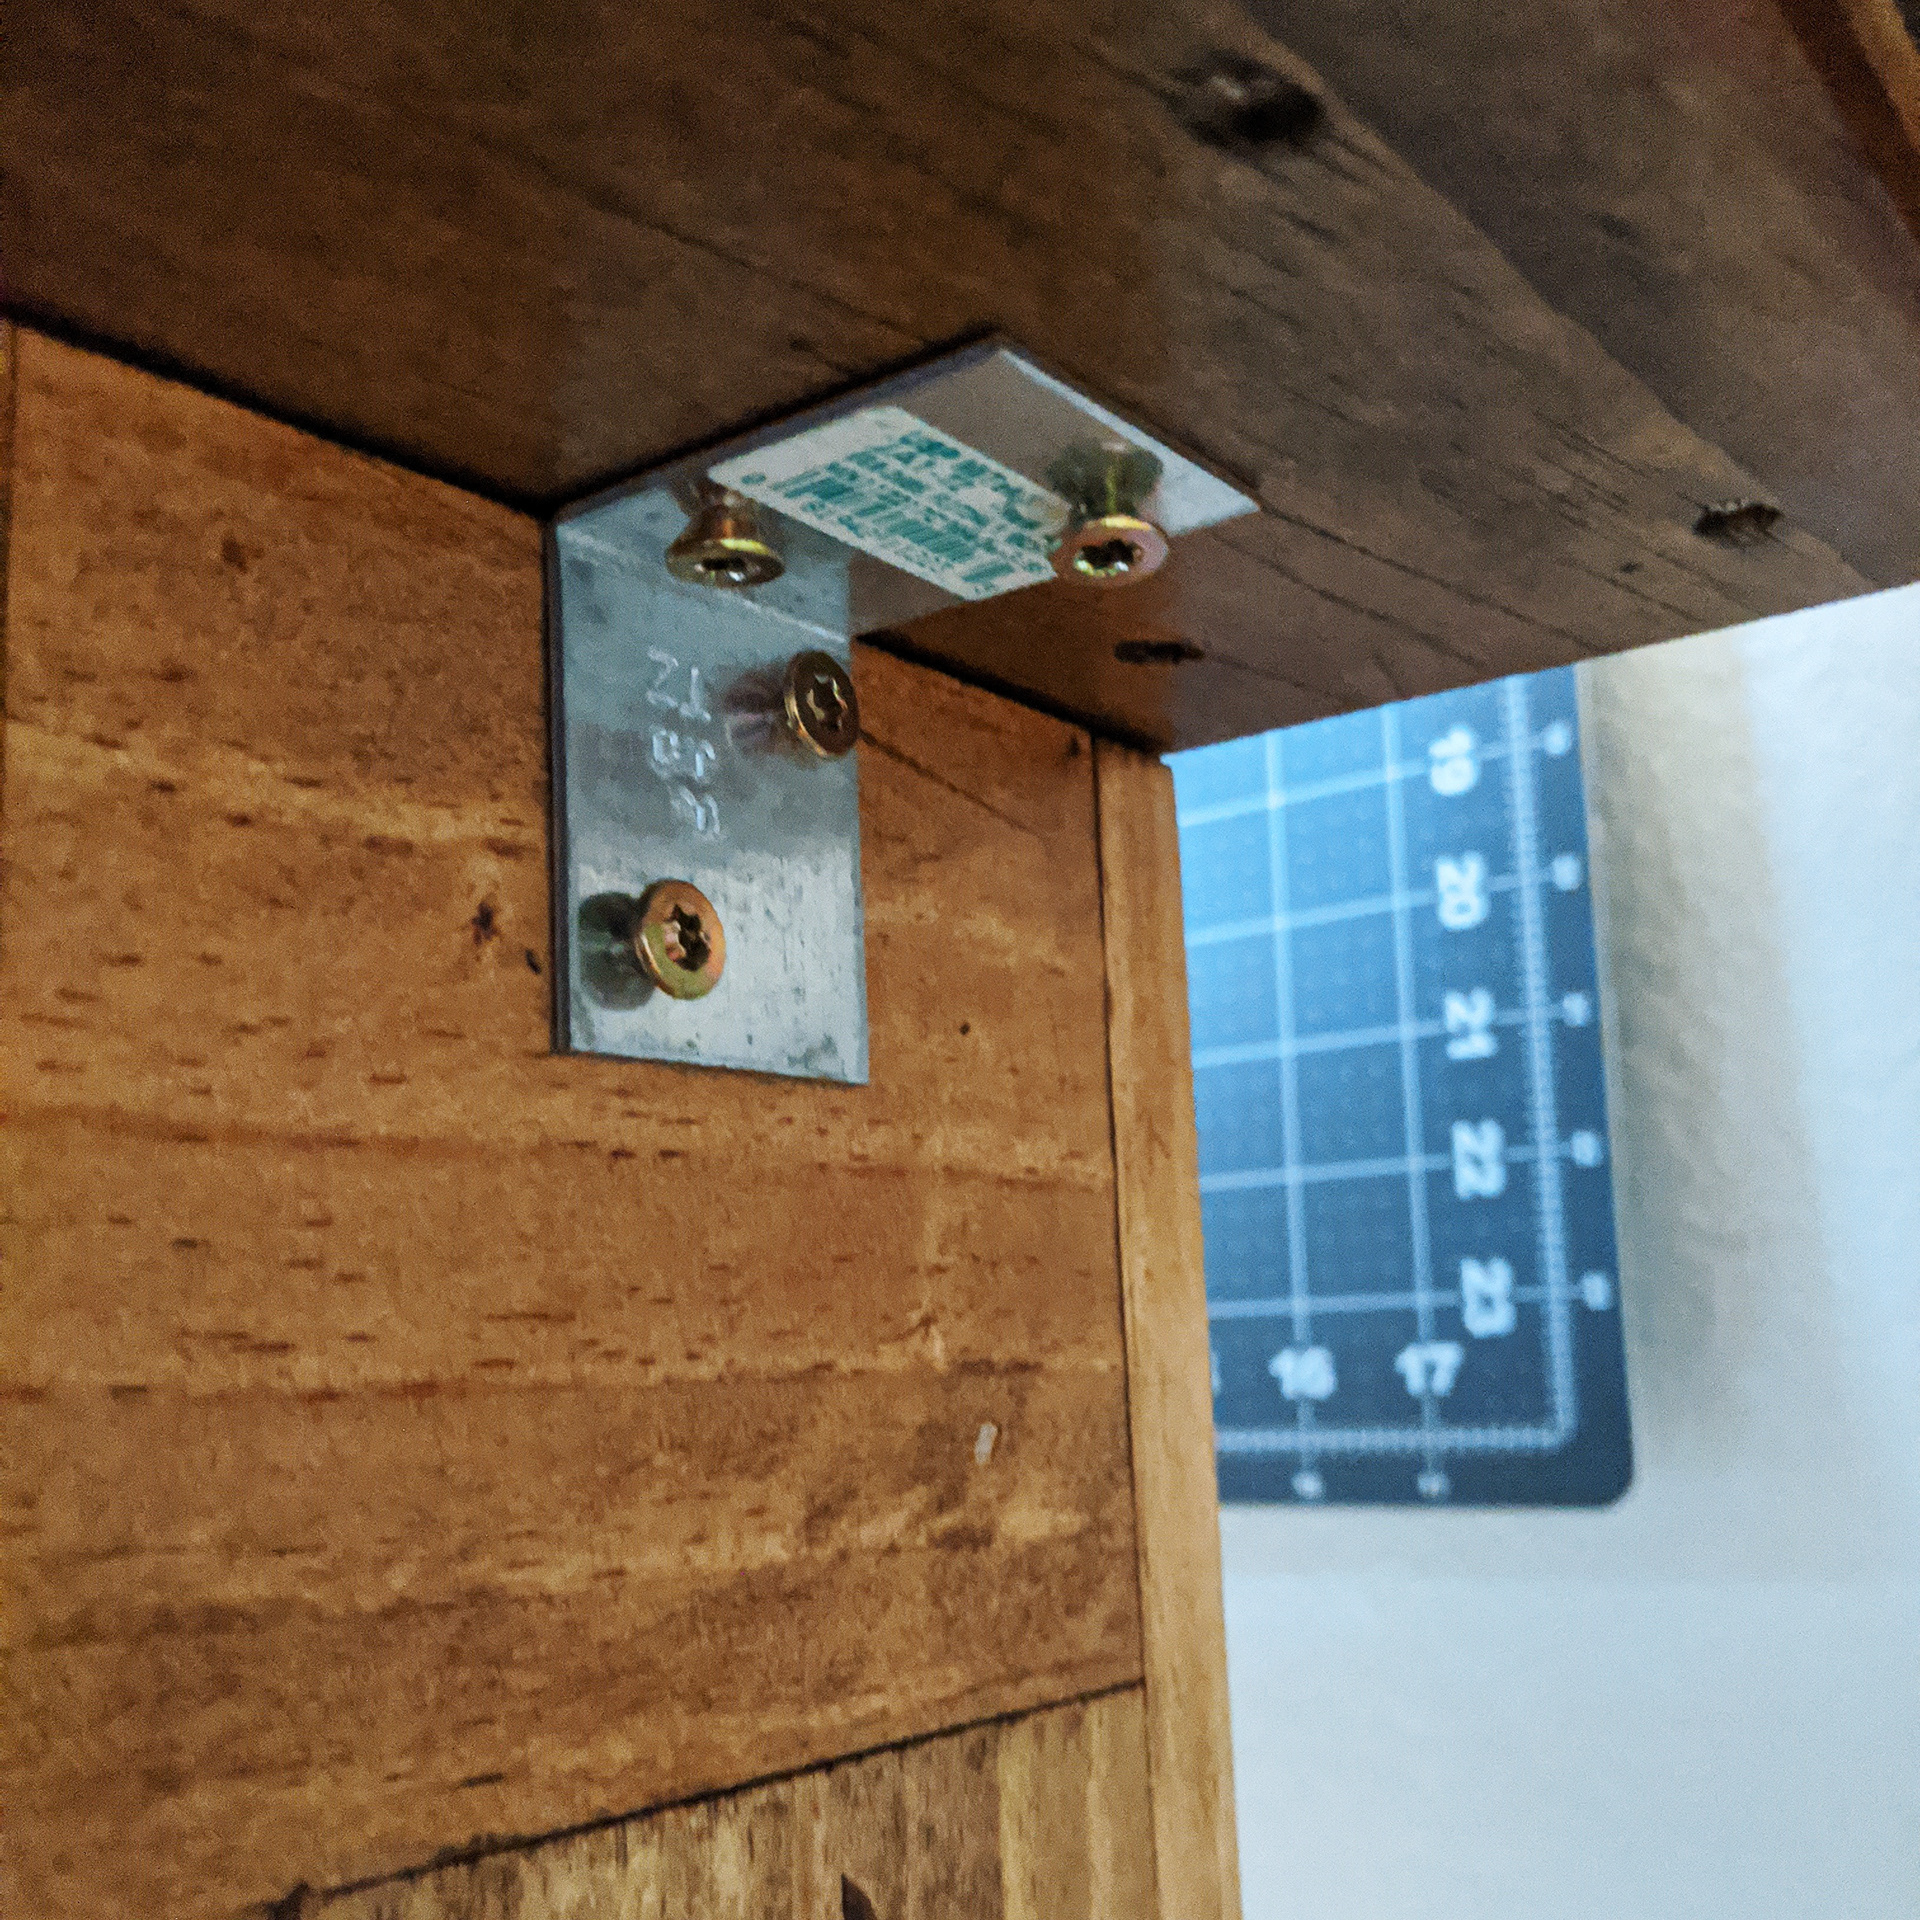
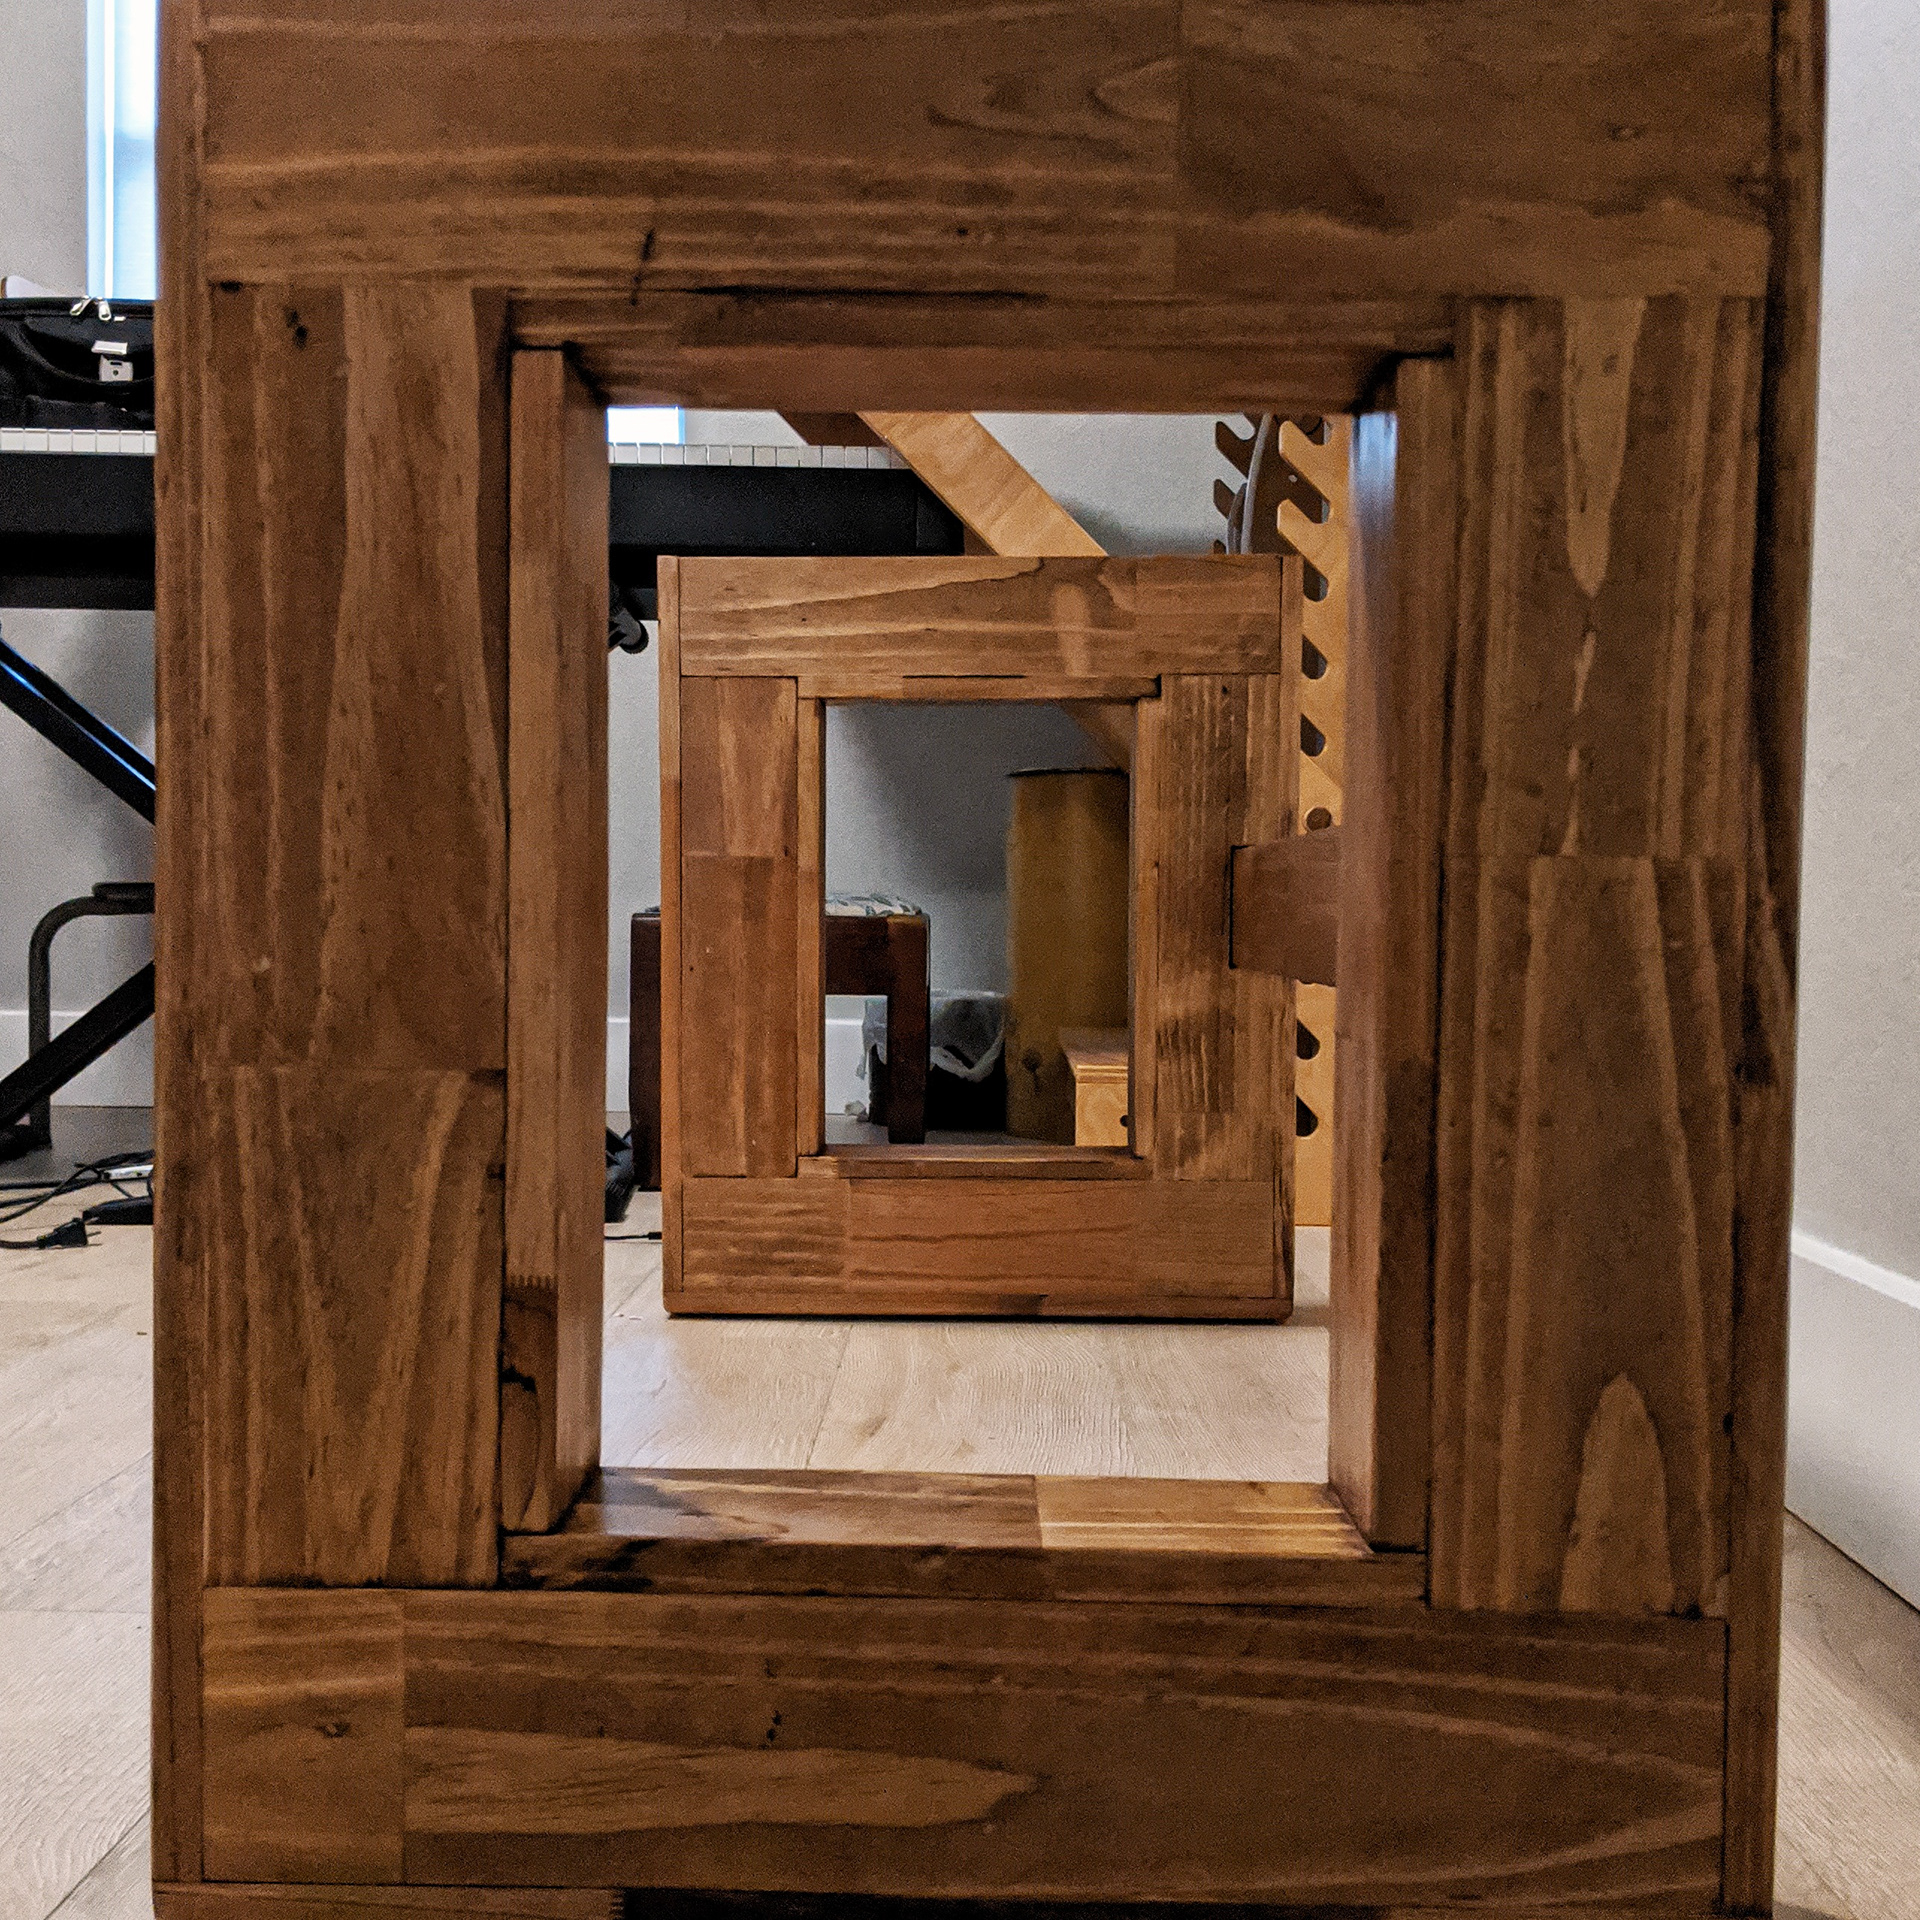
Top secured to the legs with super fancy brackets.
Everything stacked together. The top just sits on the legs and is secured with brackets.